


 by
by 

What Is a Wedding Table Garland (And Why It’s Different From a Centerpiece)?
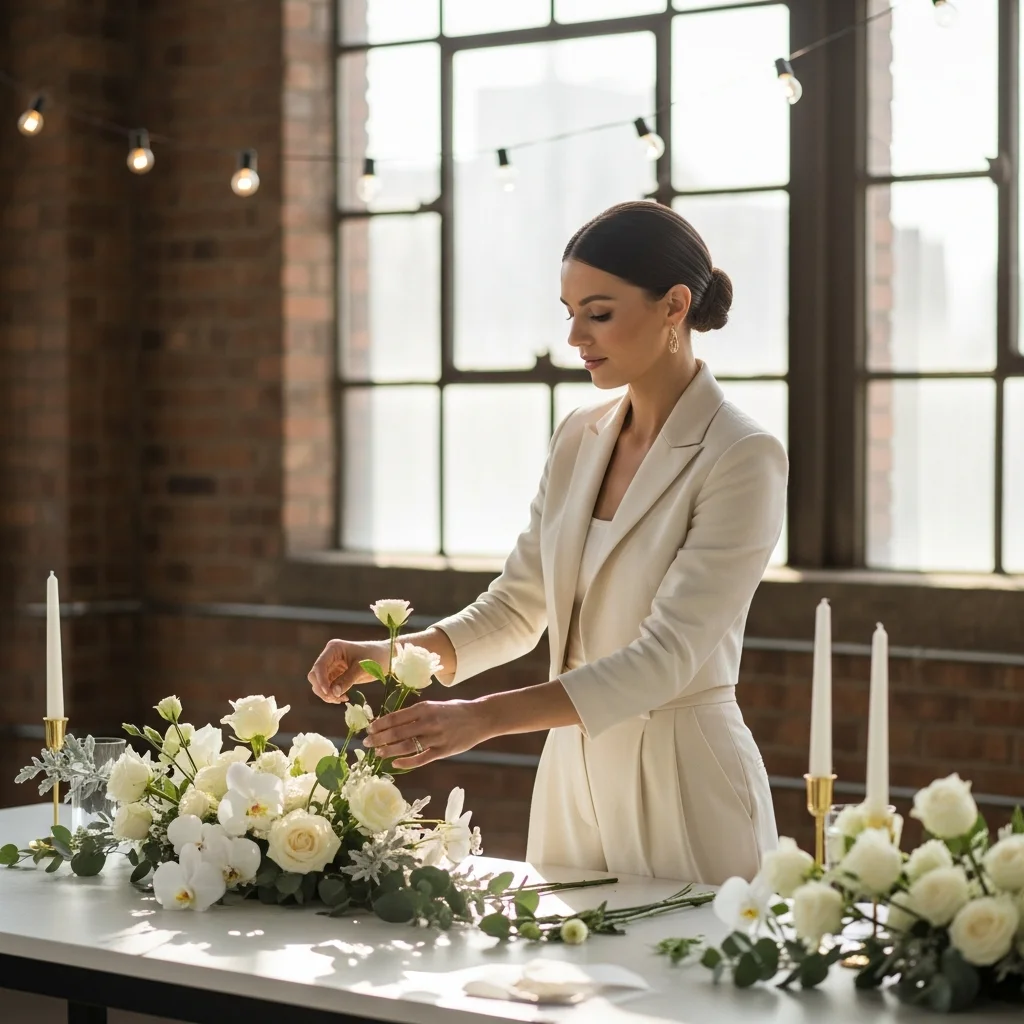
A wedding table garland is a continuous line of greenery and flowers designed to run the full length of a table, adding a natural and elegant touch to your reception decor. Unlike traditional centerpieces, which are often isolated to the center of the table and arranged in elevated vases or decorative containers, a garland is a flowing, low-profile arrangement. Its seamless design makes it perfect for creating a cohesive look across long banquet-style tables or connecting multiple smaller tables into a unified aesthetic.
What sets a table garland apart is its “table-safe” design. Crafted with height and practicality in mind, garlands are kept low enough to avoid obstructing guests’ sightlines across the table, ensuring conversations flow easily. Additionally, they’re created with safe spacing for candles or other decorative elements, such as votives or lanterns, preventing fire hazards and providing a balanced layout. This thoughtful approach means the garland enhances the table without interfering with guest comfort or safety.
Wedding table garlands come in a variety of styles to match different themes and preferences. Minimalist greenery-only garlands, often featuring eucalyptus or ivy, are perfect for understated elegance. For added visual interest, floral accents like roses or peonies can be incorporated, providing subtle pops of color. More structured designs such as compote-style breaks (small floral arrangements spaced along the garland) or bud-vase “garland look” alternatives offer flexibility for modern, creative displays. Whether classic or contemporary, a wedding garland effortlessly elevates the beauty of your table settings.

Part 1 – Why Table Garlands Matter
Table garlands are a versatile design element that combine timeless elegance with practical appeal. Their continuous, flowing line creates a visually cohesive and editorial look that photographs beautifully, often serving as a stunning centerpiece in wedding and event imagery. Unlike multiple individual arrangements, a garland offers a streamlined aesthetic that draws the eye naturally along the table, enhancing the overall harmony of the space. This makes garlands particularly impactful for long banquet-style tables.
From a budget perspective, garlands can be an intelligent choice under the right circumstances. Compared to purchasing multiple centerpieces, garlands typically have a lower cost per foot when designed with greenery-heavy compositions, making them a more economical option for filling larger spaces. However, garlands can become expensive when incorporating dense blooms or fragile flowers that require intricate handiwork. Longer lengths, especially for grand venues with extended tables, also add to the cost.
Garland vs. Centerpiece Cost Comparison: A greenery-based garland might cost less per foot than a traditional centerpiece arrangement, especially for budget-friendly materials like eucalyptus. However, adding heavy floral elements can quickly escalate the expense, rivaling or exceeding the cost of separate centerpieces. Understanding your design priorities and choosing materials wisely ensures you’ll maximize impact without overspending.
Part 2 – Types of Wedding Table Garlands (Pick Your Build Style)
Greenery-Only Garland (Fastest + Most Affordable)
For couples aiming to keep costs low while achieving a lush, organic look, a greenery-only garland is the simplest and most budget-friendly option. Popular greenery choices include eucalyptus (seeded or silver dollar varieties) and greenery blends like ruscus or ferns. These materials create a voluminous, cascading effect perfect for both rustic and modern themes. To add subtle texture without incorporating larger floral elements, consider tucking in clusters of baby’s breath sparingly along the garland. This approach enhances its visual interest without significantly increasing costs or labor time, making it an ideal solution for quick setups.
Greenery Garland With Floral “Moments” (Most Popular DIY Option)
Combining greenery with floral “moments” is one of the most popular choices for couples who want a balance between elegance and affordability. This method features clusters of blooms spaced approximately 12–18 inches apart, creating visual focal points along the garland. Roses, carnations, and ranunculus are among the top flower choices for these clusters, as they are versatile, durable, and available in a wide range of colors. To achieve a harmonious look, use a mix of fresh greenery as the base and layer the blooms strategically, ensuring the clusters appear cohesive yet distinct. The result is a dynamic, personalized garland that fits almost any wedding aesthetic.
Floral-Forward Garland (Luxury Look)
For a dramatic, opulent statement, opt for a floral-forward garland featuring large, show-stopping blooms. Hydrangeas, peonies, and dahlias work beautifully in this design, thanks to their expansive size and lush texture. This style is ideal for formal weddings or tablescapes with a grandiose theme. However, it’s important to account for hydration and weight concerns—larger flowers require consistent water sources (such as floral foam) to maintain their freshness throughout the event, and the added weight may necessitate reinforced tables or support structures. Although this approach is the most labor-intensive and costly, it creates a breathtaking centerpiece certain to leave a lasting impression.
Monofloral + Greenery Garland (Minimalist Modern)
For a sleek and contemporary aesthetic, consider a monofloral garland paired with simple greenery as the base. This minimalist design works well with flowers such as tulips, calla lilies, or orchids, which lend an air of sophistication and elegance. The clean lines and repetition of this style align beautifully with modern wedding themes, emphasizing simplicity while maintaining a polished appearance. Keep the greenery understated to allow the chosen flower to shine as the focal element. This approach is perfect for couples who prioritize precision and a chic, understated vibe over complex or layered arrangements.

Part 3 – Table Garland Calculator: How Much Greenery and How Many Flowers Per Foot?
Creating stunning table garlands requires careful planning to ensure the right amount of greenery and flowers for a cohesive and balanced look. This guide provides an easy-to-follow formula and rules, helping you calculate exactly what you need for your wedding or event.
Garland Length Formula (Snippet-Ready)
When determining your garland length, use this basic formula:
“Table length minus place settings zones”
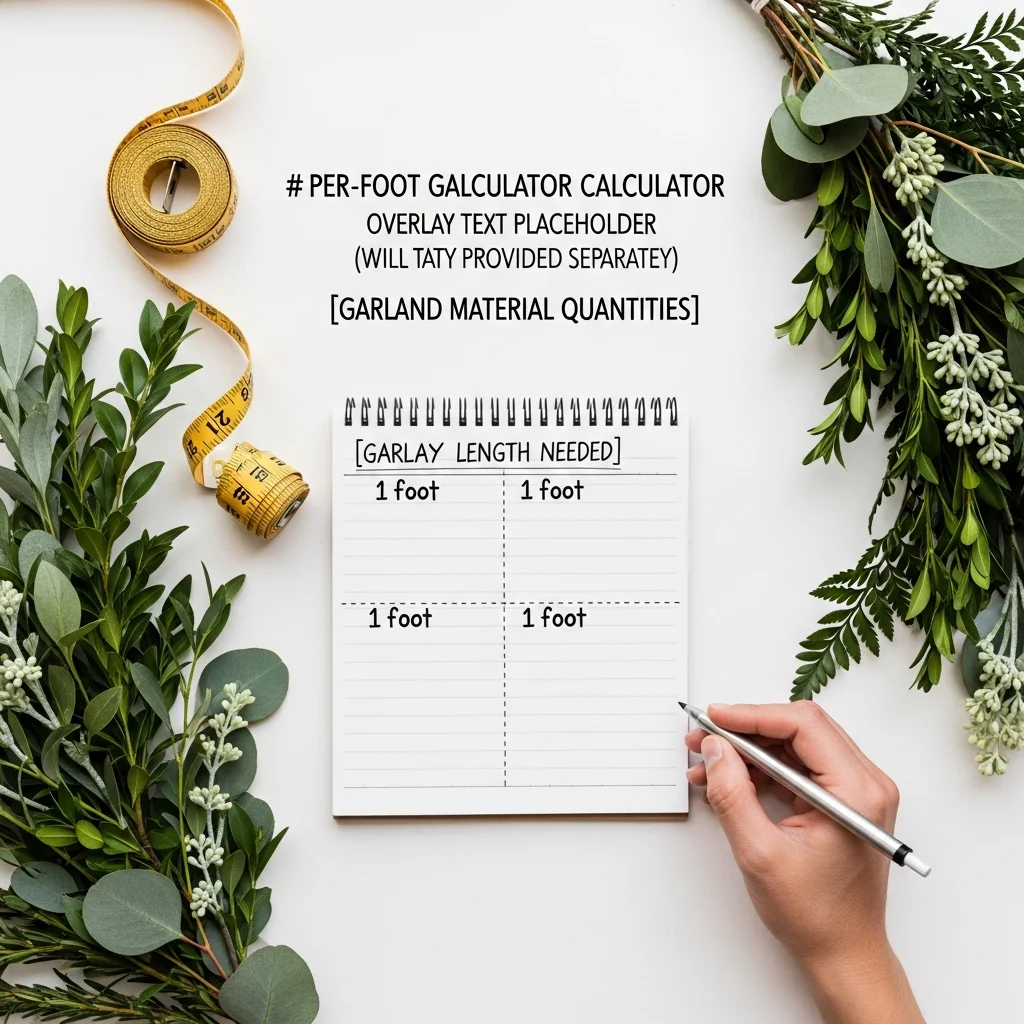
This means accounting for the space occupied by plates, cutlery, and glasses at both ends of the table. Typically, this leaves 4–6 feet of garland space for smaller tables and 8–12 feet for longer ones. Below are some standard table sizes and estimated garland lengths:
- 6-ft rectangular tables: ~4–5 feet of garland
- 8-ft rectangular tables: ~6–7 feet of garland
- 10-ft banquet tables: ~8–9 feet of garland
- Farm tables (varied lengths): Adjust garland length according to available table space
- Banquet rounds (runner-style): Measure straight across the table for runner-style garland, typically ~3–5 feet
Greenery Coverage Rules of Thumb (By Fullness Level)
The amount of greenery per foot depends on your desired level of fullness. Here’s a simple guide:
- Light coverage: 1–1.5 bunches/foot
- Works well for an airy, minimalist look
- Medium coverage: 1.5–2 bunches/foot
- Perfect for a balanced yet natural appearance
- Lush coverage: 2–3 bunches/foot
- Creates a dense, dramatic garland with luxurious texture
Varieties of greenery also affect coverage. For example:
- Eucalyptus varieties (silver dollar, seeded, or baby eucalyptus): Spread out easily, making them ideal for light coverage options.
- Italian ruscus or smilax vines: Denser, cascading foliage works best for lush garlands.
Mixing textures, such as combining soft eucalyptus with structured greenery, can add visual dimension while adhering to your desired fullness level.
Flower Counts Per Foot (By Accent Level)
Your flower placement defines the look of the garland. Here’s a breakdown by accent level:
- Minimal accents: 3–5 stems/foot
- Ideal for subtle pops of color and a mostly green design.
- Medium accents: 5–8 stems/foot
- Adds noticeable floral interest while still emphasizing greenery.
- Floral-heavy: 8–12 stems/foot
- Creates a bold, flower-forward garland that feels intricate and romantic.
For beautiful accents, consider mixing the following flowers:
- Roses (standard, spray, or garden varieties)
- Carnations (budget-friendly yet versatile)
- Baby’s Breath (airy and delicate)
- Eucalyptus (acts as both greenery and filler)
Example Shopping Lists (DIY-Friendly)
To help visualize what you’ll need, here are example shopping lists for various table setups:
5 Tables of 8ft (Medium Coverage, Medium Accents):
- Greenery: ~60–80 bunches (eucalyptus mix)
- Flowers: ~240 stems (roses, carnations, baby’s breath mix)
10 Tables of 6ft (Light Coverage, Minimal Accents):
- Greenery: ~60–90 bunches (smilax and soft ruscus mix)
- Flowers: ~150 stems (spray roses and baby’s breath)
Head Table 12ft + 8 Guest Tables:
- Greenery (lush for head table, medium for guests): ~120–150 bunches
- Flowers (floral-heavy for head table, medium for guests): ~400–480 stems (mixed accent flowers plus filler)
These tips and formulas make it easy to calculate your garland materials, ensuring your event tables are picture-perfect!
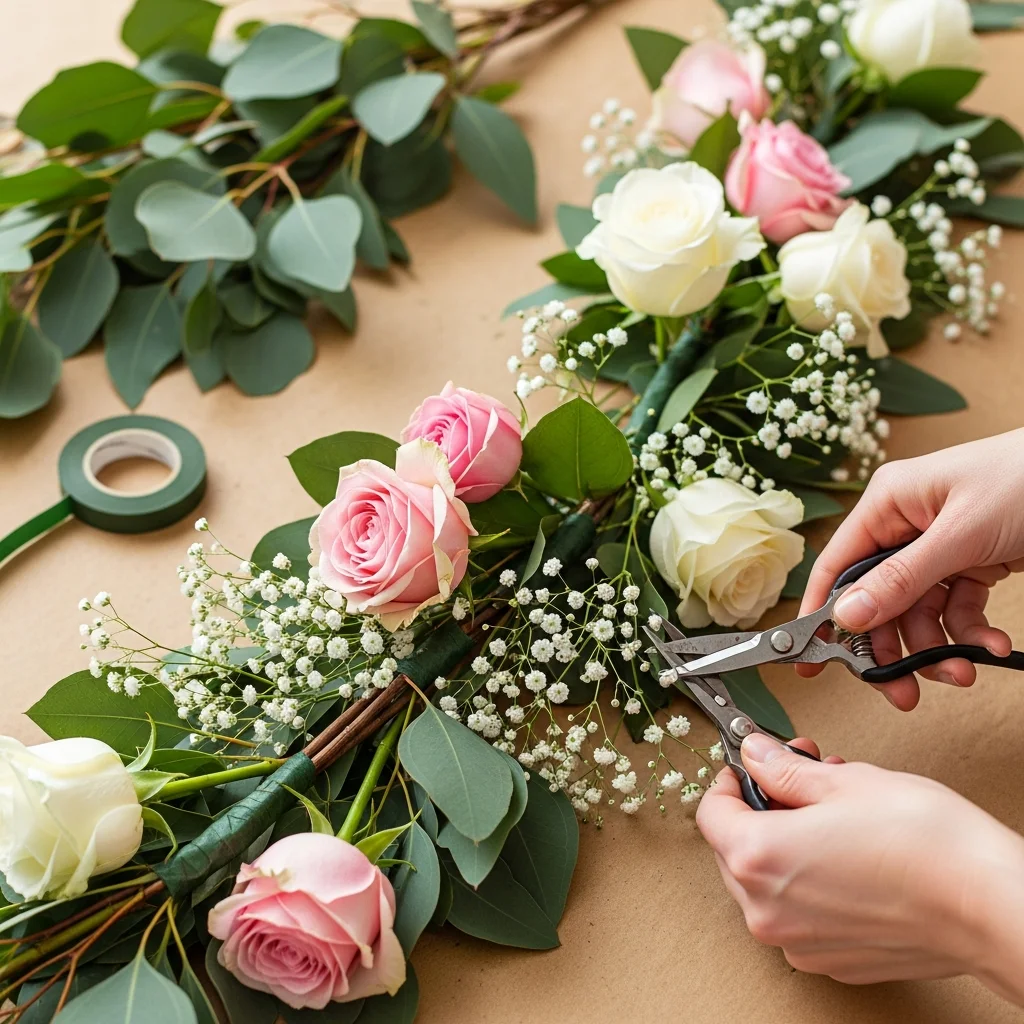
Part 4 – Best Flowers for Wedding Garlands (What Holds Up on Tables)
Choosing the right flowers for your wedding garlands is key to achieving a stunning aesthetic while ensuring your arrangements last throughout the event. Below, we’ll explore which blooms work best based on budget, durability, and visual impact, helping you create garlands that are both beautiful and practical.
Best “Workhorse” Flowers (Budget + Durability)
When working within a budget or prioritizing reliable flowers that maintain their appearance for hours, these “workhorse” blooms are top picks:
- Carnations: Affordable and surprisingly versatile, carnations come in numerous colors and offer excellent durability on tables without wilting quickly. They also mix well with other flowers.
- Roses: Standard and spray roses are timeless options. The sturdy petals and availability in a variety of colors make them ideal for a romantic or classic garland design.
- Baby’s Breath (Gypsophila): Light, airy, and budget-friendly, baby’s breath adds beautiful filler to garlands and softens the overall look. It’s also remarkably long-lasting, even without water.
Best Premium Flowers (When You Want the Wow)
For couples looking to indulge in luxury and create that breathtaking effect, premium flowers are a valuable addition to select garlands:
- Peonies: Lush, full blooms that exude elegance and romance. Peonies are perfect for head tables or focal points but should be used sparingly due to higher costs.
- Ranunculus: These multi-petaled flowers offer exquisite detail and a delicate yet vibrant touch. They’re ideal for accenting larger greenery garlands.
- Dahlias: Known for their dramatic and intricate petals, dahlias serve as a remarkable statement flower. They’re best utilized in well-supported arrangements since they can be fragile.
- Orchids: Exotic and sophisticated, orchids instantly elevate any garland. Their long-lasting durability also ensures they’ll look fresh throughout your celebration.
Best Large Blooms (Use Strategically)
Large blooms can create depth and volume in a garland, but they should be placed intentionally to avoid overwhelming the design:
- Hydrangeas: These voluminous flowers work wonderfully as “pillow clusters” rather than continuous filler. Use them strategically to add softness and drama in specific areas, such as at the center of tables or ends of garlands.
When to Use Bold Seasonal Pops
Seasonal flowers can give your garlands distinct, memorable touches while reflecting the time of year:
- Sunflowers: Ideal for late summer or fall weddings, sunflowers provide bold, cheerful pops of yellow. When incorporating sunflowers, consider spacing them apart thoughtfully due to their size and weight, ensuring they don’t overpower the garland or cause strain on the greenery.
By carefully selecting from these categories, you can craft garlands that are as functional as they are visually stunning, tailored to your event style and season.
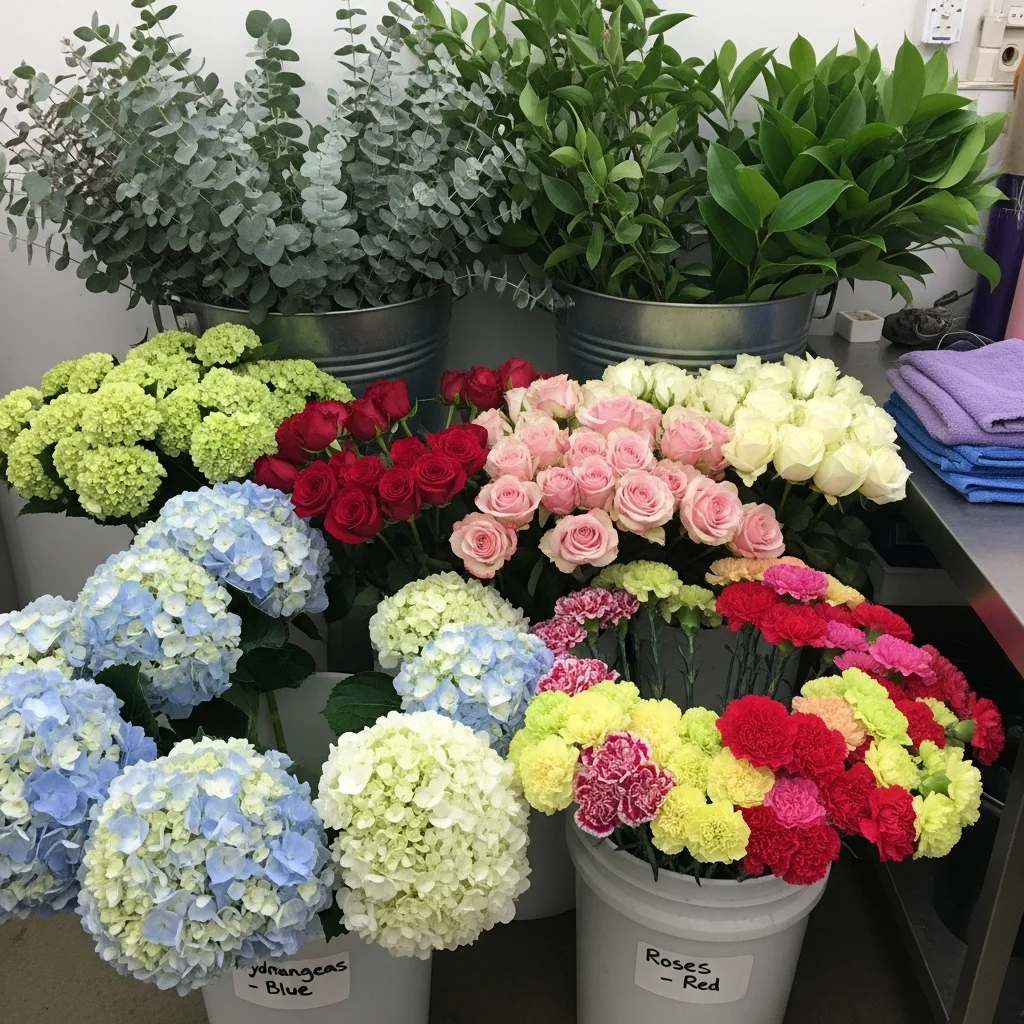
Part 5 – Tools + Mechanics: What You Need to Build Garlands That Don’t Fall Apart
Building a sturdy and long-lasting garland requires the right tools and techniques. Each element you use plays a crucial role in ensuring your design not only looks beautiful but also stays secure throughout the event.
Supplies Checklist (With Purpose, Not Just a List)
- Floral Snips: These are essential for cleanly trimming stems and ensuring precise cuts, which is especially important for maintaining the health and appearance of the greenery and blooms.
- Bind Wire: This versatile tool allows you to secure stems tightly to each other and to any base structure while maintaining flexibility for adjustments.
- Floral Tape: Ideal for wrapping stems and hiding mechanics, floral tape adds durability and a polished finish to individual sections.
- Zip Ties: Perfect for quick and strong fastening, zip ties are particularly useful for heavier blooms or large garland sections that need extra support.
- Water Tubes: Keeping flowers hydrated throughout the event prevents premature wilting, especially for blooms with shorter shelf lives.
Structural Mechanics:
- Chicken Wire: A classic choice for providing a stable framework, chicken wire works well for tablescapes where security is key. It allows for flora to be woven securely, though it requires additional steps, such as overlapping the wire ends, to prevent damage to surfaces.
- Foam: Floral foam offers excellent water retention for longer-lasting arrangements, particularly with sensitive flowers. However, foam isn’t always eco-friendly and may not be ideal for venues prioritizing sustainability.
- No Mechanics (Freehand Work): For simpler garlands or greenery-heavy designs, skipping structural mechanics may suffice. However, this method is best for shorter garlands or where minimal movement is guaranteed, as it lacks the stability of other options.
Table Protection + Setup Planning
Protecting your table surface and ensuring proper setup are just as important as crafting the garland itself. Here are some key considerations:
- Waterproof Runners: Use durable, waterproof runners to shield your table from water damage, floral residue, or sap. Options like plastic-coated fabric or decorative vinyl ensure practicality without sacrificing visual appeal.
- Candle Safety: If using candles alongside your garlands, ensure adequate spacing to prevent any parts of the greenery from coming into contact with an open flame. Opting for flameless LED candles is another safer alternative.
- Spacing and Rules: For aisle or venue setups, consider the rules and restrictions of the space. Confirm if zip ties, adhesive hooks, or other mechanics are allowed and ensure your garlands don’t interfere with guest movement or emergency exits.
With the right tools, planning, and thoughtful setup, your garlands will not only stay intact but also elevate the overall aesthetic of your event.
Part 6 – Step-by-Step: How to Make a Wedding Table Garland (DIY Tutorial)
Creating a stunning wedding table garland can seem daunting, but with this step-by-step guide, you’ll be on your way to crafting an impressive centerpiece that complements any event. Follow these detailed instructions to achieve a professional look, even if it’s your first try.
Step 1: Prep Your Greenery (Hydrate + Shape)
The foundation of any beautiful garland starts with well-conditioned greenery. Begin by soaking your greenery, such as eucalyptus or mixed foliage, in water for several hours (overnight if possible) to rehydrate it and extend its freshness.
- Eucalyptus Conditioning Notes: Strip off any leaves on the lower stems to avoid overcrowding, keeping the top foliage intact for a fuller appearance.
- Mixed Greenery Tips: If using additional greenery like ferns, ruscus, or ivy, trim uneven stems and recut the ends at a diagonal angle to improve water absorption.
Once hydrated, gently shape the greenery into a cohesive form, bending or trimming stems to ensure they work well together when layered later.
Step 2: Build the Base Line (3 Easy Construction Methods)
The base of your garland provides structure and defines the overall length and width. Choose one of the following construction methods based on your preference or materials on hand:
- “Layer and Tuck” Method
- Lay several long sections of greenery along the table in the desired direction, overlapping their stems slightly.
- Tuck additional greenery into the gaps to fill it out, ensuring there’s a natural flow to the arrangement.
- “Bundle Sections” Method
- Create small bundles by tying 2-3 stems of greenery with floral wire or string.
- Attach each bundle to a central vine or twine, slightly overlapping them as you move down the length of the garland.
- “Zip-Tie Anchor Points” Method
- Secure loose greenery branches to a sturdy base (such as chicken wire, floral foam, or a long wooden dowel) using zip ties.
- Space anchor points evenly, and then add extra layers of foliage to cover any gaps or visible ties.
Regardless of the method, aim for symmetry and balance, but don’t worry about perfection — the natural asymmetry adds charm.
Step 3: Add Flowers in Intentional Clusters (Designer Trick)
Flowers bring life and color to your garland. Instead of distributing them evenly, focus on intentional clusters for a high-end, professional look.
- Focal Flower Placement: Use bold blooms like roses, ranunculus, or peonies to serve as focal points. Place 2-3 focal flowers together in bursts along the garland, spacing them out for visual balance.
- Filler and Softness: Add filler flowers such as baby’s breath, wax flowers, or spray roses to soften the arrangement and create depth. These smaller blooms work well between greenery and larger flowers.
- Rhythm: Follow a “big-small-medium” pattern while placing flowers. This strategic spacing keeps the design cohesive without looking crowded, and the variety in size adds visual rhythm.
Step 4: Finish With Texture + Movement
To make your garland stand out, incorporate elements of texture and movement that elevate the design.
- Adding Airy Stems Without Chaos: Use delicate elements like astilbe, wispy grasses, or ferns to bring lightness. Space them out evenly, ensuring they don’t overpower the design or make it look cluttered.
- Where to Place Pampas Grass (if permitted): Pampas grass adds a luxurious, airy feel but must be used carefully. Place small stems near the outer edges or ends of the garland for a subtle touch, ensuring that there’s no shedding. Secure pampas grass with floral wire to keep it neat and controlled.
By following these steps, your wedding table garland will come to life with natural beauty, lush greenery, and perfectly placed blooms. The key is thoughtful preparation, layering, and creativity — and with a little practice, you’ll craft a piece to wow your guests!
Part 7 – Timing + Freshness: When to Make Garlands Before the Wedding
Knowing when to craft your garlands is essential to ensuring they look fresh and vibrant on your wedding day. Proper planning and understanding the timeline for assembly, storage, and optimal freshness will help you create stunning arrangements that last throughout your celebration.
3-Day Timeline (Most Common for DIY Brides)
A 3-day timeline works well for DIY brides handling their florals. It keeps the process manageable while guaranteeing the highest level of freshness.
- Delivery Day (3 Days Before the Wedding): Schedule your wholesale flower delivery on this day. Inspect all greenery and blooms as soon as they arrive, trimming stems and placing them in buckets of water to hydrate.
- Prep Day (2 Days Before the Wedding): Dedicate this day to gathering all your tools, cutting your greenery to size, and preparing other materials. This is a good time to form the greenery base for your garlands, setting the foundation without adding flowers yet. Store the garland bases in a cool, dark place.
- Build Day (1 Day Before the Wedding): Assemble the full garlands by layering flowers and finishing touches onto the greenery base. Pay attention to the design and symmetry, securing everything with floral wire. Shortly after, mist your garlands with water and store them properly.
- Wedding Day: Set up your garlands at the venue as close to the event start time as possible. Do a final touch-up, ensuring the arrangements are fresh and picture-perfect.
What You Can Build Early vs. Same-Day
To save time, you can create your greenery base in advance. Most greenery holds up well when hydrated and stored correctly, making it ideal for early preparation. Flower accents, however, should be added closer to the wedding to preserve their integrity and avoid premature wilting. Once the full garlands are built, store them in a cool, dark space, keeping them lightly misted to retain moisture. If possible, store the garlands horizontally to avoid any shifting or sagging.
Delivery Windows + Bulk Ordering Strategy
When ordering wholesale flowers, timing is critical. Schedule your shipment to allow enough time for blooms to hydrate but not so early that they lose their freshness. Typically, flowers delivered 3 days before the wedding will provide the perfect balance. Order slightly more than needed to account for unexpected shortages or blooms that don’t meet your quality standards.
Planning ahead and working with reputable bulk flower suppliers ensures your wedding garlands will be lush, beautiful, and perfectly fresh on your big day.
Part 8 – Bulk Buying Guide: How to Order Flowers and Greenery for Garlands Without Overbuying
When planning DIY floral garlands, precise ordering is key to staying on budget while ensuring you have everything you need. Start by determining how much greenery and flowers are required by converting “tables” into “feet.” For example, if each table requires a 6-foot-long garland and you’re decorating 10 tables, you’ll need a total of 60 feet of garland. Always add a buffer of about 10-15% for unforeseen needs such as breakage, bruising, or last-minute add-ons.
It’s also wise to order extra filler greenery, such as eucalyptus or ruscus, since these are versatile and help stretch the garland economically without compromising its lush appearance. Flowers like carnations and spray roses are excellent for maintaining a full look at a lower cost, making them ideal for bulk garland construction. Balance your selections with standout blooms like roses, peonies, or ranunculus for a beautiful focal point.
To maximize your budget, consider purchasing from wholesale sources like Whole Blossoms. This supplier specializes in bulk flower orders, offering high-quality stems and personalized planning support for DIY projects. Their wide variety of greenery and blooms makes it easier to build custom garlands while saving money on volume orders.
When searching for floral options, make use of resources that guide you through the ordering process. Refer to our Wholesale Flowers guide for tips on bulk ordering and delivery planning, the Bulk Flowers hub for cost-saving strategies with volume orders, and our comprehensive Wedding Flowers section for full DIY wedding flower planning. These resources will help ensure your garlands are fresh, beautiful, and within your budget for your big day.
Planning ahead, ordering smartly, and using trusted bulk suppliers will allow you to create stunning wedding garlands that complement your vision without overspending.
Part 9 – Common Mistakes (And How to Fix Them Fast)
Even with the best planning, creating wedding garlands can come with its own set of challenges. Here are some common mistakes and quick solutions to ensure your garlands look perfect on your big day:
- Garland Looks Flat
A flat garland can take away from the lush and dynamic aesthetics you’re aiming for. To fix this, use the cluster technique—group flowers and greenery closely in varying layers to add dimension and height. Playing with textures and depth can instantly make your garland look more luxurious.
- Flowers Wilt Early
Flowers can start to wilt prematurely if hydration wasn’t handled properly. Always hydrate your blooms as soon as they arrive. Before arranging, recut stems at an angle under water, and consider using floral foam or water tubes for extra hydration during the event.
- Garland Sheds
If your garland starts shedding leaves and petals, it could be due to poor greenery choices or dry handling. Pick sturdy greenery like eucalyptus or evergreen, which hold up better in garland structures. Always mist your greenery to keep it pliable and fresh while working.
- Garland Blocks Guests
Large garlands are stunning but can be a logistical problem. To avoid blocking guests’ views during dinners or ceremonies, scale your garland carefully. When incorporating candles, ensure spacing is generous enough to avoid overwhelming table designs.
- Overlooking Practical Placement
Poor placement, such as leaving garlands in direct sunlight or near heat sources, can expedite drying and damage. Always store finished garlands in a cool, shaded area before use to prolong their beauty.
FAQs (Built for People Also Ask + AI Answers)
How long should a wedding table garland be?
The length of a wedding table garland depends on the size and layout of your table. Ideally, the garland should be long enough to run the full length of the table, with a slight overhang of 6–12 inches on each end for a polished look. For round tables, a garland that forms a circular centerpiece is often best. Be sure to measure your tables beforehand to ensure an accurate fit.
How many bunches of greenery per table?
The number of greenery bunches needed per table depends on the density of the garland you’re looking to achieve. For a standard 6–8 foot table garland with a lush, full appearance, consider 3–5 bunches of greenery. If you prefer a more minimal design, 2–3 bunches may suffice.
Are hydrangeas good in garlands?
Hydrangeas can add a beautiful, voluminous look to garlands, thanks to their large blooms. However, they tend to be more delicate and prone to wilting, especially in heat, so they’re best used for shorter events or when the garlands are kept cool. Consider mixing hydrangeas with sturdier greenery or flowers to create a dynamic and durable design.
Can I make garlands 2 days ahead?
Yes, you can make garlands 2 days ahead, but proper storage is key to maintaining their freshness. Store completed garlands in a cool, shaded area away from direct sunlight and heat sources. Lightly mist them with water and wrap them loosely in plastic or breathable material to retain moisture.
What’s the cheapest way to make a DIY garland?
The most budget-friendly way to create a DIY garland is by using locally sourced greenery or backyard clippings. Foliage like eucalyptus, ferns, or ivy can create a stunning garland at a low cost. Incorporate simple blooms sparingly for added elegance without breaking the budget.
How do I keep eucalyptus fresh on tables?
To keep eucalyptus fresh on tables, trim the stems and submerge them in water for a few hours or overnight before assembling the garland. Once placed on the table, mist the eucalyptus lightly with water and avoid placing it near heat sources. Using floral foam or water tubes hidden within the garland can also help prolong freshness.
Quick Recap + Next Steps for Your Garland Plan
Creating a stunning and cost-effective garland is simple when you plan ahead. By understanding how to calculate the length of greenery needed and following a step-by-step guide for assembly, you can design a garland that perfectly suits your event. Remember, trimming and hydrating greenery like eucalyptus beforehand ensures lasting freshness and elegance.
Start by building a “garland shopping list” using the formulas and tips provided, covering everything from greenery quantities to accent flowers. Planning your purchase in advance will streamline the process and ensure you have all the necessary materials. For DIY efficiency, consider ordering bulk or wholesale flowers from trusted sources like Whole Blossoms, where high-quality blooms and greenery are readily available to elevate your creative vision!