


 by
by 

Introduction: The Rise of DIY Bridal Bouquets
Weddings are a celebration of love, individuality, and creativity, and in recent years, the DIY wedding trend has taken this to the next level. One of the most popular areas for crafty, budget-conscious brides to show their personal touch is through DIY bridal bouquets. With the rising costs of floral arrangements, many couples are opting to create their own, blending affordability with the opportunity to design something truly unique and meaningful.
The appeal of DIY bridal bouquets lies in their ability to reflect the bride’s personal style while also offering significant savings. From carefully selecting favorite flowers to crafting a bouquet that matches the wedding’s theme, this trend allows for endless personalization. The process itself can also become a memorable and enjoyable pre-wedding activity, whether done solo or with loved ones. The internet is brimming with inspiration, with searches for “how to make your own wedding bouquet” and “DIY bridal flower guide” skyrocketing in popularity. Brides everywhere are turning to step-by-step guides, Pinterest boards, and online tutorials to bring their floral visions to life.
If you’re a bride considering creating your own bouquet, you’re not alone! This guide is here to walk you through every detail, offering practical tips, recommended materials, and creative ideas to help you design stunning flower arrangements for your special day. Whether you’re a seasoned crafter or completely new to floral design, our approach ensures that your DIY bridal bouquet will be as beautiful and unforgettable as your wedding itself.
Get ready to explore the rewarding world of wedding flower design, and take the first step toward creating an Instagram-worthy bouquet that’s uniquely yours.
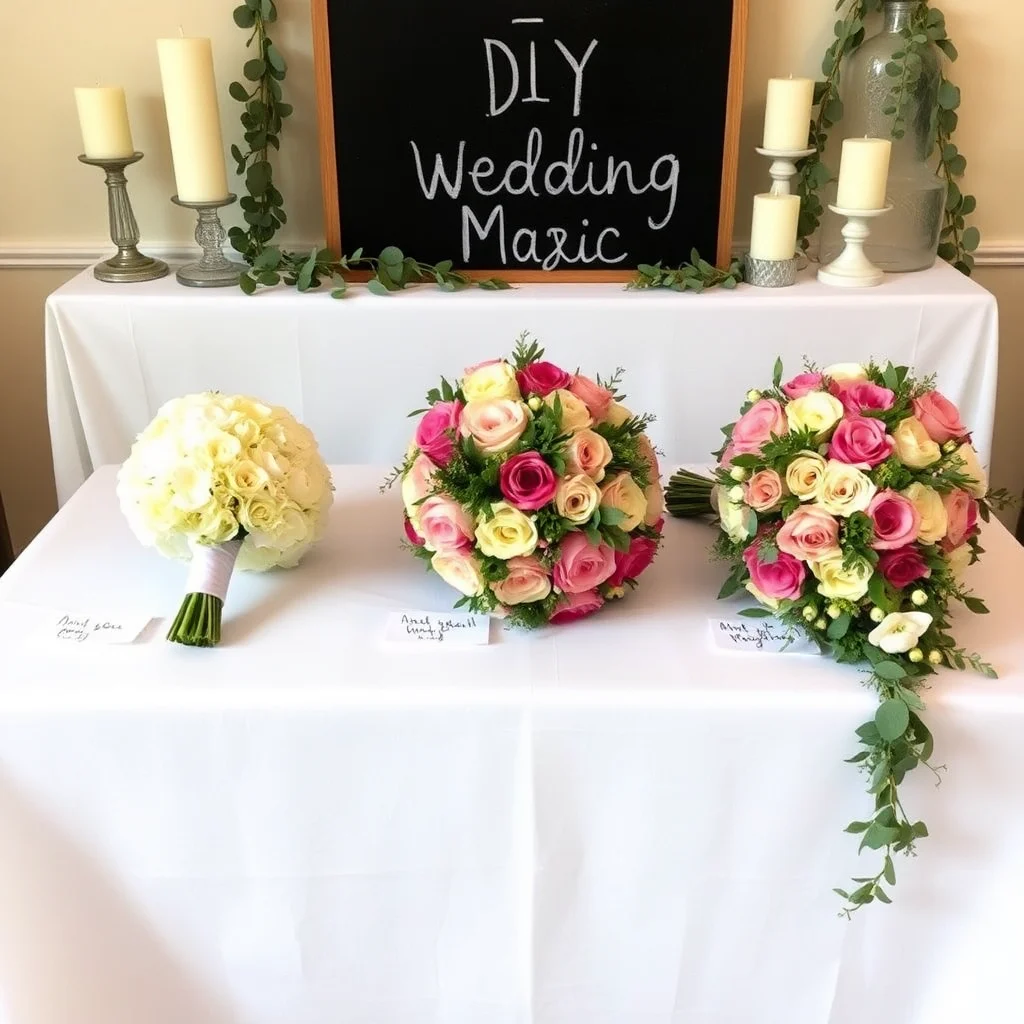
Part 1 – Choosing the Right Flowers for Your Bridal Bouquet
Selecting the right flowers for your bridal bouquet is one of the most significant steps in creating a stunning and cohesive design. Your bouquet will be a central part of your wedding look, so the flowers you choose should reflect your personal style while complementing the overall theme and season of your wedding.
Focal Flowers, Secondary Flowers, and Fillers
Start by selecting one or two focal flowers, which will serve as the centerpiece of your bouquet. These are usually bold, eye-catching blooms like roses, peonies, or ranunculus. Next, add secondary flowers to support your focal blooms and expand the design. Lisianthus, carnations, and spray roses are perfect choices as they layer well and create depth. Finally, incorporate fillers and greenery to tie everything together and give the bouquet a polished, organic feel. Eucalyptus, baby’s breath, and fern are popular filler options that add texture without overpowering the arrangement.
Matching Colors with Your Theme and Season
Your bouquet should harmonize with your wedding theme and color palette. For a spring or summer wedding, consider light, bright hues like pastel pinks, soft yellows, and lavender tones. For fall or winter ceremonies, deep burgundy, rich oranges, and creamy whites can create an elegant and moody vibe. Always request a swatch of your wedding colors, so you can compare them directly to the flowers you’re considering.
It’s also important to think about seasonal availability. Seasonal flowers are often more affordable and fresher, ensuring your bouquet will look gorgeous on your big day. Ask your florist or local flower market about options that are in season.
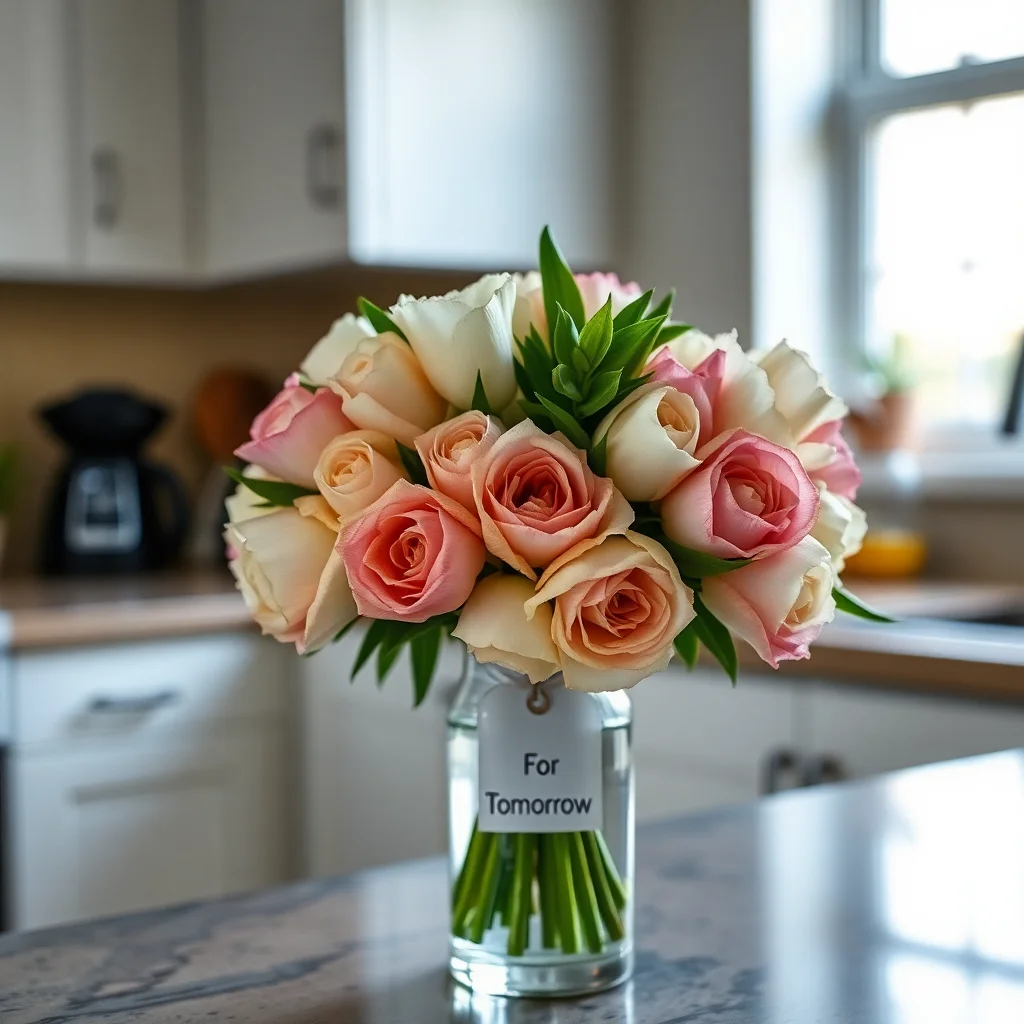
Common Pitfalls and What to Avoid
When selecting your flowers, be mindful of a few potential issues. Avoid blooms with fragile stems that may break easily, such as dahlias, as these can lead to frustration during assembly and might not last throughout your wedding day. Overly fragrant flowers like lilies can be beautiful but might overpower the ambiance or cause discomfort for guests who are sensitive to strong scents. Also, consider the longevity of your chosen flowers, as some varieties are more prone to wilting than others.
Top 5 Flowers for Bridal Bouquets
Here are some of the best flowers for bridal bouquets that strike the perfect balance of beauty, durability, and versatility:
- Roses – A timeless and romantic bloom available in many colors.
- Ranunculus – An elegant and layered flower ideal for adding texture.
- Peonies – A classic choice known for their voluminous, lush appearance.
- Lisianthus – Delicate and soft, perfect for creating a romantic aesthetic.
- Eucalyptus – A versatile greenery that complements almost any bouquet.
Taking the time to carefully select your wedding bouquet flowers will ensure your arrangement is not only beautiful but reflective of your style and the special moment you are celebrating.
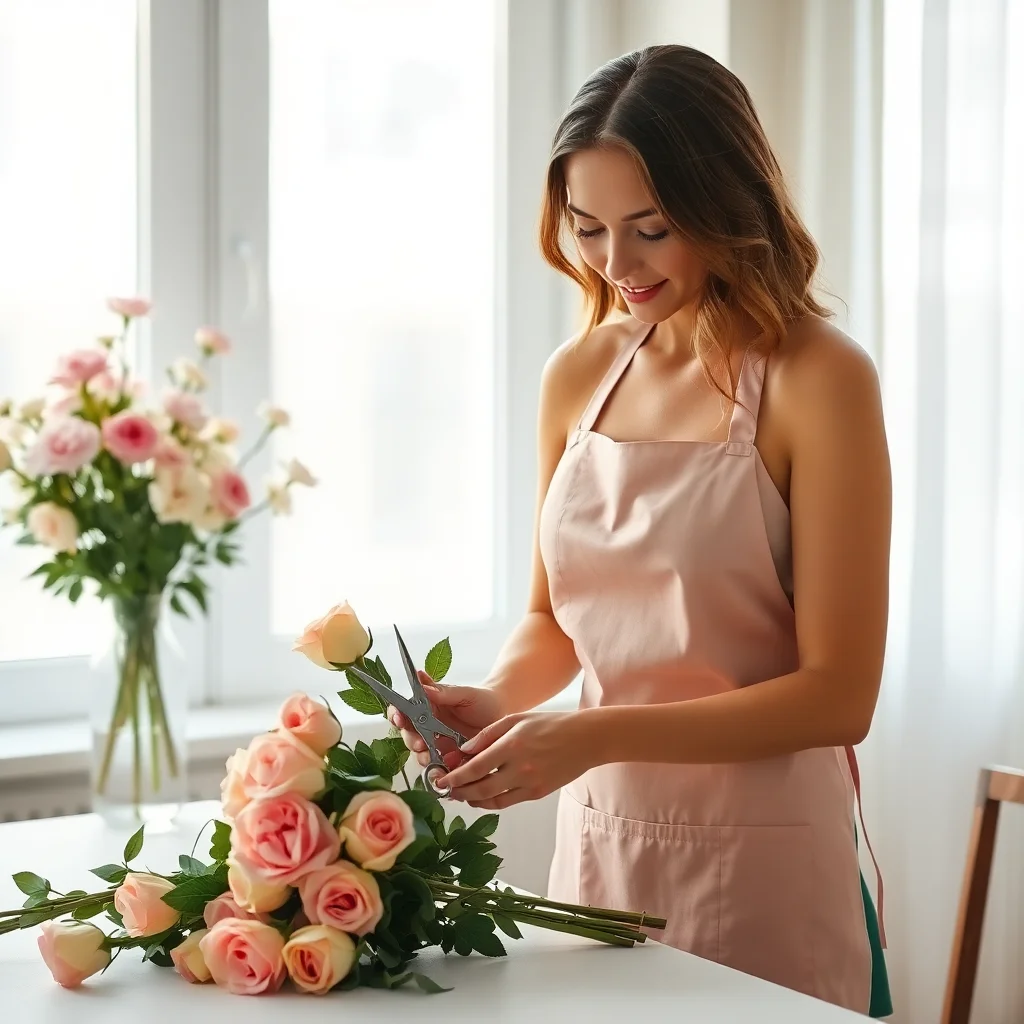
Part 2 – Essential Tools & Supplies You’ll Need
Creating your own wedding bouquet can be a fulfilling and cost-effective endeavor, but it requires the right tools and supplies to achieve a professional finish. Below is a guide to the essential items you’ll need to get started:
Must-Have Tools
- Floral Shears – These are vital for cutting flowers and greenery with precision. Invest in a high-quality pair to ensure clean cuts without damaging the stems.
- Floral Tape – Perfect for securing stems and creating a seamless structure, floral tape is a must-have for shaping your bouquet.
- Floral Wire – Essential for supporting and stabilizing delicate flowers or bending stems into the desired position.
Additional Supplies
- Ribbon – Use decorative wedding bouquet ribbon to wrap the stems and add a polished, elegant touch. Silk or satin ribbons are particularly beautiful for this purpose.
- Flower Food – Keep your blooms fresh and vibrant by using flower food in combination with clean water. This will extend the life of your bouquet.
- Hydration Buckets – Before you start arranging, place your flowers in buckets of water to keep them hydrated and prevent wilting.
Recommended Beginner Kit
For those new to DIY floral arrangements, consider investing in a beginner floral toolkit that includes floral shears, tape, wire, and other essentials. Many kits are available online, such as this beginner’s set or this all-in-one floral arrangement kit. These tools are designed to simplify the process and ensure a cohesive final design.
Having your bouquet supplies ready will not only make the process smoother but help you achieve a stunning, professional-quality arrangement. With the right tools in hand, you’ll feel confident as you craft a bouquet that perfectly reflects your wedding vision.
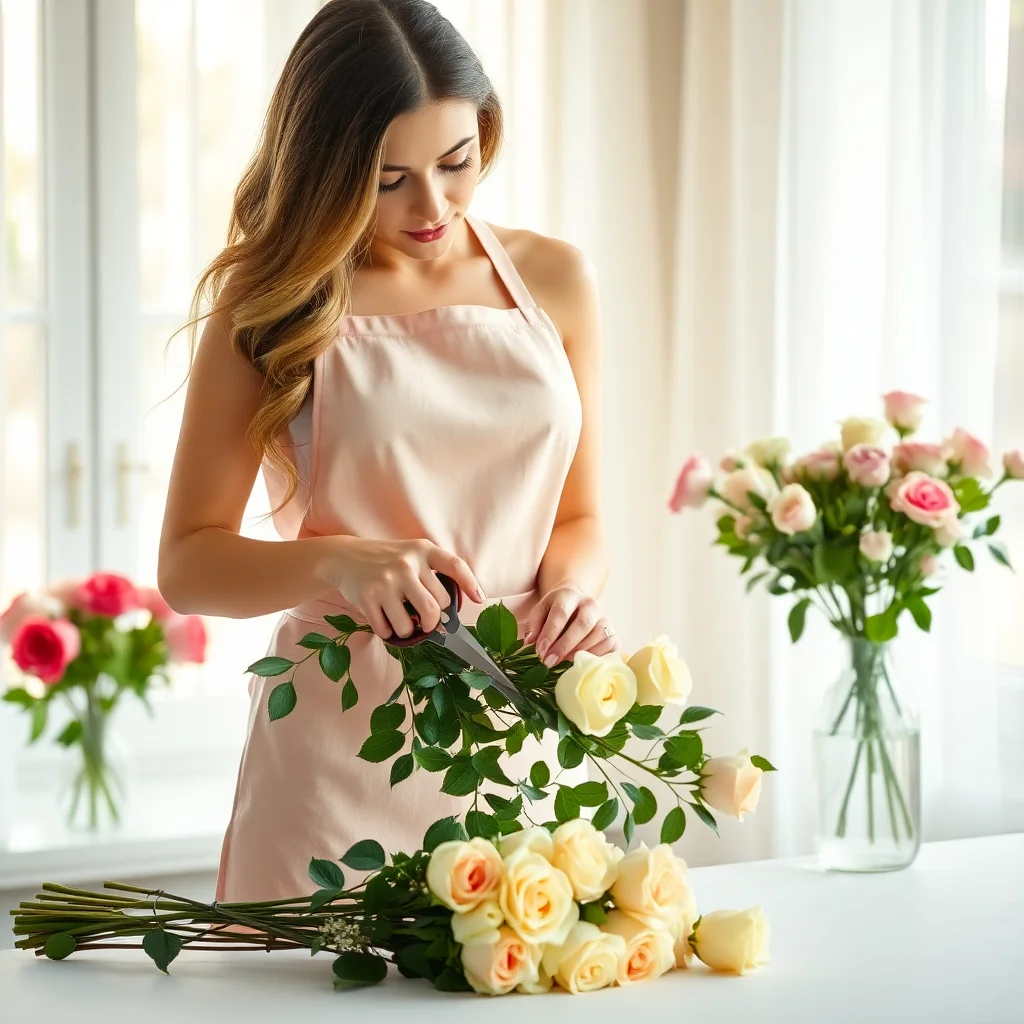
Part 3 – Step-by-Step Instructions to Create the Perfect Bouquet
Creating a beautiful bouquet for your wedding can be a fulfilling and rewarding experience. With these step-by-step instructions, you’ll learn how to craft a stunning arrangement that will perfectly complement your special day. Follow these guidelines to ensure your bridal bouquet is cohesive, balanced, and breathtaking.
Step 1: Prep the Stems & Hydrate
Before you begin arranging, prep your flowers to ensure they stay fresh and vibrant. Remove any foliage from the lower part of the stems that will be submerged in water. Trim each stem at an angle using sharp floral shears. This helps them absorb water more effectively. Place the flowers and greenery in a bucket filled with clean, lukewarm water for at least two hours to hydrate before assembly. Proper preparation is key to maximizing the lifespan of your blooms.
Step 2: Start with Greenery Base
Start building your bouquet by using greenery to form a solid base. Popular options include eucalyptus, ferns, or ruscus. Hold the stems loosely in one hand as you arrange them. Use the greenery to create the desired bouquet shape, whether it’s round, cascading, or wild and organic. This step provides structure and acts as the foundation for your arrangement.
Step 3: Add Focal Blooms with Balance
Next, add your focal flowers, which will be the primary features of your bouquet. Roses, peonies, or dahlias work beautifully as focal blooms. Place these larger flowers throughout the arrangement, ensuring balance from all angles. Avoid placing too many focal blooms too close together, as this can create an overcrowded appearance. Rotate the bouquet as you work to maintain a harmonious design.
Step 4: Fill in with Smaller Flowers
Once your focal blooms are in place, it’s time to add smaller, secondary flowers. These accent blooms, such as ranunculus, lisianthus, or spray roses, will fill in gaps and add layers of texture. Distribute these flowers evenly throughout the bouquet to achieve a natural yet polished look. Be mindful of their placement to enhance the overall composition.
Step 5: Secure the Stems with Floral Tape
With the flowers and greenery arranged to your satisfaction, hold the stems tightly together and wrap floral tape around them just below the blooms. The tape should secure the arrangement without crushing the stems. This step is essential to keep your bouquet intact and in shape as you continue working on the details.
Step 6: Wrap with Ribbon (or Fabric)
Cover the floral tape with a ribbon or fabric of your choice, coordinating with your wedding theme or color palette. Wrap the ribbon around the stems, starting just below the blooms and working downward. Secure the ribbon with pins or hot glue, ensuring it stays in place without loosening. This step adds a polished, elegant touch to your bouquet.
Step 7: Trim the Stems Evenly
Using your floral shears, trim the bottom of the stems so they are all the same length. Aim for a length that feels comfortable to hold, typically leaving about 6–8 inches of exposed stems. Cutting the stems evenly will ensure the bouquet looks professional and is easy to carry throughout your ceremony or photo sessions.
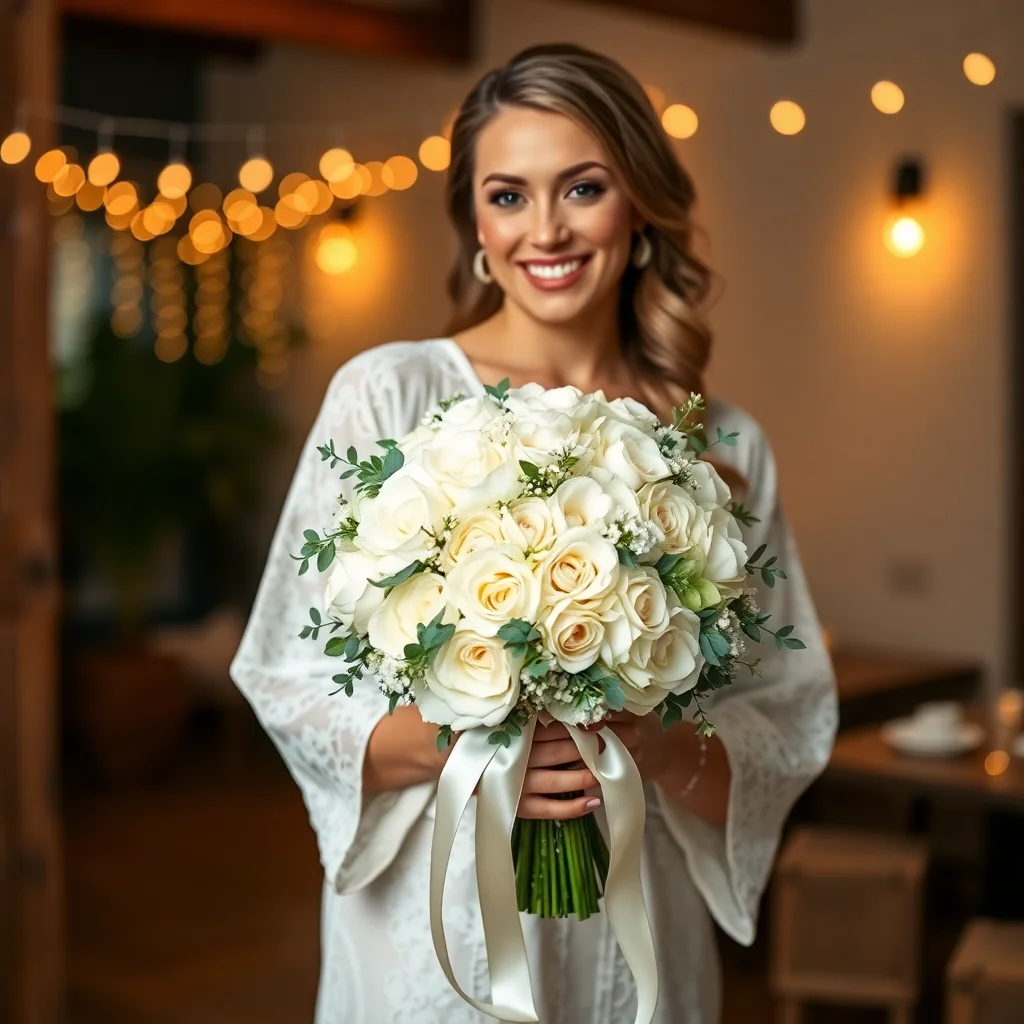
Step 8: Store in Water Until Ready
To keep your bouquet fresh, place it in a vase with a shallow amount of water. Ensure that only the lower stems are submerged, avoiding contact between the water and the ribbon. Store the bouquet in a cool, shaded location until it’s time for your wedding. This will help maintain the flowers’ appearance and longevity.
Simple Chart for Bouquet Creation Process
| Step | Action |
| Prepare Stems | Remove lower foliage, trim stems at an angle, and hydrate in water. |
| Create Greenery Base | Arrange greenery to form the structure of your bouquet. |
| Add Focal Flowers | Distribute large focal blooms evenly for balance. |
| Include Secondary Flowers | Fill gaps with smaller accent flowers for texture and dimension. |
| Secure Stems | Wrap stems tightly with floral tape to hold the arrangement together. |
| Apply Ribbon/Fabric | Wrap stems with ribbon or fabric, securing it elegantly. |
| Trim Stems | Cut stems evenly to a comfortable length for holding. |
| Store Properly | Keep in water in a cool area until ready for use. |
By following this bouquet tutorial, you can confidently craft a bridal bouquet that looks stunning and professional while carrying personal meaning for your big day. Enjoy the process of creating something truly unique!
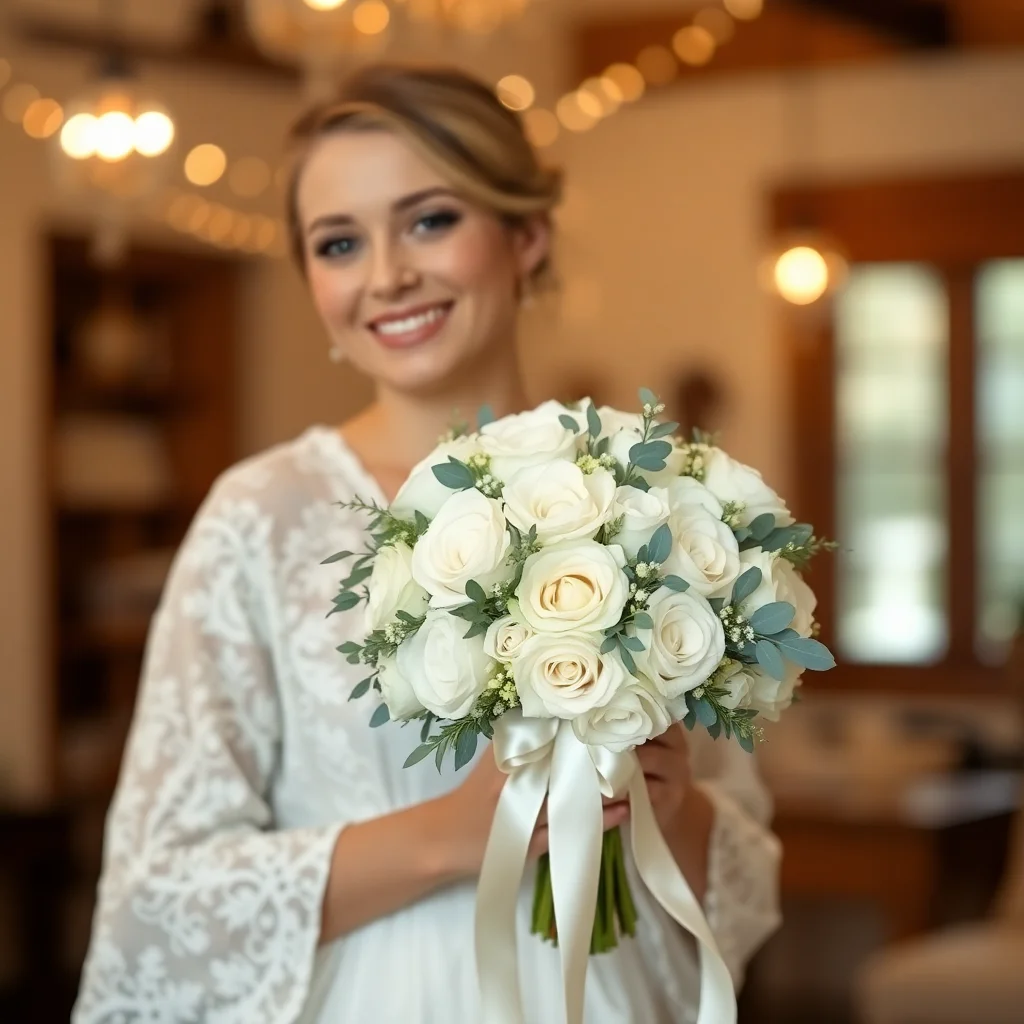
Part 4 – Design Variations: Round, Cascading, Hand-Tied & Garden Style
When it comes to bridal bouquets, selecting the right design can dramatically enhance the overall aesthetic of your wedding. Here’s a breakdown of four popular bouquet styles, their visual differences, and tips on when and how to use them:
Round Bouquet
The round bouquet features a compact, symmetrical arrangement of flowers, often ideal for traditional weddings. This classic design works best with flowers like roses, peonies, or ranunculus, which naturally form tight clusters. To create this look, ensure that the stems are trimmed evenly and positioned tightly at the base. Use a wide satin ribbon to wrap the stems for a polished and cohesive finish.
Cascading Bouquet
A cascading bouquet has a dramatic, flowing design where flowers and greenery spill downward in an elegant cascade. This style works wonderfully for formal or garden-themed weddings. It uses focal flowers like orchids, calla lilies, or cascading greenery like ivy. To create a cascading bridal bouquet, arrange the longest tendrils first, working upward with smaller flowers for balance. Thin, trailing ribbons complement this style beautifully.
Hand-Tied Bouquet
The hand-tied bouquet exudes a loose, natural look, perfect for rustic, bohemian, or outdoor weddings. Using wildflowers, eucalyptus, and other soft blooms, you can create an effortless yet stunning arrangement. Focus on layering flowers diagonally with stems crossing slightly to achieve a circular, airy appearance. Wrap the stems lightly with twine or lace for a DIY touch. This technique allows flexibility in shape and a relaxed vibe.
Garden Style Bouquet
For a lush, organic presentation, the garden-style bouquet features varying flower heights, textures, and contrasting elements for a “just-picked” look. Ideal for whimsical or nature-inspired weddings, this style pairs well with dahlias, sunflowers, or mixed greenery. Position stems asymmetrically to mimic natural growth patterns, and opt for a loosely tied ribbon for an effortless finish.
Key Tips for Stem Positioning and Ribbon Styles
Each bouquet style benefits from mindful stem placement. Symmetry is key for round bouquets, while cascading and garden styles thrive on height variation and strategic asymmetry. Choosing the right ribbon can further elevate your bouquet’s vibe—wide satin for timeless elegance or thin twine for a rustic charm.
Pairing before-and-after images with these styling tips can provide clear visuals to inspire your creativity. Whether you’re making a hand-tied bouquet DIY or mastering a cascading bridal bouquet tutorial, understanding these design variations will help you craft the perfect floral accessory for any wedding theme.
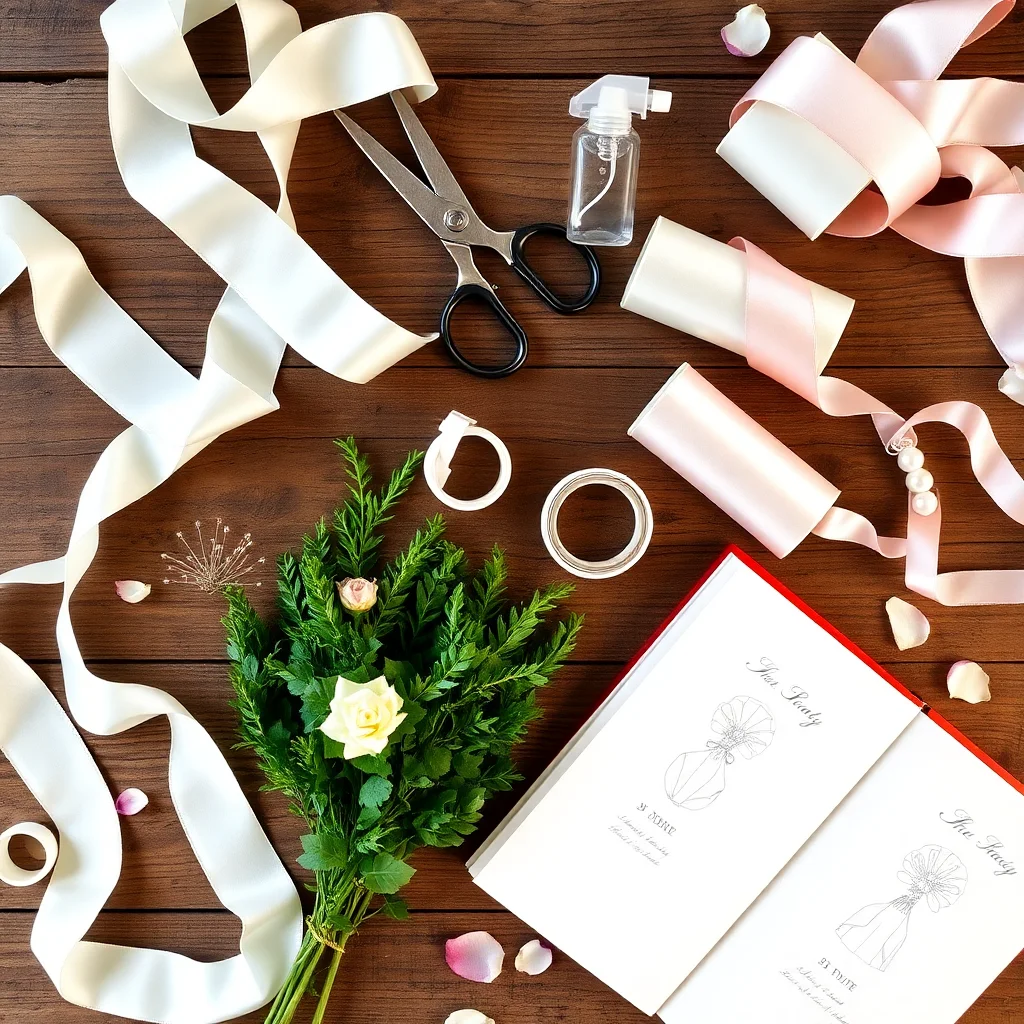
Part 5 – How to Keep Your Bouquet Fresh Until the Ceremony
A stunning bouquet requires thoughtful care to maintain its freshness and beauty for your special day. Proper storage and hydration techniques can ensure your flowers remain vibrant throughout the wedding.
Flower Hydration Hacks
Start by keeping your bouquet hydrated as soon as it’s assembled. One effective way to maintain hydration is to store stems in fresh, cool water at all times before the ceremony. Change the water regularly to keep it free from bacteria, which can cause flowers to wilt prematurely. Additionally, lightly misting the petals with water can help lock in moisture, especially for delicate flowers prone to drying out.
If you’re preparing the bouquet a day or two in advance, consider storing it in a refrigerator. Keep the temperature consistently cool—but not freezing—and avoid placing it near fruits like apples or bananas, which release ethylene gas that speeds up flower aging. Wrap the stems in damp paper towels if you don’t have access to water storage for short periods, ensuring they retain moisture during transitions.
Wedding Day Transport Tips
Transporting your bouquet on the wedding day is another crucial step. Place your flowers in a secure, upright container filled with water when driving to the venue to avoid unnecessary jostling. If water storage isn’t practical, use a bouquet box or a cushioned container to protect the arrangement. Keep the bouquet out of direct sunlight and away from heat sources during transportation to prevent wilting.
By applying these simple yet effective bouquet care techniques, you’ll ensure your flowers stay as fresh, radiant, and picture-perfect as they were when you first held them. Understanding how to keep wedding bouquets fresh adds a professional touch to your floral preparations, leaving you stress-free as you walk down the aisle.
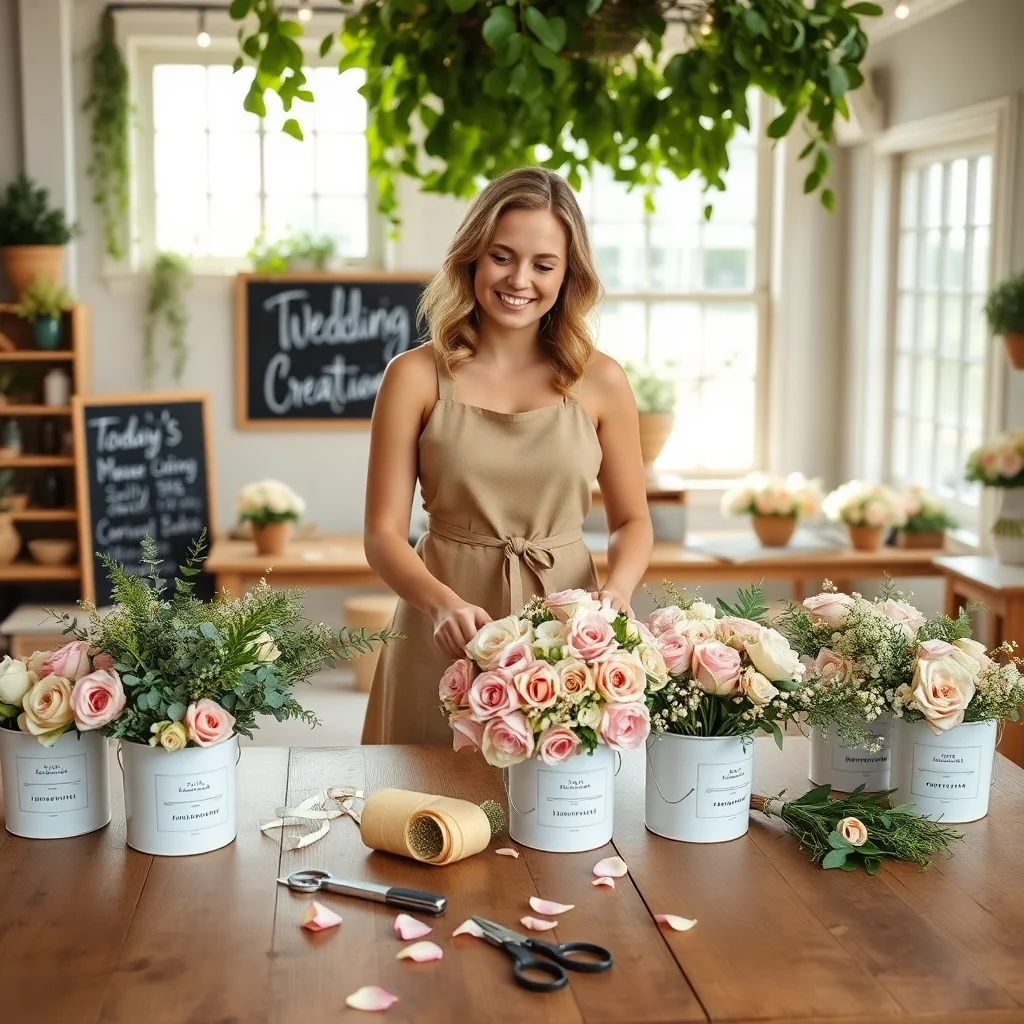
Part 6 – Mistakes to Avoid for First-Time DIY Brides
For first-time DIY brides, creating your own bouquet can be a fulfilling experience, but certain common mistakes can turn this joyful task into a stressful one. Overstuffing your bouquet is a frequent issue—it’s easy to get carried away, but adding too many stems can make the arrangement bulky and difficult to handle. Aim for balance and cohesion by focusing on a curated selection of flowers and greenery to create a polished, elegant look.
Another pitfall is choosing overly fragile flowers that may wilt or break under minimal stress. Flowers like hydrangeas, lilies, or delicate wildflowers might be beautiful, but they may not hold up well during the wedding day. Opt for hearty blooms like roses, peonies, or carnations that combine beauty with durability.
Lastly, skipping proper hydration is a critical error among beginners. Flowers need water to stay vibrant, so ensure your arrangements are hydrated overnight before the ceremony. Use a clean bucket with fresh water, and store your bouquet in a cool area to maintain freshness.
To reduce last-minute stress, gather all your supplies the night before and prepare a detailed plan. Staying organized and aware of these DIY bouquet mistakes will help ensure your floral efforts bloom beautifully on your big day.
FAQs: What Brides Ask About DIY Bouquets
Is it cheaper to DIY your bouquet?
Creating your own bridal bouquet can be more budget-friendly than hiring a florist. By purchasing flowers in bulk from local markets or wholesalers, you can save significantly on costs associated with professional services. However, keep in mind that DIY bouquets also require tools, materials, and your time, so budget accordingly. Comparing the total expenses with a florist’s quote will help you determine if it’s ideal for your wedding budget.
How far in advance can I make it?
Timing is critical when preparing your bouquet. To ensure your flowers look fresh and vibrant on your special day, it’s best to assemble your bouquet no more than 24 hours before the ceremony. This minimizes the risk of wilting and keeps blooms looking their best. Proper hydration and cool storage conditions are essential to maintaining freshness during this time.
What’s the best flower combo?
The best flower combination depends on your wedding’s theme, color palette, and personal preferences. A mix of focal flowers like roses or peonies, filler flowers like baby’s breath, and greenery like eucalyptus often creates a balanced and visually appealing design. Choose blooms that complement your overall aesthetic and hold up well throughout the day.
Can I refrigerate my bouquet?
Yes, refrigerating your bouquet can help preserve its freshness, but only under the right conditions. Place your bouquet in a clean container with water, and ensure the refrigerator is free from fruit, as emitted gases can cause flowers to deteriorate. Adjust the temperature to a safe level to avoid freezing the petals.
Final Tips & Encouragement for DIY Brides
Planning your wedding flowers as a DIY bride can feel overwhelming, but with the right preparation, it’s a tremendously rewarding experience. Start by personalizing your arrangements to reflect your unique style and vision. From selecting wedding flower bundles that complement your theme to adding sentimental touches, such details create unforgettable memories. Planning is key—order your bulk flowers in advance, and allow time for them to properly hydrate before arranging. Finally, practice your arrangements ahead of time to build confidence and refine your technique.
Whole Blossoms is here to support you every step of the way with a wide selection of premium bulk flower options, including DIY Wedding Flower Kits tailored to your needs. Access our helpful online resources for inspiration and guidance, then shop our bundles to bring your dream wedding flowers to life. Start your flower journey today with Whole Blossoms!