


 by
by 

Introduction: Why DIY Wedding Centerpieces Are In Demand
Planning a wedding is an exciting yet often expensive endeavor, which is why many couples are turning to DIY wedding centerpieces as a practical and meaningful solution. The growing trend toward budget-friendly and personalized weddings has inspired people to take creative control over their décor, blending affordability with a unique touch that reflects their personality and style. Not only does this approach help save money, but it also adds an emotional value to the event, as handcrafted centerpieces tell a story and carry sentimental meaning.
Making your own wedding centerpieces allows you to work within your budget without sacrificing elegance or beauty. With a little creativity and some basic crafting materials, you can create stunning arrangements that often cost significantly less than professionally designed alternatives. Beyond the cost-saving benefits, DIY centerpieces provide an opportunity to bond with family and friends in the process. Whether you’re working alone or with loved ones, crafting together can turn the preparation for your big day into cherished memories.
This guide explores everything you need to know about creating your own stunning wedding centerpieces. From affordable centerpiece ideas to tips on sourcing materials, we aim to make the process simple and accessible for everyone. Whether you’re envisioning rustic mason jar arrangements, modern geometric designs, or floral displays with a personal twist, this guide will help you bring your vision to life while staying within budget. By the end, you’ll know the answer to the common question, “Is it cheaper to make your own wedding centerpieces?” Spoiler alert – the answer is often a resounding yes!
Part 1 – Planning Your Centerpiece Vision
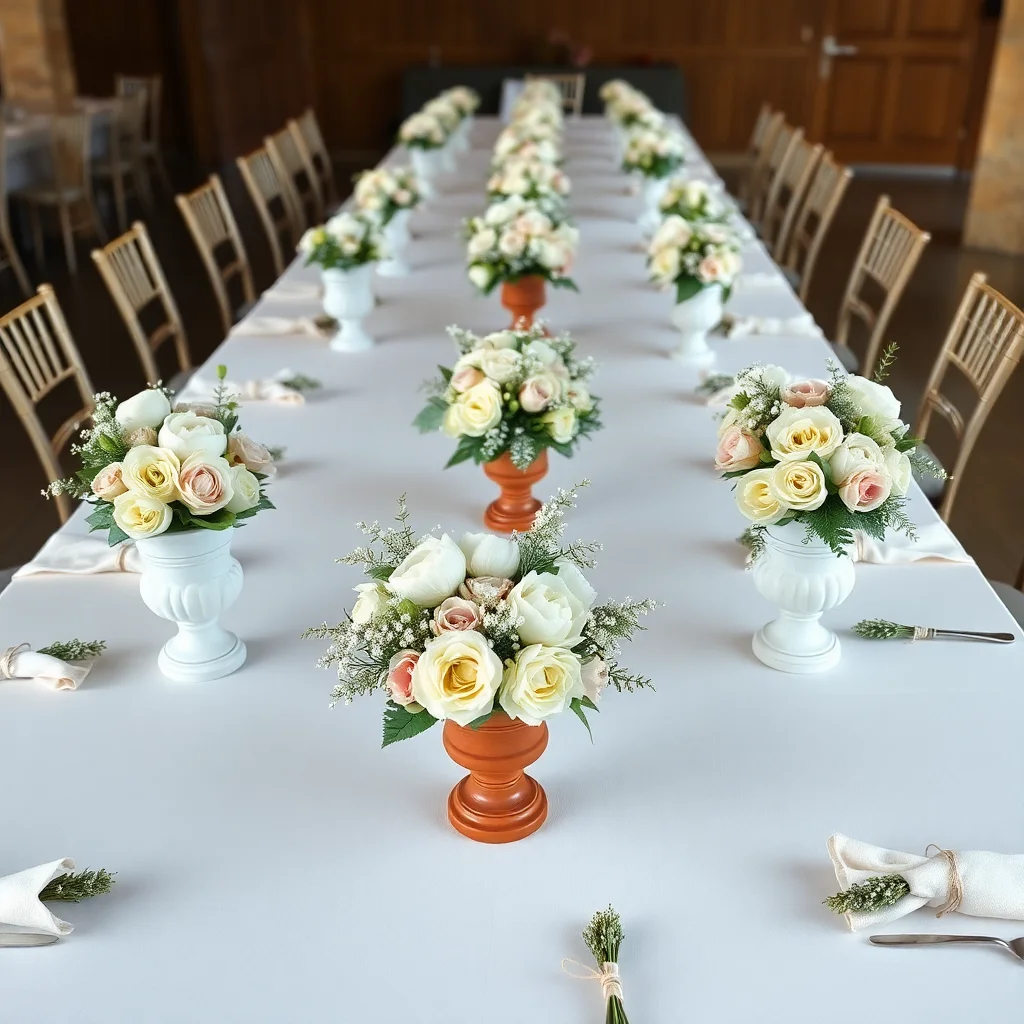
Designing your wedding centerpieces is an exciting part of the planning process, as these decorative pieces set the tone for your reception and bring your wedding color palette to life. The first step in creating your centerpieces is to determine your overall wedding style. Are you envisioning something rustic with lots of natural wood and greenery? Perhaps you’re dreaming of a classic setup featuring timeless floral arrangements in elegant vases. Modern styles tend to lean toward minimalistic shapes and clean lines, while boho themes might include whimsical touches like pampas grass or vibrant, mismatched colors. Understanding your style helps create a cohesive look for the entire event.
Once your wedding style is defined, it’s time to find color palette inspiration. Your wedding color palette plays a critical role in guiding your design choices, including the flowers and materials you’ll use for your table centerpieces. Consider selecting two to three primary colors complemented by a couple of accent shades that enhance the overall aesthetic without overpowering it. Soft pastels work well for romantic or vintage settings, while bold jewel tones can add drama to a fall or winter wedding. Using your chosen color palette as a foundation keeps your centerpiece design unified with the rest of your decor.
Now, think about how to match floral arrangements to your table themes. When deciding on centerpiece inspiration, consider not just the colors and types of flowers that reflect your style but also the containers they’ll be displayed in. For instance, mason jars or rustic wooden boxes work beautifully with a countryside theme, whereas metallic geometric vases might better suit a sleek, modern look. For a boho vibe, incorporating wildflowers and free-flowing greenery can achieve that effortless, natural feel. Remember that your centerpieces should complement the table settings, including tablecloths, plates, and place cards, without feeling overwhelming.
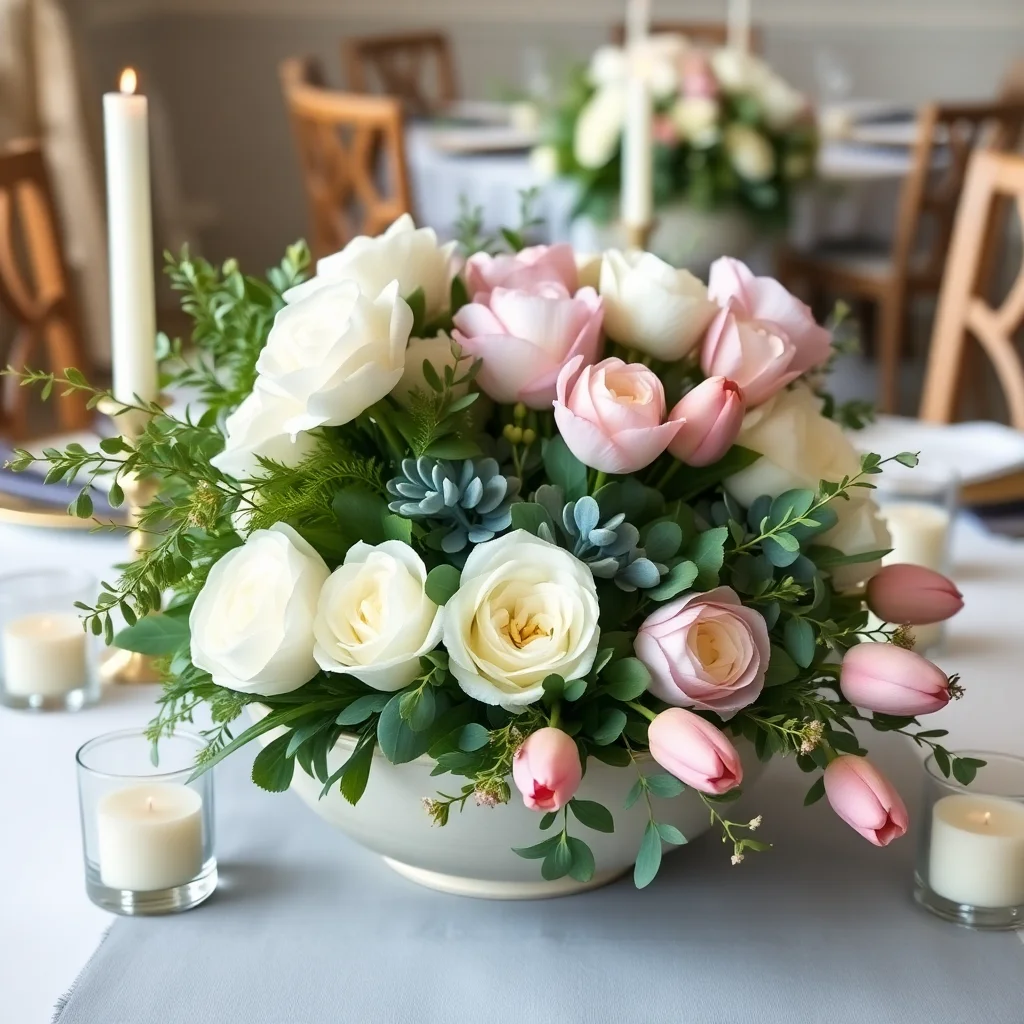
Finally, take a practical step by calculating the number of tables at your reception compared to the number of centerpiece types you’d like to create. Uniform centerpieces across all tables can be cost-effective and visually cohesive, but mixing and matching designs adds interest and creativity. Balance these decisions with your budget and the size of your venue to determine how to design wedding table centerpieces that are as functional as they are beautiful.
By following these steps, brides and planners can turn their ideas into elegant, budget-friendly centerpieces while ensuring everything ties back to their wedding vision.
Part 2 – Materials & Supplies Checklist for DIY Centerpieces
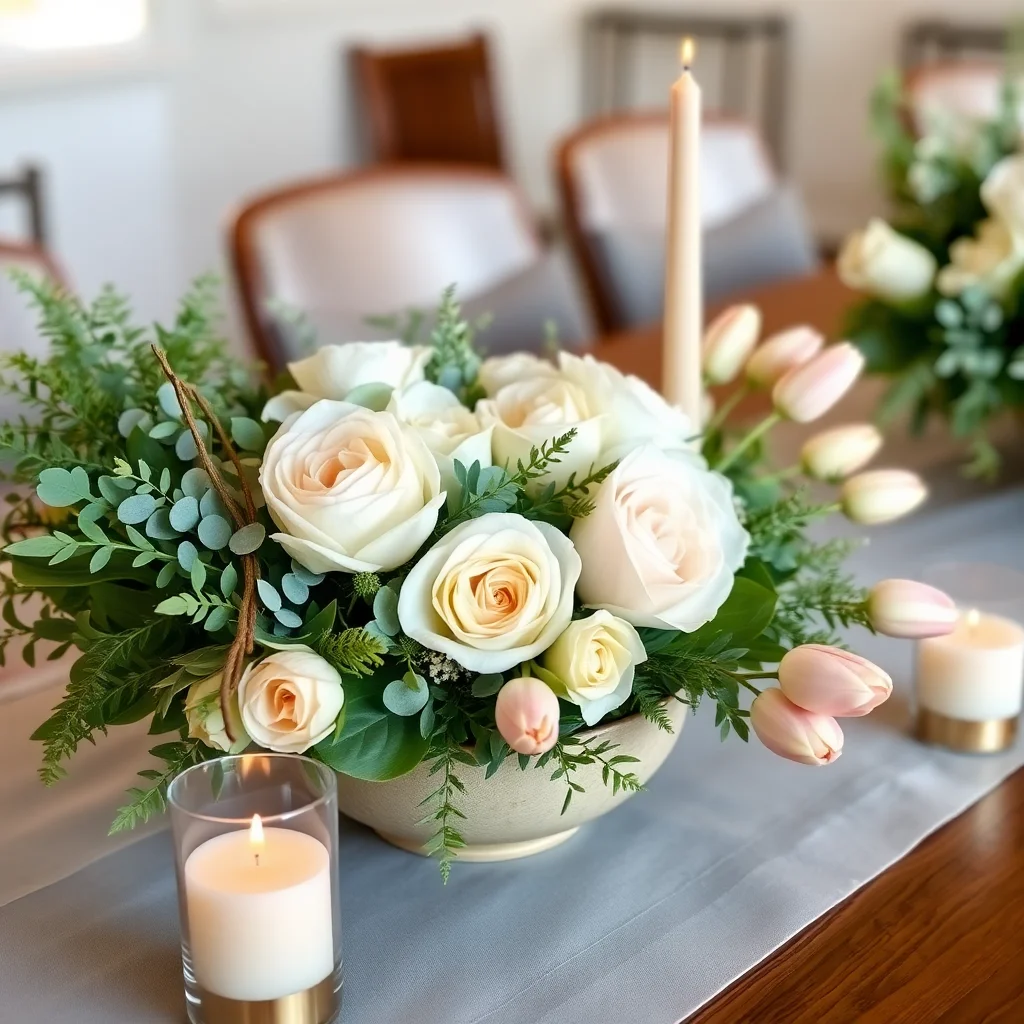
Creating stunning DIY wedding centerpieces starts with having the right materials and tools. Planning your supplies ahead of time ensures a smoother, stress-free process while allowing for professional-quality results without breaking your budget. Below is a comprehensive checklist of must-have items, budget-friendly tools, and flower suggestions to help you bring your vision to life.
Must-Have Items for DIY Centerpieces
- Vases: A variety of vase styles can elevate your centerpiece design. From classic glass cylinders to rustic mason jars or gold compotes, choose options that suit your wedding theme and table sizes.
- Floral Foam: Essential for keeping flowers hydrated and in place, floral foam helps you create arrangements with structure and stability, especially in shallow containers.
- Scissors & Shears: Sharp floral scissors or pruning shears are a must for cutting stems cleanly to the desired length.
- Floral Tape & Wire: These tools are perfect for securing arrangements, anchoring stems, and adding decorative accents where needed.
- Ribbons: Use ribbons to add softness or pops of color to vases or around arrangements for a polished look.
Budget-Friendly Tools That Deliver Professional Results
- Flower Food Packets: These small investments extend the lifespan of your flowers, ensuring they stay fresh and vibrant throughout your event.
- Lazy Susan or Turntable: A simple item that allows you to easily spin your arrangement as you work, ensuring balance from all angles.
- Hot Glue Gun: Great for attaching decorative elements like beads, twine, or faux greenery.
Best Flowers for DIY Centerpieces
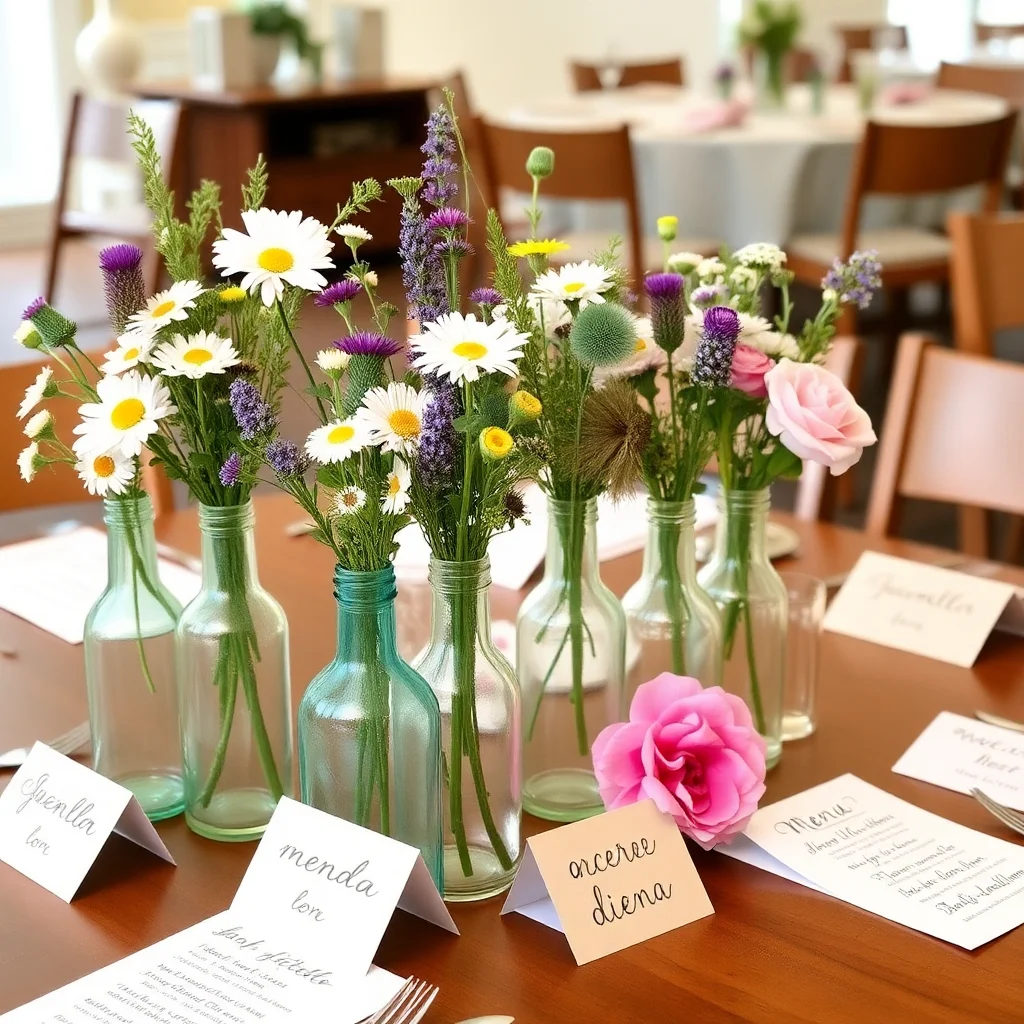
Certain flower varieties are timeless choices for wedding centerpieces due to their beauty, availability, and long-lasting nature. Here are some of the best flowers for centerpieces that deliver both impact and versatility:
- Roses: A classic symbol of romance, roses come in a variety of colors to suit any palette.
- Eucalyptus: Ideal for greenery accents, eucalyptus adds dimension and a touch of elegance to your arrangements.
- Hydrangeas: These large, fluffy blooms are perfect for creating a full, lush look effortlessly.
- Carnations: Affordable and long-lasting, carnations are versatile filler flowers available in almost any color.
- Baby’s Breath: A gentle and airy option, this filler flower brings softness and charm to any arrangement.
Links to Whole Blossoms Products
For an easy and cost-effective flower ordering solution, check out Whole Blossoms’ wide selection of fresh flowers and greenery. Their offerings include everything from bulk roses to eucalyptus and hydrangeas, ensuring you have access to the best flowers for centerpieces. Visit Whole Blossoms to explore curated wedding packages, seasonally available blooms, and DIY tools that cater to every budget.
By following this checklist and sourcing high-quality supplies, you’ll be equipped to craft elegant, personalized centerpieces that showcase your creativity while staying on budget. Whether you lean toward lavish florals or minimalist designs, this preparation ensures your wedding decor will leave a lasting impression.
Part 3 – Step-by-Step Guide to Simple & Elegant Designs
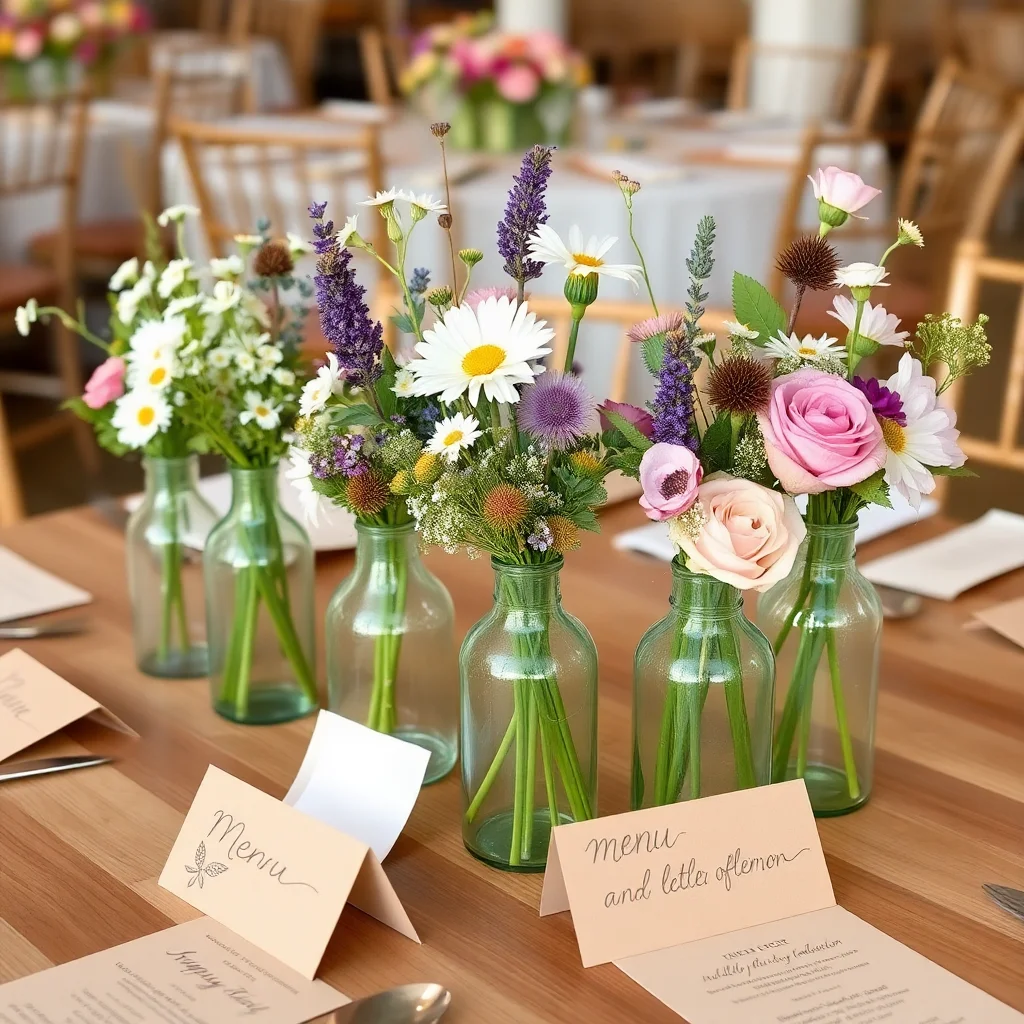
Creating your own wedding centerpieces can be a rewarding and cost-effective way to personalize your big day. This step-by-step guide will walk you through the process of designing simple yet elegant centerpieces that will impress your guests. Whether you’re a DIY enthusiast or a beginner, these detailed instructions, paired with a handy chart, will ensure professional-looking results without stretching your budget.
Step 1: Prep Your Workspace
Before you start decorating, it’s crucial to set the stage for success. Begin by clearing and cleaning your workspace to provide ample room for arranging your flowers. Lay down a protective covering to catch debris and keep your surface clean. Gather all your tools and materials, including floral shears, vases, water, floral foam, and your chosen flowers and greenery. Organizing your supplies beforehand ensures a smooth process and reduces the potential for mistakes.
Step 2: Arrange Greenery for Structure
Your base greenery sets the tone for the entire arrangement, providing both structure and a natural feel. Cut your greenery stems to the appropriate length and place them evenly around the vase, creating a solid foundation. Eucalyptus, ferns, or olive branches are great options for this step. Aim to position the greenery at varying heights for added dimension, ensuring the centerpiece looks full and balanced.
Step 3: Add Focal Blooms (Roses, Peonies)
Once your greenery is in place, it’s time to introduce your focal flowers—these will steal the show. Roses, peonies, or hydrangeas work beautifully as statement blooms. Trim the stems at an angle, removing any excess leaves near the base. Arrange the flowers evenly across the centerpiece, ensuring they stand out but harmonize with the greenery. Use odd numbers of flowers for a more natural aesthetic.
Step 4: Layer in Fillers (Baby’s Breath, Wax Flowers)
Fillers add texture and softness to your arrangement, complementing the focal flowers without overpowering them. Baby’s breath, wax flowers, or astilbe are excellent choices. Cluster these fillers around the focal flowers and in empty spaces to create a cohesive look. Remember, less is more—aim for balance and avoid overcrowding the arrangement.
Step 5: Add Ribbon or Accents
Personal touches like ribbons, beads, or small accents can elevate your centerpiece further. Tie a ribbon around the vase in colors that match your wedding’s theme, or tuck in small decorative elements like pearls or faux crystals. These details add elegance and reflect your unique style.
Step 6: Secure and Store Properly
Finally, ensure your arrangements stay fresh and intact until your event. Fill vases with water to keep flowers hydrated and use floral tape or wire to secure loose stems. If you’re storing the arrangements overnight, place them in a cool, shaded area away from direct sunlight. This prevents wilting and guarantees your centerpieces will look pristine on your big day.
By following these steps, you can effortlessly create stunning and personalized wedding centerpieces that leave a lasting impression. The process is not only budget-friendly but also a meaningful way to add your unique touch to the celebration.
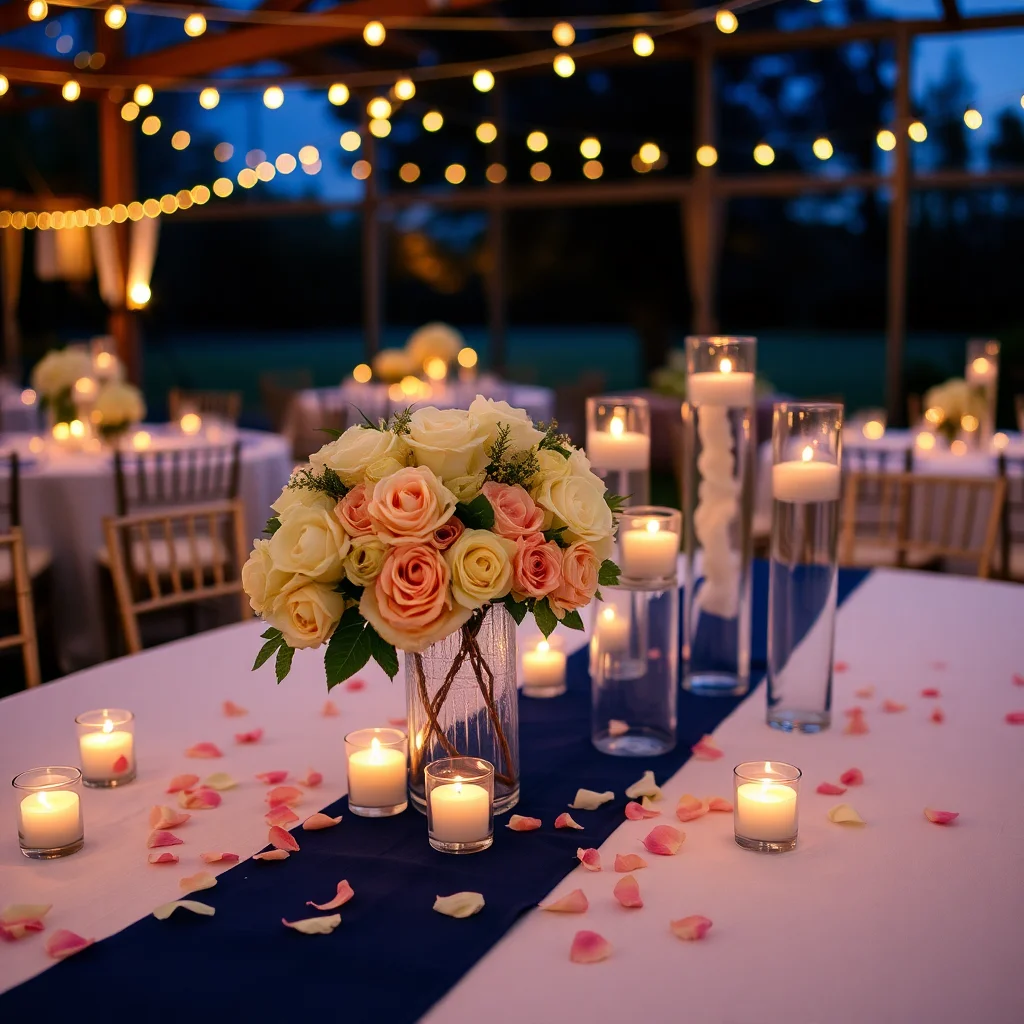
DIY Centerpiece Steps Chart
| Step | Instructions | Materials Needed |
| Step 1 | Prep your workspace | Floral shears, protective covering, vases |
| Step 2 | Arrange greenery for structure | Greenery (eucalyptus, ferns, etc.) |
| Step 3 | Add focal blooms (roses, peonies) | Focal flowers (roses, peonies, hydrangeas) |
| Step 4 | Layer in fillers (baby’s breath, wax flowers) | Fillers (baby’s breath, wax flowers, etc.) |
| Step 5 | Add ribbon or accents | Ribbons, beads, decorative accents |
| Step 6 | Secure and store properly | Floral tape, wire, water |
With this step-by-step guide and easy-to-follow chart, you’ll be well on your way to creating professional-quality centerpieces that perfectly complement your wedding theme.
Part 4 – Popular DIY Centerpiece Styles with Flower Pairing Suggestions
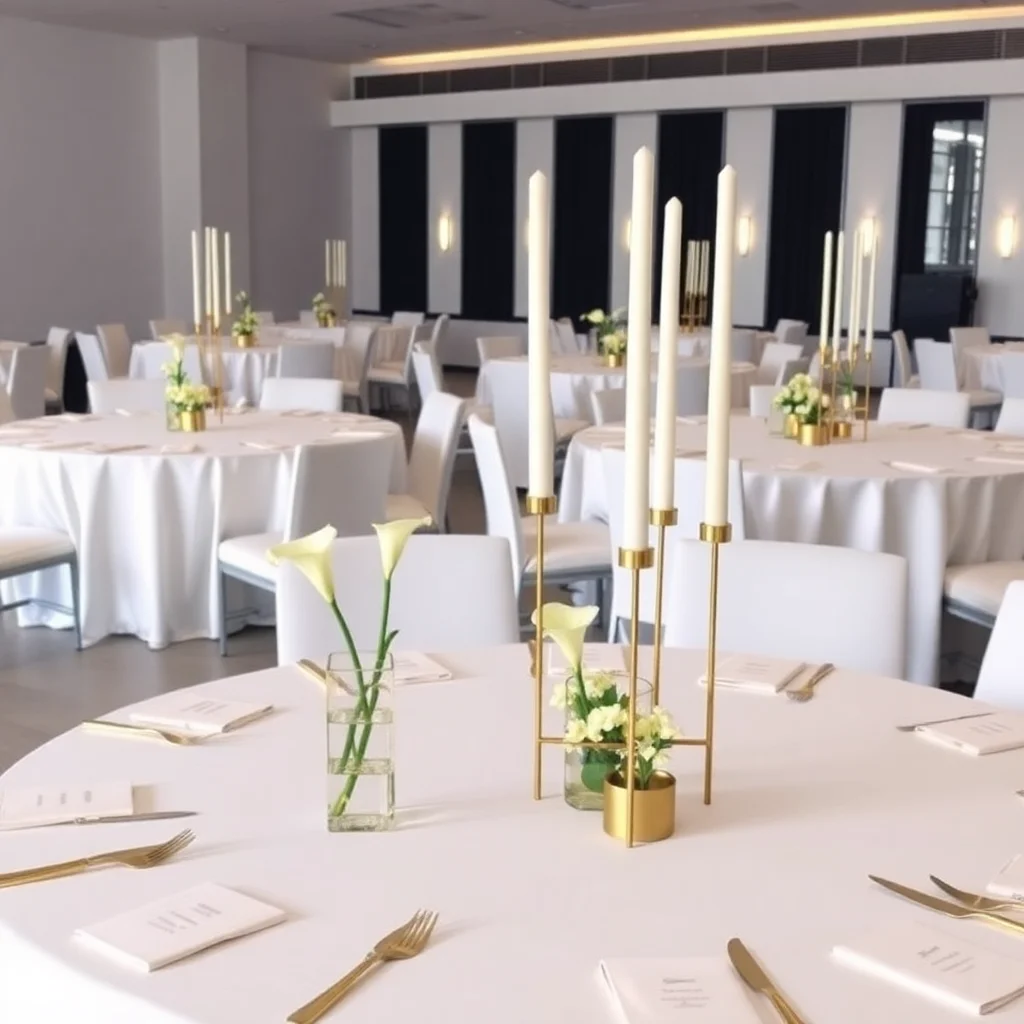
Designing your wedding centerpieces is a chance to express your creativity while ensuring they complement your overall theme. Here, we explore five popular DIY centerpiece styles, each featuring unique flower pairing suggestions and tips to help you bring your vision to life. From rustic charm to bold tropical aesthetics, these centerpiece styles will inspire and elevate your wedding décor.
Rustic Charm
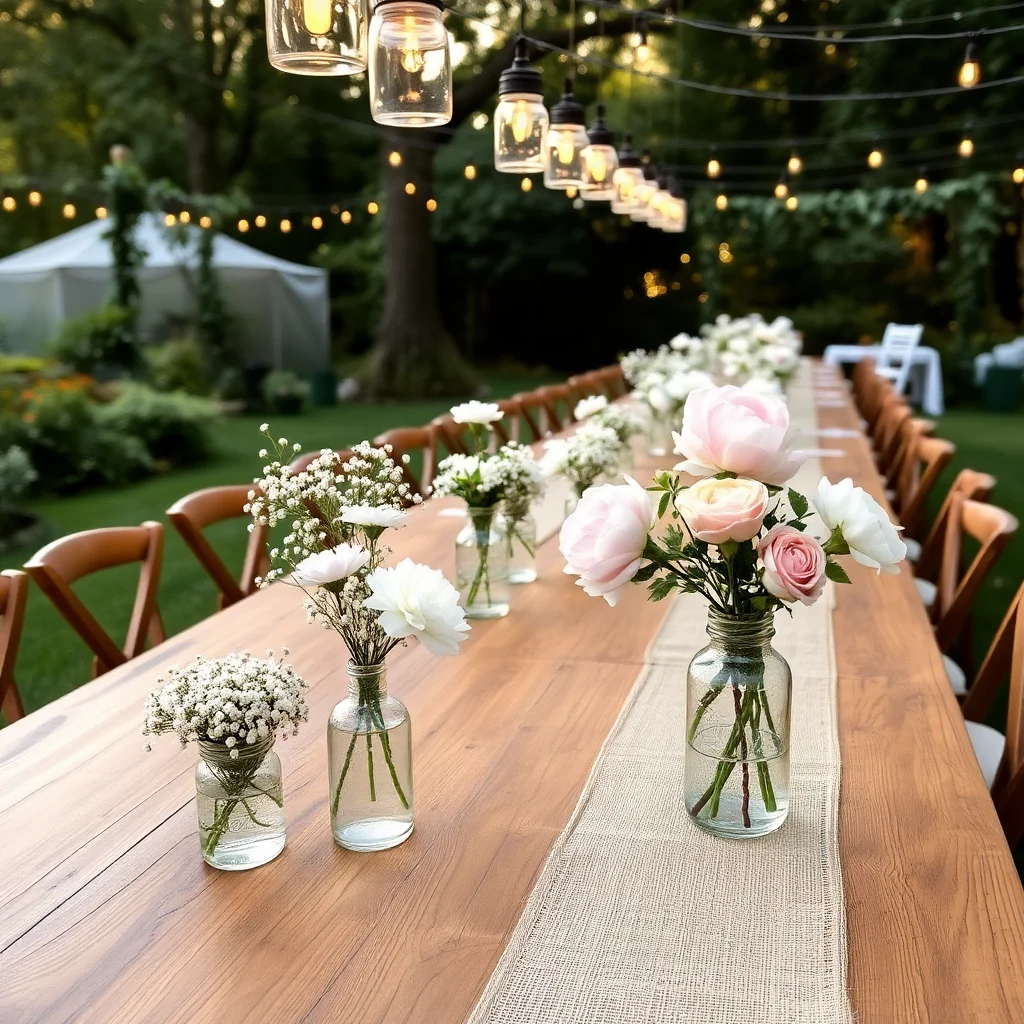
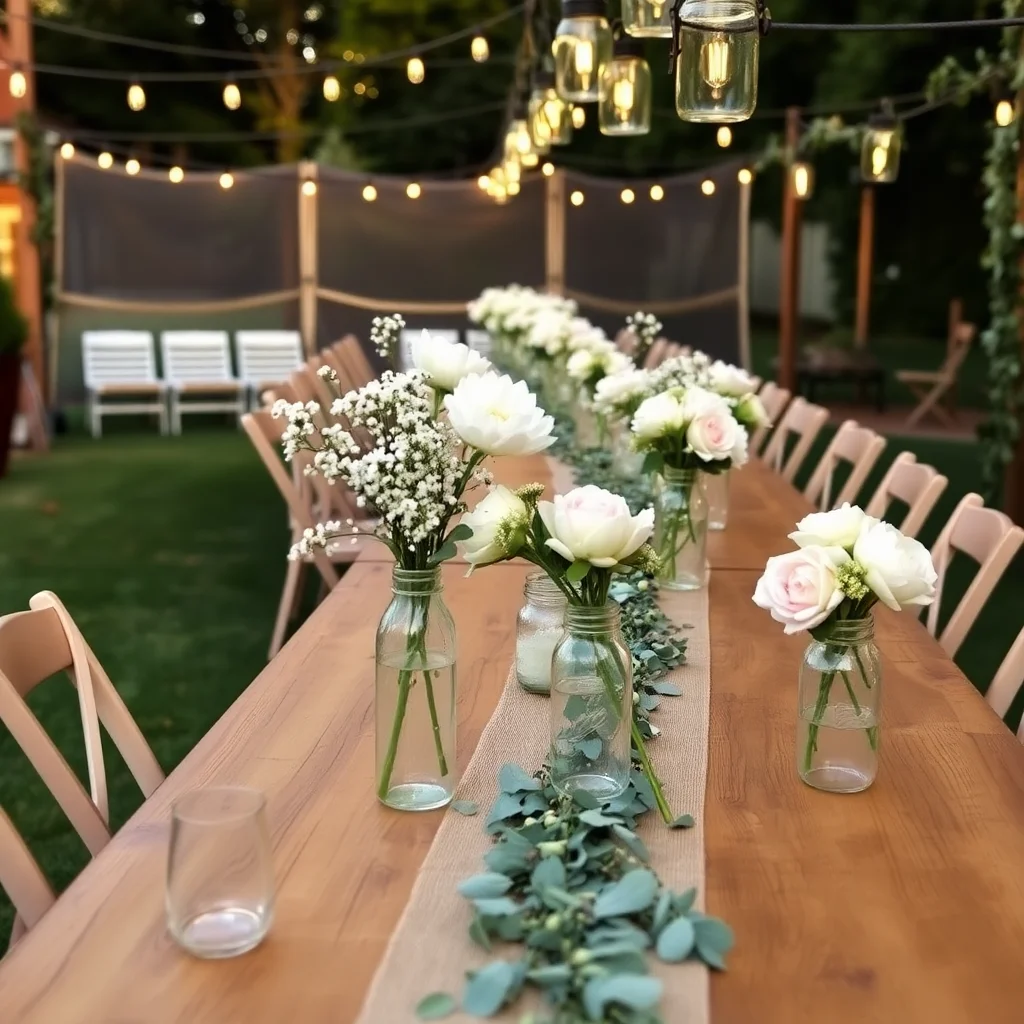
For a cozy, bucolic vibe, opt for a rustic charm centerpiece. This style pairs perfectly with Mason jars, wooden slabs, burlap, or lace runners. Use sunflowers as the focal blooms and add dusty miller for a soft, silvery touch. Baby’s breath can be a great filler option to round out the look.
Suggested Flower Pairings for Rustic Charm:
- Focal Flowers: Sunflowers
- Fillers: Baby’s breath
- Greenery: Dusty miller
Modern Minimalist
The modern minimalist style is defined by clean lines, simplicity, and sophistication. For this, consider clear glass vases or geometric containers. White roses serve as a classic focal flower, while simple greenery like eucalyptus or ferns provides the sleek finishing touch. The minimalist look shines with fewer elements, so avoid overcrowding your arrangement.
Suggested Flower Pairings for Modern Minimalist:
- Focal Flowers: White roses
- Fillers: None (use minimal fillers or none for this style)
- Greenery: Eucalyptus, ferns
Romantic & Soft
Capture a dreamy and ethereal mood with romantic and soft centerpieces. Peonies make beautiful focal flowers due to their lush, voluminous blooms. Pair them with baby’s breath to create a delicate, airy feel and incorporate silk runners to add elegance to your table styling.
Suggested Flower Pairings for Romantic & Soft:
- Focal Flowers: Peonies
- Fillers: Baby’s breath
- Additional Decoration: Silk runners
Garden Vintage
This style is perfect for couples wanting a touch of nostalgia and timeless elegance. Garden roses and lisianthus are the stars of this aesthetic, arranged in vintage-style glassware such as etched jars or antique-looking vases. For a truly vintage feel, add small pearls or beads as accents.
Suggested Flower Pairings for Garden Vintage:
- Focal Flowers: Garden roses, lisianthus
- Fillers: Wax flowers, astilbe
- Container: Vintage glassware
Tropical & Bold
For a bold and exotic centerpiece, look to tropical flowers and lush greenery. Proteas make an unforgettable statement as focal blooms. Complement them with dramatic monstera leaves and elegant orchids. For added drama, use metallic or vibrant-colored containers to highlight the tropical theme.
Suggested Flower Pairings for Tropical & Bold:
- Focal Flowers: Proteas
- Greenery: Monstera leaves
- Accents: Orchids
Chart – Popular DIY Centerpiece Styles
| Style | Focal Flowers | Fillers/Greenery | Containers/Accents |
| Rustic Charm | Sunflowers | Baby’s breath, dusty miller | Mason jars, wooden slabs, lace |
| Modern Minimalist | White roses | Eucalyptus, ferns (optional) | Clear glass, geometric vases |
| Romantic & Soft | Peonies | Baby’s breath | Silk runners |
| Garden Vintage | Garden roses, lisianthus | Wax flowers, astilbe | Vintage glassware, pearls |
| Tropical & Bold | Proteas | Monstera leaves, orchids | Metallic/vibrant-colored containers |
With this curated selection of centerpiece styles and flower combinations, you’re well-equipped to design stunning arrangements that suit any wedding theme. Focus on the pairing of flowers and decorations to ensure that every centerpiece not only accentuates your event’s aesthetics but also captures the mood and individuality you envision.
Part 5 – How to Keep Your Centerpieces Fresh Until the Big Day
Ensuring your wedding centerpieces remain fresh and vibrant is essential for achieving a flawless look on your big day. Proper preparation and storage can preserve the beauty of your floral arrangements, ensuring they make a lasting impression. Here’s how to keep your centerpieces fresh and stunning in the 1-2 days leading up to your event.
Storage Tips for 1-2 Days Before the Event
When storing your centerpieces, keep them in a cool, shaded area away from direct sunlight, heating vents, or drafty windows, as these can cause wilting. A temperature between 34°F and 50°F is ideal for most flowers, so consider utilizing a cool room in your home or a refrigerator with no food items that emit ethylene gas, like fruits.
Using Hydration Buckets
For loose stems, keep them hydrated in clean water buckets treated with floral preservative. If your centerpieces are already arranged in vases or containers, ensure they have ample water as well, checking the levels periodically. Hydration is vital for maintaining your flowers’ freshness, particularly for delicate blooms prone to dehydration.
Room Temperature, Misting, and Transit Tips
On the day of the event, mist your centerpieces lightly with clean water to keep them hydrated and lively. Avoid over-misting to prevent water spots on petals. During transportation, ensure your arrangements are secured upright in boxes or crates lined with damp paper towels for extra moisture retention. Keeping your flowers in a temperature-controlled vehicle will also minimize exposure to excessive heat or cold.
By following these simple steps, your DIY floral centerpieces will remain vibrant and fresh, ready to enhance the beauty of your wedding day. Proper care and handling are the keys to perfection when it comes to storing wedding flowers.
Part 6 – Common Mistakes to Avoid When Making DIY Centerpieces
Creating DIY centerpieces can be an exciting way to personalize your wedding décor, but certain missteps can lead to unnecessary stress. One common mistake is overloading the design. While it’s tempting to include every flower you love, adding too many elements can make the arrangement look cluttered and ruin its balance. Stick to a cohesive color palette and a mix of focal, filler, and greenery stems for a polished look.
Another error is forgetting floral foam or stability tools. Floral foam provides a strong foundation, holding flowers securely in place and ensuring the arrangement lasts longer. Skipping it may result in flowers shifting or wilting too quickly.
Skipping flower conditioning is another issue to avoid. Flowers must be properly trimmed, hydrated, and prepared before arranging. Without this crucial step, stems are more likely to droop or fail to absorb water effectively.
Finally, underestimating the time and help needed can derail your plans. Arranging centerpieces takes more effort than it seems, especially if you’re creating multiple designs. Start early, enlist help, and give yourself plenty of time to work without pressure.
By keeping these DIY centerpiece tips in mind, you can create flawless arrangements without the stress of common mistakes!
Bring Your Vision to Life with Whole Blossoms
At Whole Blossoms, we’re here to help you bring your dream wedding vision to life with our premium DIY flowers. Whether you’re crafting intricate centerpieces or stunning bouquets, our curated DIY flower bundles make designing your perfect arrangements a breeze. Explore our wide selection of fresh, high-quality blooms to suit any style or theme. Don’t forget to sign up for our newsletter for exclusive tips and deals, and share your creations on social media or pin your favorites on Pinterest! Start your DIY floral journey today with Whole Blossoms and make your wedding unforgettable! Shop Now.
FAQs
1. What flowers work best for DIY wedding centerpieces?
Some of the best flowers for DIY wedding centerpieces include roses, carnations, peonies, ranunculus, lisianthus, and greenery like eucalyptus. These flowers are easy to work with, available in bulk, and hold up well throughout the event.
2. How far in advance should I make my wedding centerpieces?
DIY wedding centerpieces using fresh flowers should ideally be made 1 to 2 days before the wedding. Store them in a cool area in water to keep them fresh and hydrated.
3. What supplies do I need to make my own wedding centerpieces?
Basic supplies include floral shears, floral tape, floral foam or frogs (for shaping), vases or containers, water tubes (for delicate stems), and optional elements like ribbons, candles, and name cards for added décor.
4. How much does it cost to DIY wedding centerpieces?
DIY wedding centerpieces can cost between $20 to $50 per table, depending on your flower choices and quantity. This is often half the cost (or less) of hiring a florist.
5. Can I mix fresh and artificial flowers in centerpieces?
Yes! Mixing fresh and artificial flowers is a great budget-friendly and stress-reducing approach. Use artificial blooms for volume and structure, then accent with real focal flowers for scent and vibrancy.
6. What vase or container is best for DIY centerpieces?
Popular vase options include mason jars, ceramic bowls, compote vases, bud vases, and low cylinder glass containers. Choose according to your theme—rustic, elegant, modern, or boho.