


 by
by 
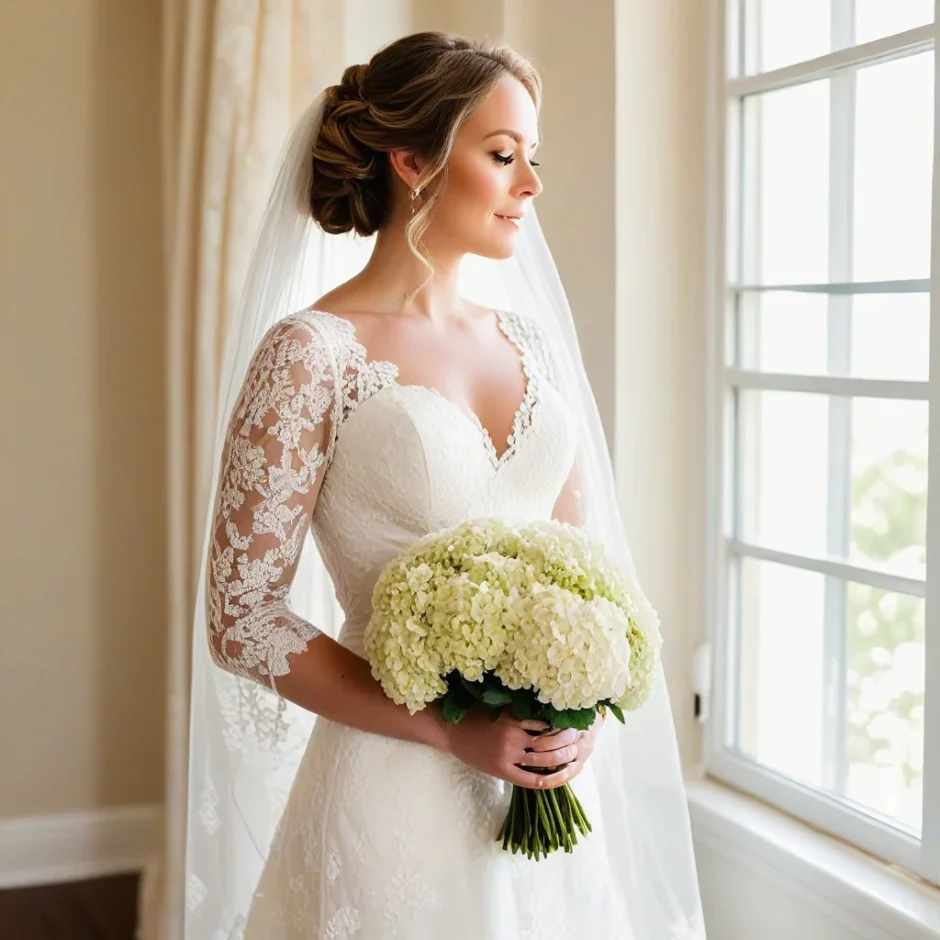
Introduction: Why Hydrangeas Are a DIY Dream Flower
Creating a DIY hydrangea bouquet or centerpiece can save money and give your floral décor a personalized touch. Hydrangeas are often hailed as one of the best flowers for DIY projects, and for good reason. These lush blooms are not only stunning and versatile but also incredibly practical for anyone looking to craft their own floral arrangements. Whether you’re planning a wedding, hosting a baby shower, or simply sprucing up your home with a bit of botanical charm, hydrangeas are the go-to choice for budget-friendly and elegant décor.
One of the main reasons hydrangeas are so popular among DIY enthusiasts is their voluminous nature. Each stem is packed with large, fluffy clusters of flowers, allowing them to make a bold statement while requiring fewer stems than other blooms. This naturally reduces the overall cost of arrangements, making hydrangeas perfect for budget-conscious brides and event planners. Their generous size ensures that even beginner arrangers can create high-impact designs with minimal hassle. Additionally, hydrangeas come in a range of colors, from classic white and soft pastels to vibrant blues and purples, offering endless possibilities for customization to match any theme or palette.
Hydrangeas are also incredibly easy to work with. Their sturdy stems and abundant blooms make them simple to handle, even for first-timers trying their hand at floral design. Whether you’re building bouquets, assembling centerpieces, or planning decorative arches, hydrangeas lend themselves to a variety of creative projects without requiring advanced skills or techniques. Combining beauty, affordability, and ease of use, hydrangeas truly are a dream flower for any DIY enthusiast, making them the perfect choice for creating memorable, customized floral arrangements.
Part 1 – Choosing and Prepping Wholesale Hydrangeas
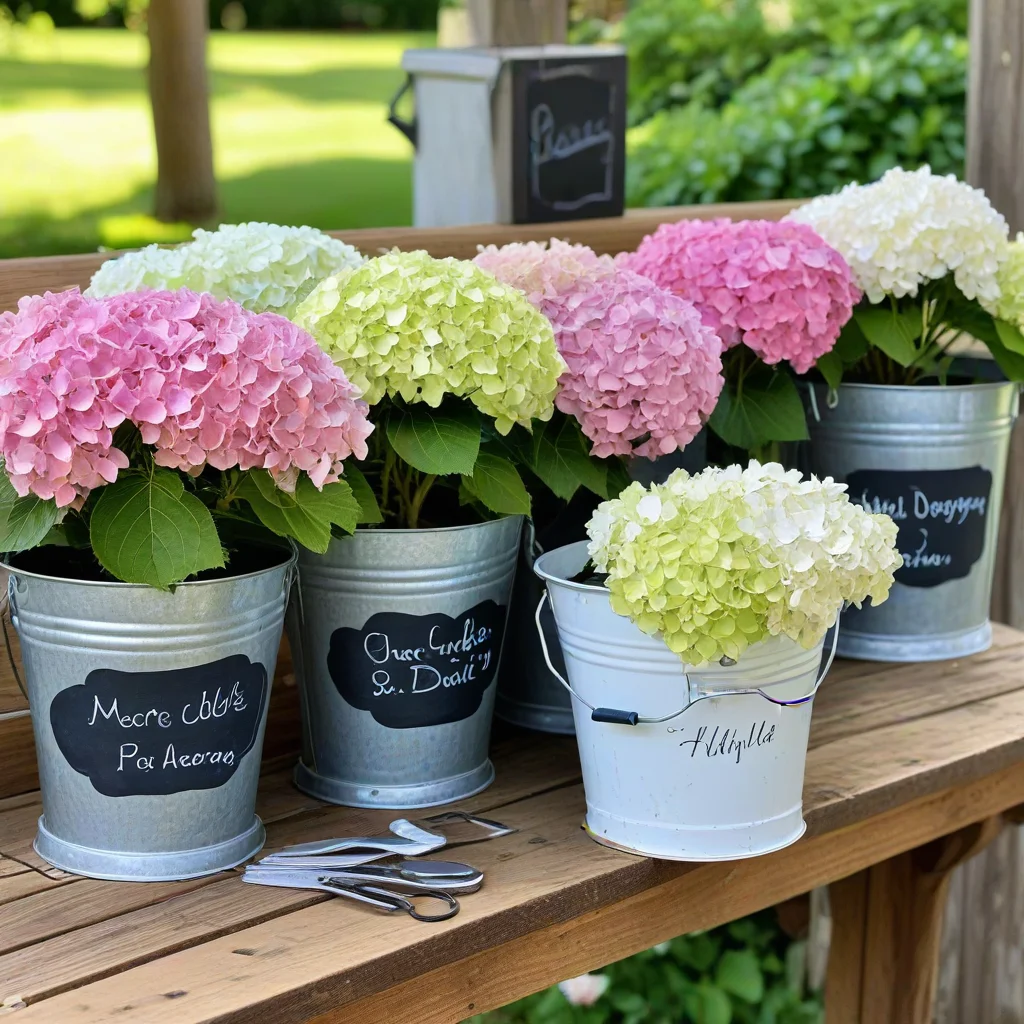
Proper preparation is key to ensuring your hydrangea arrangements look stunning and stay fresh for as long as possible. Before starting any hydrangea wedding centerpiece or arch, properly prepping wholesale hydrangeas ensures long-lasting beauty. Here’s a comprehensive guide to help you choose, prep, and work with these versatile flowers.
Where to Order Hydrangeas in Bulk
When ordering hydrangeas in bulk, it’s important to choose a reliable supplier who can provide high-quality blooms in a variety of colors. One trusted source is Whole Blossoms, which specializes in fresh, farm-direct flowers delivered right to your door. They offer a wide selection of hydrangeas perfect for weddings, special events, or creative DIY projects. Ordering wholesale ensures not only cost efficiency but also ample supplies to bring your vision to life.
Quantity Guide for Bouquets, Centerpieces, and Arches
To determine how many hydrangeas to order, consider the size and fullness of the designs you’re creating. For bouquets, you’ll typically need 3-5 hydrangea stems as the focal flowers, depending on their size and your desired effect. For centerpieces, smaller arrangements can be made with 2-3 blooms, while larger statement centerpieces may require 6-8 or more. Decorative arches often need 60-80 stems or more to achieve a lush, full look, especially when combined with greenery and accent flowers for texture.
How to Hydrate and Revive Blooms After Delivery
Once your hydrangeas arrive, they may look slightly wilted due to packaging and transport, but proper hydration is an easy fix. Start by unpacking the flowers immediately and trimming the stems at an angle, about 1-2 inches from the bottom, with sharp floral shears. Remove any leaves below the waterline to prevent bacterial growth. Place the stems in clean buckets filled with room-temperature water. If the blooms look particularly limp, you can submerge the entire head in water for up to 30 minutes to help them perk back up. Leave the hydrangeas to hydrate in a cool space for several hours or overnight before designing.
Tools You’ll Need
To create flawless arrangements, having the right tools is essential. Here’s a checklist to help you get started:
- Floral shears for trimming stems cleanly and precisely
- Buckets for hydrating and storing flowers
- Floral tape and wire for securing blooms in place
- Foam or floral foam as a base for centerpieces or arches
- Zip ties for attaching hydrangeas securely to decorative structures
By ordering your wholesale hydrangeas from reputable suppliers like Whole Blossoms, planning the right quantities, and properly prepping your blooms, you’ll set the stage for breathtaking centerpieces, arches, and bouquets that leave a lasting impression.
Part 2 – Step-by-Step: DIY Hydrangea Bridal Bouquet
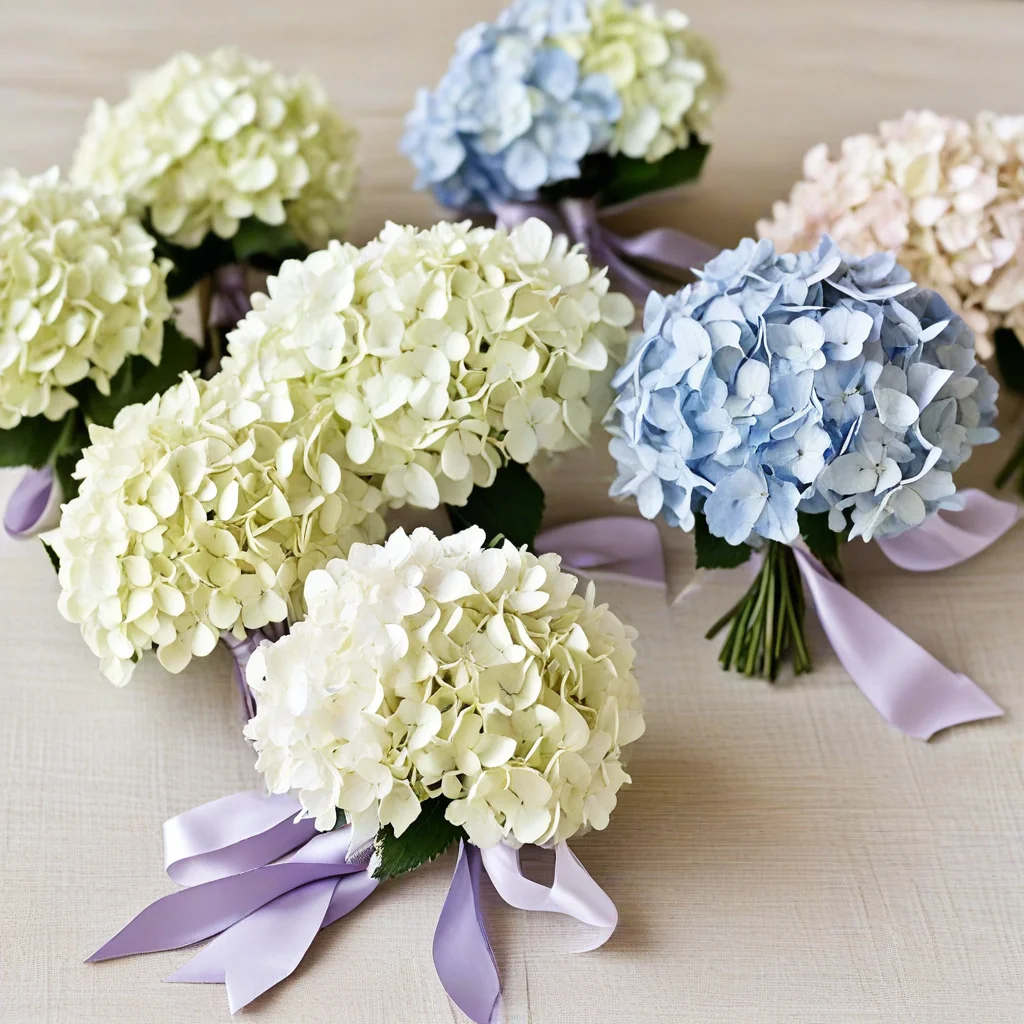
Creating your own bridal bouquet can be a meaningful, cost-effective, and rewarding experience. Hydrangeas, with their large, lush blooms, are especially ideal for crafting elegant bouquets that beautifully complement any wedding style. Follow this simple DIY hydrangea bouquet tutorial to design a stunning arrangement that’s sure to impress.
Materials You’ll Need:
- 5–7 stems of hydrangeas (your preferred shade or a mix of hues)
- 3–5 stems of accent flowers (e.g., roses, spray roses, or lisianthus)
- Greenery (like eucalyptus or ruscus)
- Floral tape
- Floral scissors or garden shears
- Ribbon of your choice
Instructions:
- Prep and Clean Stems
Start by conditioning your flowers. Remove all excess leaves, thorns, and damaged petals from the stems to ensure a clean and polished look. Use garden shears or sharp scissors to cut the stems at an angle, allowing for better water absorption if you’re working in advance of the ceremony. Hydrangeas are especially delicate, so keep their stems hydrated in water until you’re ready to assemble.
- Build the Bouquet in a Spiral
Begin with one hydrangea as the focal point of your bouquet. Arrange additional hydrangea stems around it, slightly angling each stem to create a rounded, spiral pattern. This technique will make the bouquet easier to hold and maintain balance. Gradually add more hydrangeas as needed for a fuller appearance while keeping the overall shape natural and symmetrical.
- Add Accent Flowers and Greenery
Interweave your accent flowers—such as roses or lisianthus—between the hydrangea blooms to add dimension and color contrast. Use greenery like eucalyptus or ruscus to frame the bouquet, inserting sprigs around the edges for a fresh, organic touch. This step allows you to create depth and texture, making the bouquet visually dynamic.
- Secure and Wrap the Stems
Once you’re satisfied with the arrangement, tightly bind the stems together using floral tape. Wrap the tape securely from just below the blooms to three or four inches down the stems, ensuring the bouquet holds its shape throughout the day.
- Finish with Ribbon
To elevate your bouquet’s elegance, cover the floral tape by wrapping a ribbon of your choice around the stems. Secure the ribbon by tying a neat bow or pinning it with decorative floral pins. Be sure the ribbon complements your wedding theme, whether that’s satin for a classic look or organza for something ethereal.
Design Tips:
- Aim for a round shape when arranging your flowers to achieve a timeless bridal bouquet style.
- Consider mixing shades of hydrangeas, such as white, blush, or blue, for added visual interest.
- Keep the bouquet proportionate to your size, ensuring it feels comfortable to hold and doesn’t overwhelm your overall look.
By following these steps, you’ll learn how to make a wedding bouquet with hydrangeas that embodies both simplicity and sophistication. Whether you prefer classic white hydrangeas or a vibrant color palette, your DIY creation will be a heartfelt addition to your special day.

Part 3 – Step-by-Step: Hydrangea Centerpieces for Weddings & Events
Creating hydrangea wedding centerpieces is an excellent way to elevate your table decor with both elegance and ease. These arrangements can be tailored to suit the style of your wedding or event, whether you’re looking for timeless sophistication or a lush, romantic vibe. Below is a step-by-step guide to making a stunning DIY flower centerpiece with hydrangeas.
Materials Needed:
- Low vase or bowl
- Floral foam or a grid for structure
- 6–8 stems of hydrangeas in your chosen color(s)
- Filler flowers (e.g., baby’s breath, snapdragons, or waxflowers)
- Greenery (e.g., eucalyptus, ruscus) or spray roses for balance
Step-by-Step Instructions:
- Prepare Your Vase or Bowl
Start by selecting a low vase or bowl that suits your table dimensions. For the centerpiece to look lush and sturdy, use floral foam or create a grid using clear floral tape across the top of the vessel. This will help secure the hydrangeas and maintain their shape throughout the event.
- Trim and Hydrate Your Hydrangeas
Before you begin arranging, cut each hydrangea stem at an angle to ensure optimal water absorption, and remove any lower leaves. Hydrate the stems in fresh water for at least 30 minutes before arranging to keep them looking vibrant.
- Begin the Arrangement
Place your hydrangea stems in the foam or grid, working from the center outward. Keep the blooms close to one another to create a full, voluminous look. The natural size and texture of hydrangea heads make them ideal for achieving a seamless, cloud-like appearance.
- Add Filler Flowers for Texture
Incorporate filler flowers like baby’s breath or waxflowers between the hydrangeas. This step will enhance detail and add a touch of delicate contrast without overwhelming the arrangement.
- Balance with Greenery or Spray Roses
Use greenery like eucalyptus or trailing ivy to add balance and natural movement to the centerpiece. Alternatively, tuck small spray roses in complementary colors around the hydrangeas to introduce variety and depth.
Design Tips for Different Table Styles:
- Round Tables
Opt for a compact and symmetrical arrangement when styling round tables. A low centerpiece allows for unobstructed views and conversation, making the setting more inviting for guests.
- Long Tables
For banquet or rectangular tables, consider creating multiple smaller centerpieces placed along the length of the table, or a single elongating design incorporating greenery runners to connect the arrangements. This approach ensures balance and consistency across the tablescape.
Variation: Elevated Centerpiece
To add drama or accentuate tall ceilings, create an elevated centerpiece using a tall vase. Start by arranging hydrangeas at the base and allow trailing greens, such as smilax or ivy, to cascade downward for visual impact. Pair with additional filler flowers for a layered, sophisticated effect.
By following these steps, you can craft effortlessly elegant hydrangea wedding centerpieces that complement any table style or event theme. Whether using a low vase for intimate gatherings or a tall vessel for grand occasions, hydrangeas offer timeless beauty and versatility. This DIY flower centerpiece with hydrangeas ensures that your table decor is as memorable as the event itself.

Part 4 – Step-by-Step: Hydrangea Flower Arch Tutorial
Creating a hydrangea flower arch can transform any space into an extraordinary focal point for weddings, events, or photoshoots. Follow this simple hydrangea flower arch tutorial to craft a stunning floral display that exudes elegance and charm.
Materials:
- Metal or wooden arch frame
- Zip ties
- Floral cages
- Floral foam (soaked)
- 25–50 stems of fresh hydrangeas
- Optional accents: eucalyptus, roses, or draping fabric
Instructions:
- Secure the Floral Cages
Begin by attaching the floral cages to the arch frame using zip ties. Ensure the cages are evenly spaced and securely fastened, as they will hold the foam and flowers in place. For a balanced design, plan the general placement of your hydrangeas and accents before moving forward.
- Insert the Floral Foam
Fill each floral cage with pre-soaked floral foam. Be sure to properly hydrate the foam beforehand, as this will provide a sturdy base for the flowers and keep them fresh throughout your event.
- Place Hydrangeas as the Base Layer
Start inserting the hydrangeas into the foam, evenly spreading them across the arch. Hydrangeas have large, voluminous blooms, making them an excellent foundation for the arrangement. Work systematically, covering any gaps and ensuring the frame is concealed.
- Add Accents and Greenery
Once the hydrangeas are in place, incorporate optional accents like sprigs of eucalyptus, roses, or even draping fabric to add texture and variety to the arch. Carefully distribute these elements to complement the hydrangeas and create visual interest. Play with layering and depth for a lush, full look.
- Finish with Symmetry or Asymmetry
Decide on the overall style of your arch. For a classic, balanced appearance, maintain symmetry by mirroring each side of the arrangement. Alternatively, opt for an asymmetrical design to add a modern, organic feel. Adjust placement as needed until you’re satisfied with the final look.
By following this hydrangea flower arch tutorial, you can design a breathtaking centerpiece that highlights your event’s theme and ambiance. The versatility of hydrangeas allows you to tailor the arch to both understated and extravagant styles. This step-by-step guide ensures your hydrangea flower arch becomes a memorable and show-stopping feature for any occasion. Remember, repetition is key for SEO success, so optimize reach by seeking creative ways to weave “hydrangea flower arch tutorial” into related content!
Part 5 – Color Combos and Styling Ideas
When it comes to creating a stunning hydrangea flower arch, experimenting with color combinations and styling ideas can truly elevate your design. Whether you’re planning a seasonal celebration or an elegant wedding, the right palette can make all the difference.
Seasonal Color Pairings
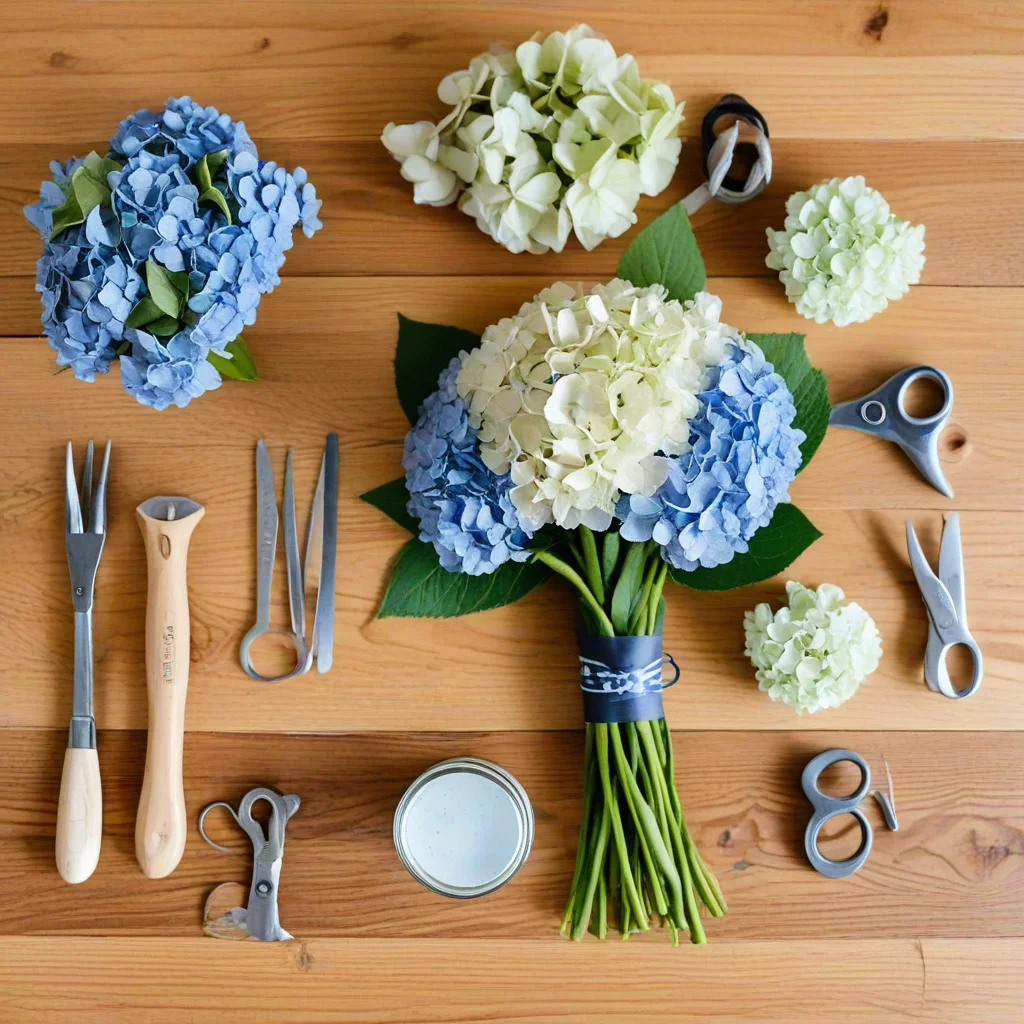
Capture the essence of each season by pairing your hydrangeas with complementary hues. For a breezy summer vibe, blend classic blue and crisp white hydrangeas with soft greenery for a fresh and airy look. Spring is perfect for a pink and green combination that echoes blooming gardens and new growth. Autumn lends itself to muted yellows, golds, and rich burgundies, while winter calls for frosty whites and silvers accented with deep greens or subtle blues. Choosing seasonal colors provides harmony with nature and creates a cohesive atmosphere for your event.
Monochromatic vs. Mixed Palettes
Decide whether you want your hydrangea flower arch to feature a monochromatic design or a mixed palette. A monochromatic arrangement, such as an all-white arch, exudes timeless elegance and works beautifully for minimalist or traditional themes. On the other hand, mixed palettes allow for more creativity; combining various shades of hydrangeas, like blue, lavender, and blush, can bring your arch to life with depth and vibrancy.
Styling Inspiration
Take inspiration from different styles to suit your event’s vibe. Romantic pastel shades like soft pinks, peach, and cream are ideal for weddings, enhancing that dreamy, ethereal effect. If you’re creating a bold statement, look to tropical themes with vibrant oranges, magentas, and greens. For a casual bohemian look, mix neutral tones with earthy browns and soft terracotta accents.
Don’t forget to incorporate textures alongside your hydrangeas, such as lush greenery, trailing vines, or even dried flowers, to add dimension to your design. Browsing wedding blogs or craft inspiration platforms can help you find creative ways to style DIY hydrangea wedding arrangements that feel uniquely tailored to your vision.
Be sure to include images as part of your planning! Photos of styled arches or mood boards can not only clarify your vision but also inspire others looking for similar arrangements.
Part 6 – Common DIY Mistakes to Avoid with Hydrangeas
When creating your own hydrangea arrangements, avoiding common mistakes can ensure your designs look professional and event-ready. One of the biggest pitfalls is not hydrating your hydrangeas properly. These flowers are known for their thirstiness, and failing to provide enough water can quickly lead to wilted blooms. For best results, place the stems in water immediately after cutting and keep the blooms hydrated throughout the process.
Another common mistake is forgetting to recut the stems before arranging. Hydrangea stems can seal up after being cut, which blocks water absorption. Cutting the stems at a diagonal just before placing them in your design allows them to absorb water more effectively, keeping the blooms vibrant and fresh.
Care must also be taken when stuffing centerpieces. Overstuffing can make arrangements look overcrowded and messy, while under-stuffing might leave them sparse and incomplete. Striking the right balance ensures your design feels full and cohesive. Similarly, including too many strong-scented flowers in your arrangements can be overwhelming or clash with the delicate charm of hydrangeas. Opt for subtle, complementary blooms instead.
By avoiding these common hydrangea DIY mistakes, you can create beautiful, polished arrangements that truly elevate your event and leave a lasting impression.
Part 7 – Final Tips for Transporting and Storing Arrangements
Proper storage and transportation are key to ensuring your DIY hydrangea arrangements stay fresh and beautiful for your event. Hydrangeas are particularly sensitive to dehydration, so handling them with care is essential.
- Use cool, shaded areas for storage: Keep your arrangements in a cool, shaded environment to prevent wilting. Avoid direct sunlight and heat sources, as these can dry out the flowers quickly.
- Transport in buckets or boxes with damp paper towels: When moving your hydrangeas, place the stems in buckets of water or boxes lined with damp paper towels. This helps maintain hydration during transit.
- Build arches or large arrangements on-site: For large installations like arches or floral backdrops, assemble them at the event venue if possible. Transporting pre-assembled pieces can damage the blooms.
- Mist arrangements regularly: Use a spray bottle to lightly mist your hydrangeas throughout the day, keeping them hydrated and maintaining their vibrant appearance.
By following these tips, you’ll ensure your hydrangea bouquets and centerpieces remain fresh, stunning, and ready to impress.
A Quick Guide to Storing and Transporting Your Arrangements
| Tips | Why It Works |
| Use cool, shaded areas for storage | Prevents wilting |
| Transport with dampened paper | Maintains moisture |
| Build large arrangements on-site | Reduces damage during transit |
| Mist hydrangeas with spray bottles | Keeps them hydrated |
SEO Tip: Use this guide when researching “How to store DIY hydrangea bouquets and centerpieces before your event” for optimal results!
Conclusion: Design Your Day with Hydrangeas
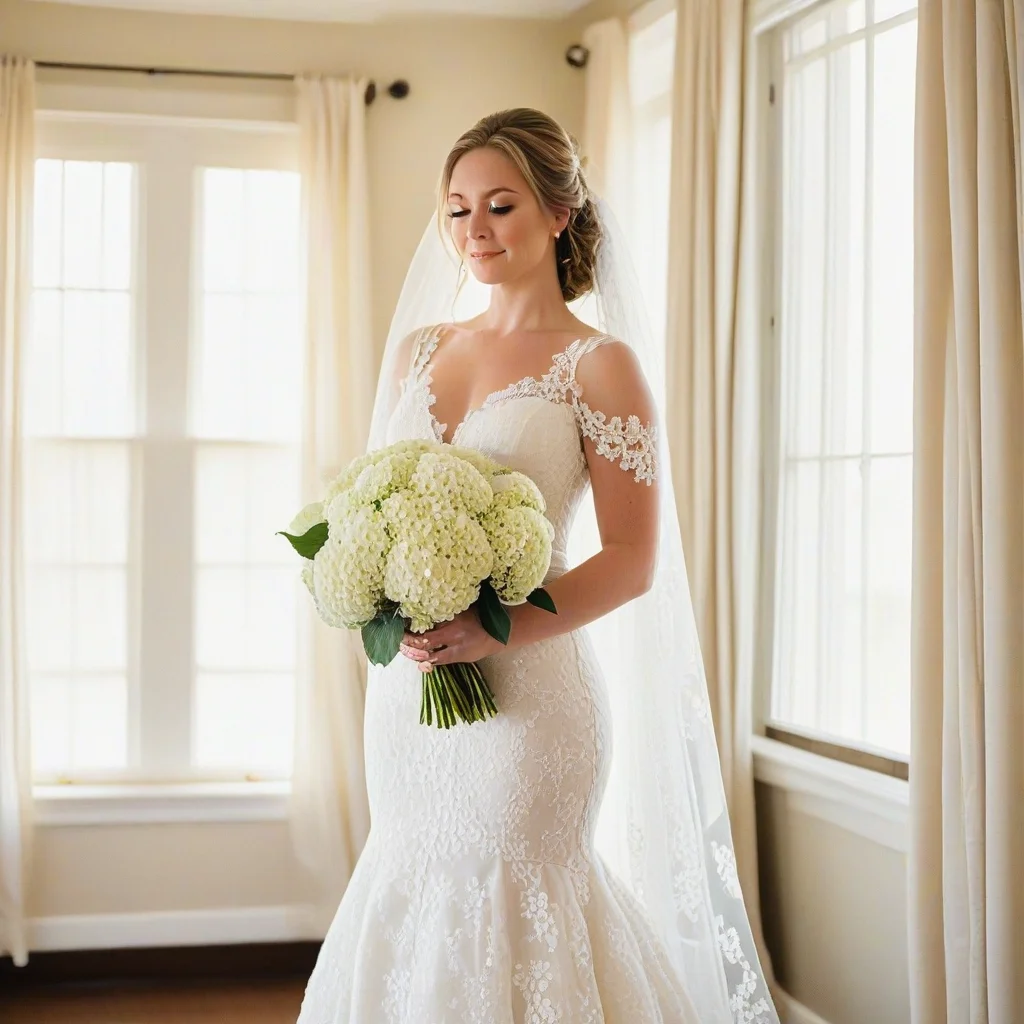
Creating stunning arrangements with hydrangeas has never been easier or more rewarding. Their timeless elegance and versatility make them an ideal choice for any event, whether you’re crafting a bridal bouquet, designing centerpieces, or decorating a ceremony arch. With hydrangeas, you can effortlessly blend sophistication and charm to match your unique vision.
Not only are hydrangeas incredibly easy to work with, but choosing a reputable source like Whole Blossoms ensures your experience is stress-free and cost-effective. With high-quality blooms delivered directly to you, you can design your arrangements with confidence, knowing that each stem is fresh, vibrant, and ready to elevate your event. The ability to DIY your hydrangea creations also adds a personal touch, giving you the opportunity to infuse your creativity and personality into every detail.
Whether you’re planning an intimate gathering or a grand celebration, hydrangeas offer unmatched beauty at an affordable price. From simple arrangements to ornate designs, these versatile flowers never fail to impress, making them a crowd favorite for any occasion.
Order your wholesale hydrangeas today and bring your event vision to life—one beautiful stem at a time. Whole Blossoms is here to help you make your special day unforgettable, filled with the grace and elegance that only hydrangeas can provide.