


 by
by 

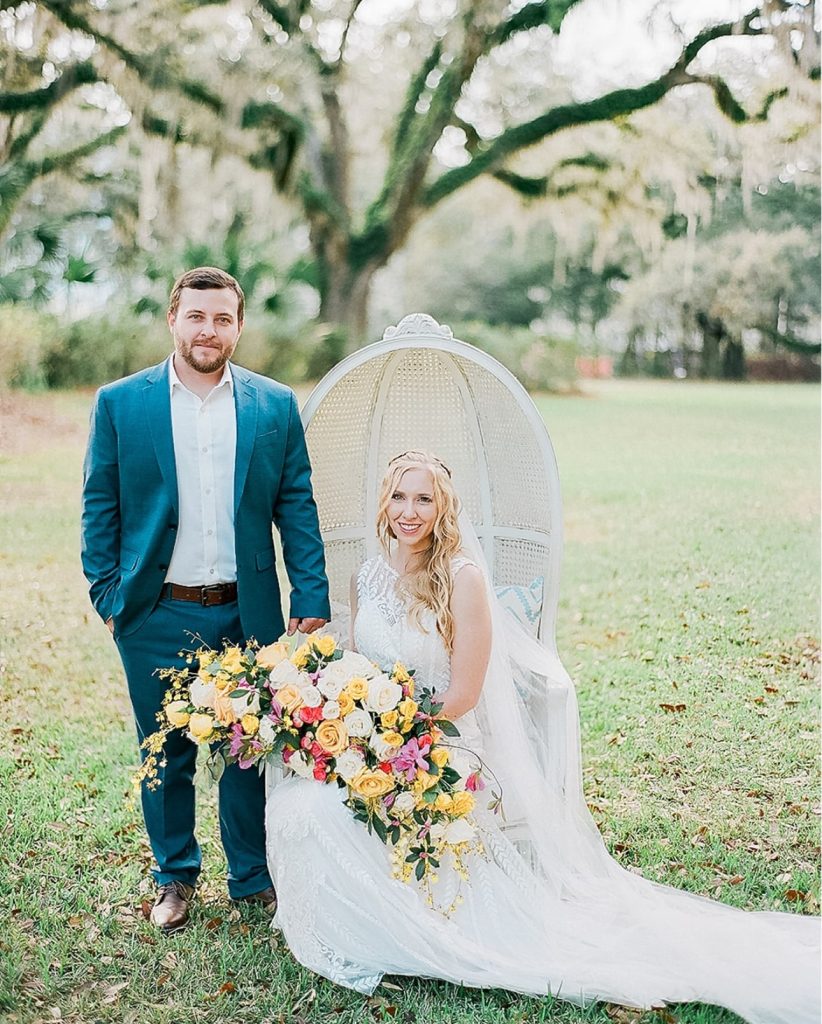
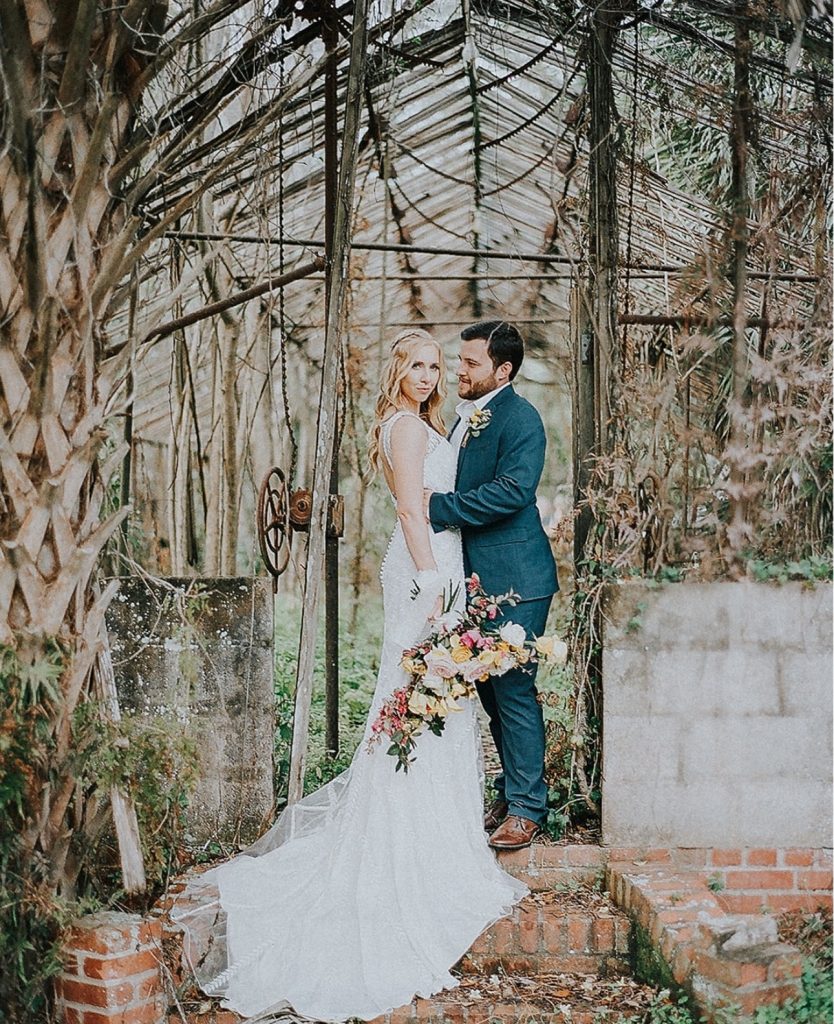
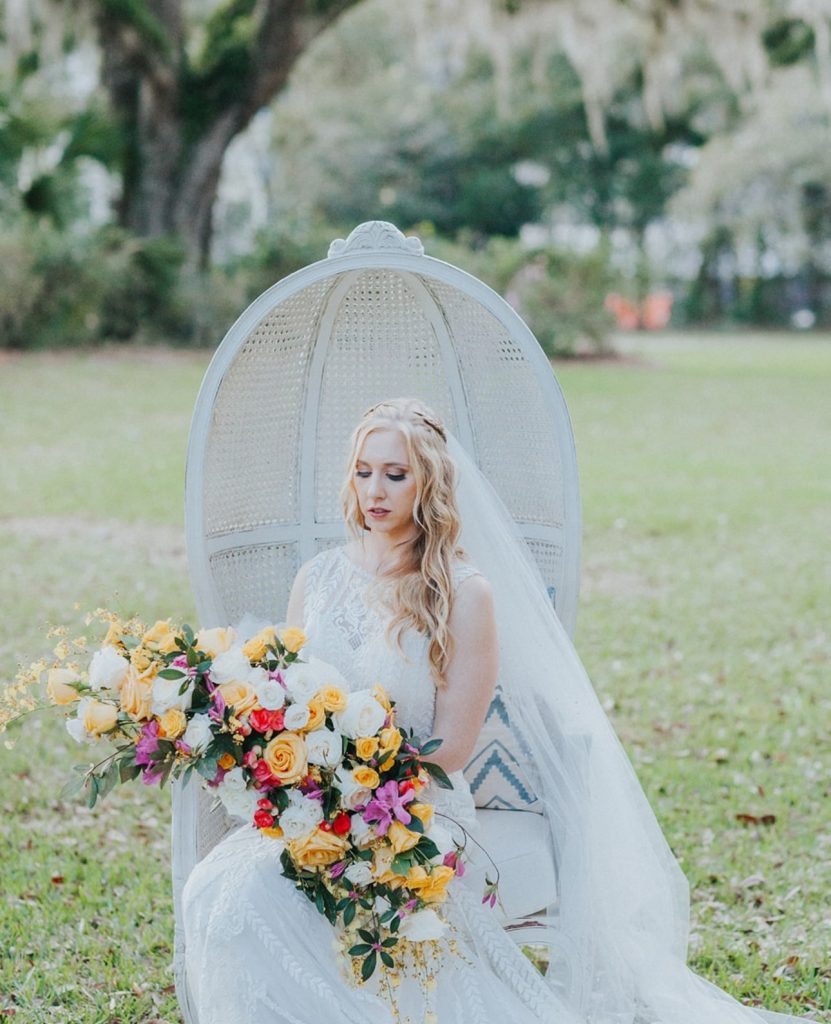
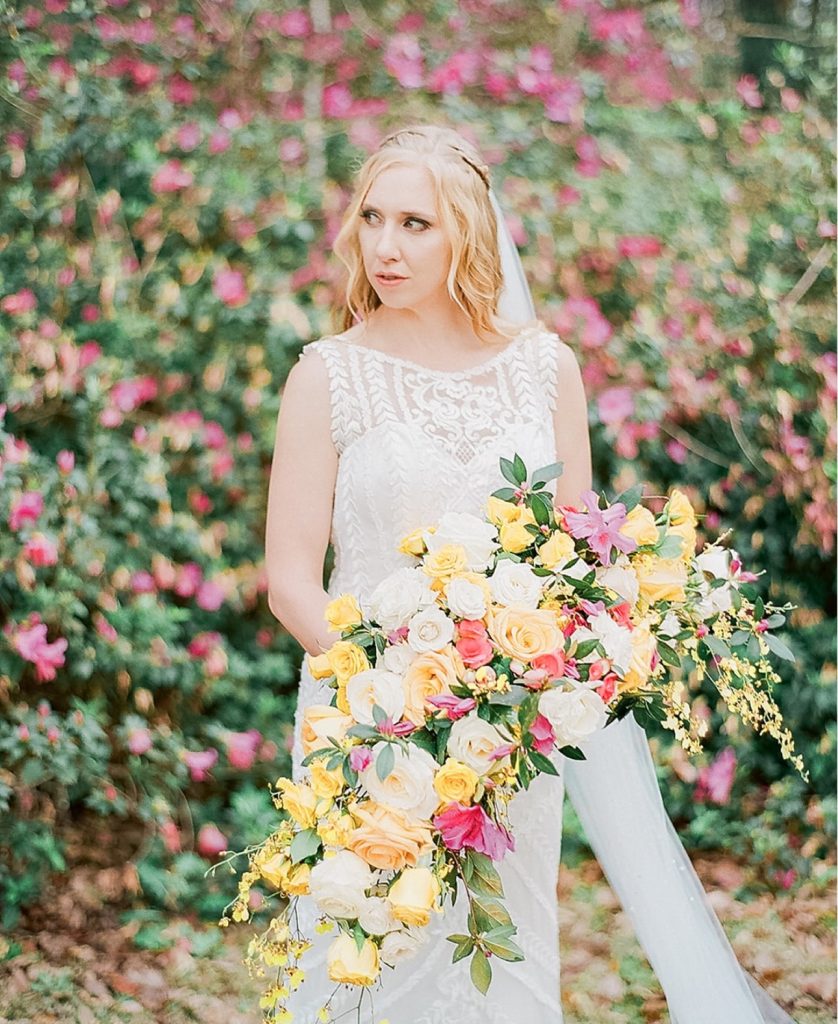
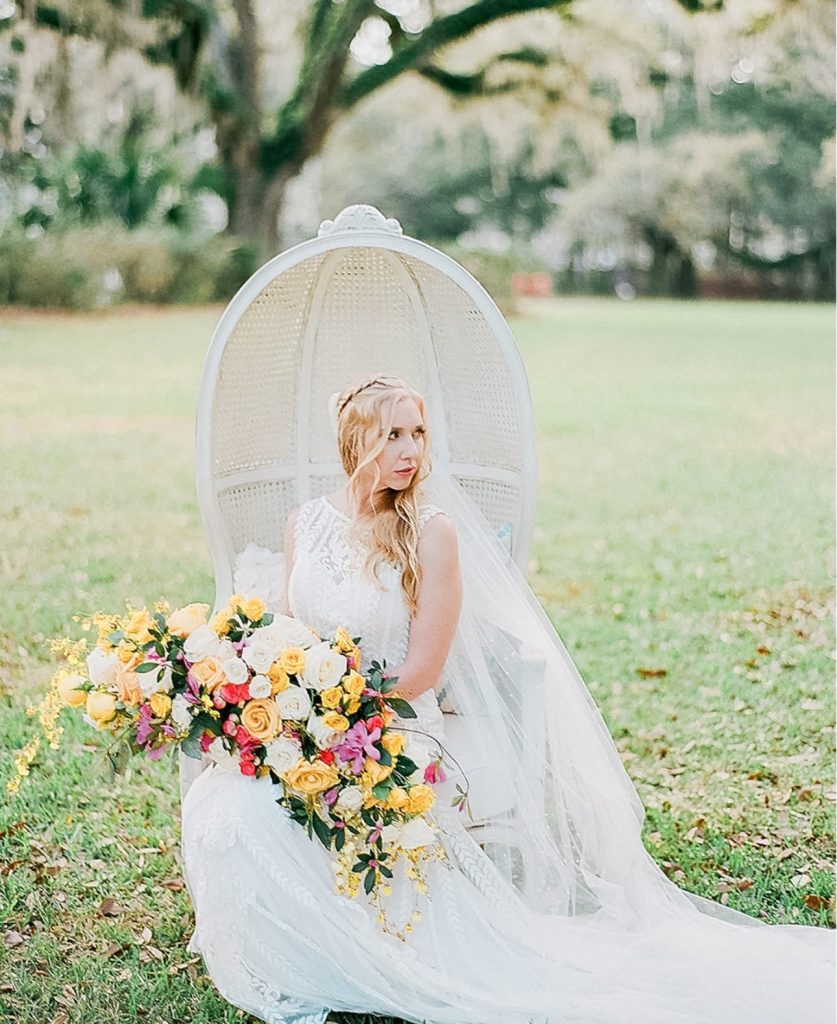
A cascading wedding bouquet is a timeless and elegant floral arrangement that has become a popular choice for brides seeking a touch of sophistication on their special day. Characterized by its waterfall-like appearance, this bouquet features flowers and greenery that elegantly drape downward, creating a graceful and romantic effect. The cascading style allows for a variety of floral combinations and can be tailored to suit any color scheme or wedding theme, making it a versatile and stunning option for any bride.
The choice of a yellow, white, and pink color scheme for your wedding decor plays a significant role in setting the tone and ambiance of the event. Yellow symbolizes happiness, optimism, and warmth, bringing a cheerful and vibrant energy to the celebration. White, often associated with purity, elegance, and sophistication, serves as a classic base that highlights the other colors beautifully while maintaining a sense of simplicity and grace. Pink, representing love, romance, and compassion, adds a soft and charming touch to the decor. Together, these colors create a harmonious and inviting atmosphere, perfect for a romantic and memorable wedding day.
In this tutorial, readers will learn the step-by-step process of creating a stunning DIY cascading wedding bouquet using the vibrant and romantic yellow, white, and pink floral scheme. The guide will cover the selection and preparation of flowers, the tools needed for assembly, and the techniques required to achieve the cascading effect. Additionally, the tutorial will provide tips on how to balance the colors and textures for a cohesive and elegant look, as well as advice on preserving the bouquet’s freshness throughout the wedding day. By the end of this tutorial, readers will have the knowledge and confidence to craft their own personalized cascading bouquet that embodies love, elegance, and joy.
Materials Needed
To create your DIY cascading wedding bouquet, you’ll need the following materials:
- Flowers:
- Yellow roses
- White lilies
- Pink peonies
- Greenery (such as eucalyptus or fern)
- Filler flowers (such as baby’s breath)
- Floral tape and wire
- Scissors and floral clippers
- Ribbon or lace for wrapping the bouquet handle
- Decorative pins and accessories
Step-by-Step Instructions
Preparing the Flowers
How to Select and Condition the Flowers:
- Selection Process:
- When choosing your flowers, it’s important to pick blooms that are fresh and in good condition. Look for bright, firm petals and healthy, green stems. Avoid flowers with wilted petals or browning edges.
- For a vibrant bouquet, blend the cheerful yellow roses, the elegant white lilies, and the romantic pink peonies. Ensure each flower type is in its prime, as this will enhance the bouquet’s overall appearance.
- Conditioning the Flowers:
- Start by trimming the stems at an angle under running water. This helps to increase the surface area for water absorption and keeps the flowers hydrated.
- Remove any leaves that will fall below the water line in your container to prevent bacterial growth.
- Place the freshly cut flowers in a clean vase filled with lukewarm water and a floral preservative. Let them drink for several hours or overnight to ensure they are fully hydrated before arranging them into your bouquet.
Removing Thorns and Excess Leaves:
- For the yellow roses, gently strip away any thorns using a thorn stripper or the back of your scissors. Be careful not to damage the stems in the process.
- Remove any excess leaves from all types of flowers and greenery, focusing on those that will be submerged or that might interfere with your bouquet’s design.
- Ensure the stems are clean and smooth, making it easier to handle them while arranging your cascade bouquet.
By carefully selecting, conditioning, and preparing your flowers, you set the stage for crafting a beautiful and long-lasting cascading wedding bouquet.
Assembling the Bouquet
Creating the Base with the Largest Blooms:
- Choosing the Focal Flowers:
- Select the yellow roses and white lilies, as they are the largest blooms and will form the base of your bouquet. These flowers will serve as the focal point and give structure to your arrangement.
- Assembling the Base:
- Begin by holding one yellow rose in your non-dominant hand. Add a white lily diagonally to the rose, crossing the stems. Continue this process, alternating between the yellow roses and white lilies while rotating the bouquet in your hand. This will ensure an even distribution of the focal flowers and create a symmetrical base.
Layering in Medium and Smaller Flowers:
- Adding Pink Peonies:
- Carefully layer pink peonies around and between the larger blooms. Make sure to position them slightly lower than the larger flowers so that they cascade down. This step will add depth and romantic accents to the bouquet.
- Incorporating Filler Flowers and Greenery:
- Tuck in sprigs of greenery such as eucalyptus or fern around the edges to add texture and a natural flow. Fill in any gaps with baby’s breath or other filler flowers to enhance the fullness and intricate detail of the arrangement.
Ensuring Balance and Flow in the Design:
- Distribution of Colors:
- Assess the bouquet to make sure the colors are evenly distributed. The yellow, white, and pink elements should be balanced, creating a cohesive look without any single color overpowering the others.
- Adjusting Stem Lengths:
- Trim the stems at varying lengths but keep a gentle downward slope to achieve the cascading effect. The stems at the top should be the shortest, gradually increasing in length towards the bottom of the bouquet.
Tips for Achieving the Cascading Effect:
- Gradual Layering:
- Begin with the largest flowers at the top and gradually layer smaller blooms and greenery. This layering technique will create a natural tapering effect that defines a cascade.
- Utilize Floral Wire:
- Use floral wire to secure flowers that need extra support or to help guide the direction of the cascade. Carefully attach the wire to the stems and gently position them to follow the desired flow.
- Check for Balance:
- Regularly step back and observe the bouquet from different angles to ensure the cascade appears balanced and natural. Adjust the stems if necessary to maintain a harmonious flow.
- Final Touches:
- Once satisfied with the overall look, wrap the stems tightly with floral tape to secure the arrangement. Finish by covering the tape with your chosen ribbon or lace, adding decorative pins or accessories as desired for an elegant finish.
By following these steps and tips, you will achieve a beautifully balanced and flowing cascading wedding bouquet that perfectly captures the essence of elegance and romance.
Securing the Bouquet Using Floral Tape and Wire for Stability:
- Securing with Floral Tape:
- Once your arrangement is complete and you are satisfied with the balance and flow, begin wrapping the stems with floral tape. Start just below the flower heads and wrap downward, ensuring the tape is tight and securely holds the stems together.
- Continue wrapping until you reach the bottom of the stems, overlapping the tape slightly with each pass to make a strong bond. The floral tape will help keep the bouquet stable and maintain its shape.
- Adding Extra Stability with Floral Wire:
- For additional support, use floral wire to reinforce the structure. Insert the wire at various points along the stems, zigzagging it between the flowers and greenery to add extra security.
- Pay special attention to the heavier flowers or any areas where the stems seem less stable. Wrap the wire around the tape if needed to further secure the arrangement.
Techniques for Wrapping the Bouquet Handle with Ribbon or Lace:
- Choosing Your Ribbon or Lace:
- Select a ribbon or lace that complements the colour scheme and style of your bouquet. Satin, silk, or organza ribbons can add a touch of elegance, while lace can provide a vintage or romantic flair.
- Cut a length of ribbon or lace long enough to wrap around the stems multiple times, leaving a bit extra for tying a bow if desired.
- Wrapping the Stems:
- Start at the top of the tape-covered section of the stems. Secure the end of the ribbon with a floral pin, making sure it is anchored firmly.
- Slowly wrap the ribbon or lace around the stems, overlapping slightly with each pass to ensure the entire handle is covered. Keep the wrap smooth and even for a polished appearance.
- Securing the End:
- Once you reach the bottom, tuck the end of the ribbon or lace neatly under the last wrap. Use another floral pin to secure it in place. Make sure the pin is inserted at an angle to avoid it poking out and causing discomfort when holding the bouquet.
- Adding Decorative Elements:
- If desired, embellish the handle with additional decorative pins, beads, or brooches to add a personalized touch. You can also tie a bow at the top or bottom of the handle for extra charm.
By utilizing these techniques, you will ensure that your cascading wedding bouquet is not only beautiful but also stable and comfortable to hold throughout your special day.
Final Touches: Adding Decorative Pins and Accessories
- Choosing Decorative Pins:
- Select decorative pins that match the theme or colour palette of your wedding. Options can include pearl-tipped pins, crystal pins, or pins with intricate designs to add a touch of glamour.
- Ensure that the pins are of high quality and long enough to secure through the layers of ribbon or lace and floral tape but not so long as to protrude uncomfortably.
- Placing the Pins:
- Carefully insert the decorative pins at various points along the wrapped handle of the bouquet. Aim for a balanced and symmetrical placement to enhance the visual appeal without cluttering the overall design.
- Consider spacing the pins evenly or arranging them in a pattern that complements the style of your bouquet – for example, you might align pins vertically in two parallel lines or scatter them for a more whimsical look.
- Adding Accessories:
- Consider adding other decorative accessories such as small brooches, charms, or even a piece of heirloom jewellery to the handle for a personalized touch. Secure these items carefully with floral wire or extra pins.
- Ensure that any additional accessories do not overwhelm the bouquet but instead provide subtle, elegant enhancements.
Ensuring the Bouquet is Secure and Presentable
- Final Inspection for Stability:
- Before presenting the bouquet, give it a final inspection to ensure all elements are securely fastened. Gently shake the bouquet to check for any loose stems or accessories. Reinforce any areas as needed with additional floral tape or wire.
- Ensure that the handle is comfortable to hold, with no sharp pins or wires poking out. Smooth down any rough edges on the ribbon or lace for comfort.
- Presenting the Bouquet:
- Store the bouquet in a cool, dry place until it is time for the ceremony or photos. Keep it in a vase with a small amount of water if necessary, ensuring the stems are only lightly submerged to prevent moisture from loosening the floral tape or damaging the ribbon/lace.
- Just before the event, give the bouquet a light mist of water to freshen up the flowers. Pat dry any excess water to avoid dampening the handle.
By paying attention to these final touches and ensuring the bouquet is both secure and presentable, you will create a stunning, elegant cascading bouquet that will be a highlight of your special day.
Care and Preservation Tips: How to Keep the Bouquet Fresh Until the Wedding
- Hydration is Key:
- As soon as you receive or create the bouquet, place the stems in fresh, clean water. This will keep the flowers hydrated and looking vibrant.
- Change the water every couple of days to prevent bacteria build-up, which can cause flowers to wilt prematurely.
- Cool Storage:
- Store the bouquet in a cool, shaded area away from direct sunlight, heat sources, or drafts. Ideal temperatures are between 36-38 degrees Fahrenheit (2-3 degrees Celsius).
- Avoid storing the bouquet in the refrigerator, as fruit and vegetable gases can sometimes damage the flowers.
- Misting:
- Lightly mist the bouquet with water every day to keep the flowers fresh. Use a spray bottle set to a fine mist to avoid over-saturating the petals.
- Be cautious with delicate blooms, like orchids or hydrangeas, that can be more sensitive to water.
- Avoiding Physical Stress:
- Handle the bouquet as little as possible to prevent bruising or damaging the petals and stems.
- Use a vase or bouquet holder to support the arrangement during storage.
Tips for Preserving the Bouquet as a Keepsake
- Air Drying:
- Tie the stems of the bouquet together with twine or a rubber band and hang it upside down in a dry, dark place with good ventilation.
- Leave the bouquet to dry for about 2-4 weeks, depending on the bloom types and humidity levels.
- Pressing Flowers:
- Select individual flowers or blooms to press. Place them between parchment paper and insert them in the pages of a heavy book.
- Add additional weight on top of the book and leave them to press for 1-3 weeks until they are completely dry and flat.
- Silica Gel:
- Purchase silica gel from a craft store and use it to preserve the blooms. Bury the flowers in a container filled with silica gel, ensuring they are completely covered.
- Leave the flowers in the gel for about a week, then carefully remove and brush off any excess gel.
- Professional Preservation:
- If you prefer a professional touch, consider utilizing a floral preservation service. These services can either freeze-dry or use other methods to preserve your bouquet in a display box or frame.
By carefully following these care and preservation tips, you can ensure your bouquet remains fresh for your wedding day and keep the cherished memories of your special day alive with a beautifully preserved keepsake.
Creating a stunning cascading bouquet involves a series of thoughtful steps, from selecting the right flowers to adding decorative pins and accessories. To begin, choose a variety of flowers that fit your wedding theme and color palette, ensuring they are fresh and healthy. Assemble the bouquet by layering the flowers, starting with the larger blooms and adding greenery to achieve a balanced and elegant arrangement. Secure the stems with floral tape, and wrap the handle with ribbon or lace to provide a comfortable grip.
Adding the final touches, such as decorative pins and other accessories, can elevate the visual appeal of your bouquet. Be mindful of the placement to maintain balance and avoid clutter. Ensure that all elements are securely fastened and the handle is smooth and comfortable to hold.
To keep the bouquet fresh until the wedding, maintain hydration by placing the stems in water and misting the flowers daily. Store the bouquet in a cool, shaded area and handle it minimally to prevent damage. Finally, consider various preservation techniques, such as air drying, pressing, or using silica gel, to create a lasting keepsake from your bouquet.
By following these steps, you can create a beautiful, cascading bouquet that not only enhances your wedding day but also preserves its memory for years to come.
Encouragement for Readers to Try Their Own DIY Cascading Wedding Bouquet
Creating your own DIY cascading wedding bouquet is not only a fulfilling and creative endeavor but also a deeply personal one. By embarking on this journey, you have the opportunity to infuse your bouquet with meaningful touches that reflect your unique style and story. Don’t be afraid to experiment with different flower combinations, textures, and accessories to craft a bouquet that truly represents you. Remember, perfection isn’t the goal; the charm of a handmade bouquet lies in its individuality and the love poured into its creation. With careful planning and attention to detail, you can design a breathtaking cascading bouquet that will be a standout piece on your special day, and a cherished memory for years to come. So go ahead, take the plunge, and let your creativity blossom!
Whole Blossoms: Your Source for Fresh Cut Flowers
When it comes to sourcing fresh cut flowers for your DIY cascading wedding bouquet, Whole Blossoms stands out as a premier choice. Providing a vast selection of flowers shipped directly from the farm, Whole Blossoms ensures that you receive the freshest blooms available. With an expansive variety that includes popular options like roses, peonies, and lilies, as well as more exotic choices like anemones and proteas, you’ll find everything you need to bring your bouquet vision to life.
Committed to quality and sustainability, Whole Blossoms partners with eco-friendly farms to deliver flowers that are not only beautiful but also responsibly grown. Their user-friendly website makes it easy to browse and order flowers, offering detailed descriptions and care instructions to help you select the best blooms for your needs. With Whole Blossoms, you can trust that your flowers will arrive promptly and in pristine condition, perfect for crafting a stunning cascading bouquet or any other floral arrangements for your special day.