


 by
by 

Introduction: Why Preserve Your Bridal Bouquet?
Your bridal bouquet is more than just a bundle of flowers; it is a beautiful, tangible reminder of one of the most special days of your life. Each bloom holds emotional value, symbolizing love, joy, and the cherished memories of your wedding day. Preserving your bouquet allows you to hold onto those memories in a unique and lasting way, creating a keepsake that you can treasure for years to come.
The trend of preserving wedding keepsakes has become increasingly popular in modern weddings as couples seek meaningful ways to capture the essence of their day. While photographs and videos are timeless staples, many brides are drawn to the idea of holding onto a physical piece of their wedding. A preserved bouquet is a sentimental yet creative way to keep the spirit of your celebration alive, often displayed as stunning home décor or given as a heartfelt heirloom to future generations.
There are several popular methods for preserving your bouquet, each offering different results based on your preferences and style. Pressing the flowers is a classic technique that transforms your blooms into elegant, framed artwork. Alternatively, air-drying the bouquet retains its natural shape and rustic charm. For those seeking a modern touch, resin preservation encases individual flowers or entire arrangements in clear, durable resin, perfect for crafting jewelry, ornaments, or tabletop displays. No matter the method, preserving your bouquet lets you carry a piece of your wedding day into the future, allowing its beauty and meaning to endure.
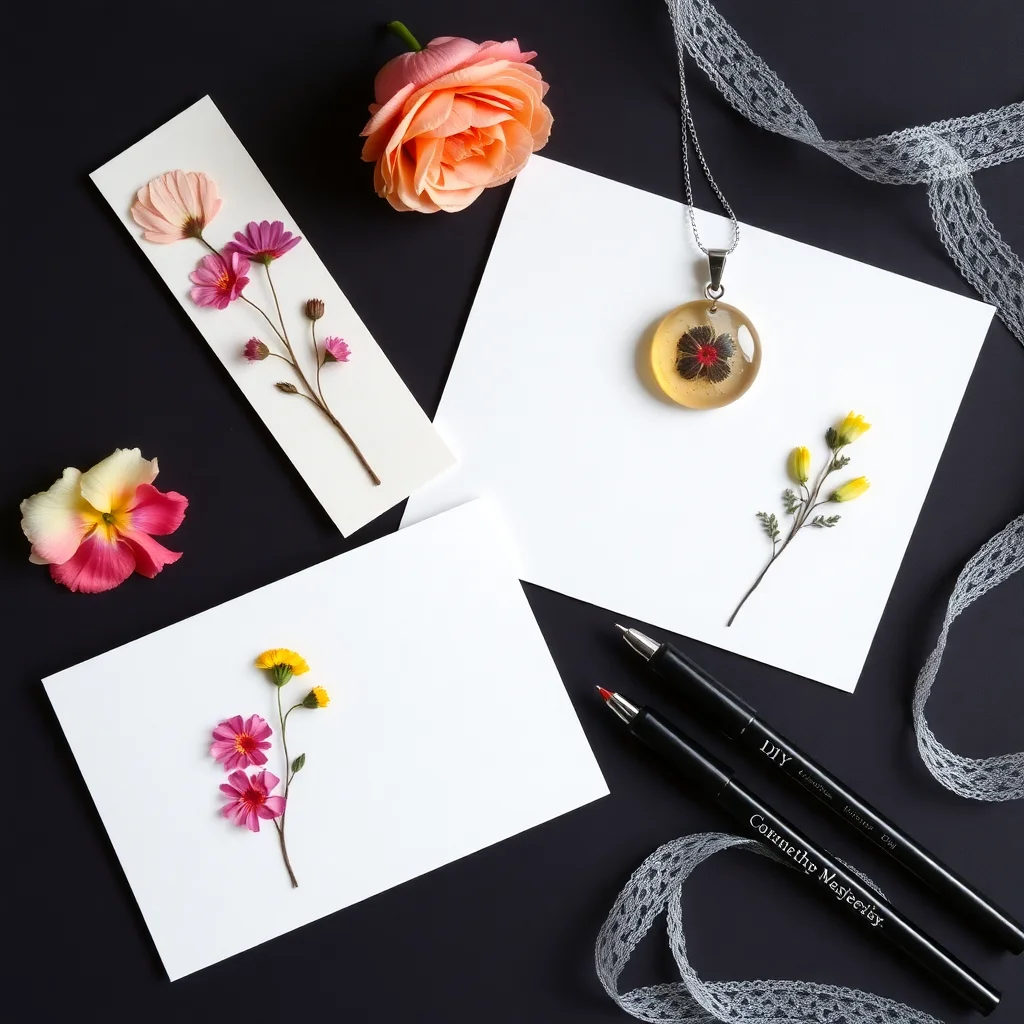
Part 1 – Best Flowers for Pressing
Pressing flowers is an age-old art form that captures the delicate beauty of blooms for years to come. However, not all flowers are ideal for this technique due to differences in texture, moisture content, or structure. Choosing the right flowers is essential for achieving stunning results.
Top 10 Flowers That Press Beautifully
- Roses – Particularly petals, as they press flat and retain vibrant color.
- Lisianthus – These soft blooms lay beautifully flat and showcase subtle hues.
- Ranunculus – Their layered petals flatten nicely while preserving intricate detail.
- Lavender – Slim and aromatic, lavender maintains its color and structure when pressed.
- Pansies – Known for their flat shape and bold colors, pansies are ideal for pressing.
- Violets – Delicate and small, violets hold their charm and color exceptionally well.
- Cosmos – Light-weight and symmetrical, cosmos press easily without losing their airy structure.
- Fern Fronds – While not technically flowers, ferns add lovely texture to pressed arrangements.
- Hydrangea Petals – Individual petals of hydrangeas dry flat and provide soft pastels.
- Forget-Me-Nots – These tiny flowers are perfect for adding intricate details to pressed creations.
Flowers to Avoid and Why
Flowers with thick, fleshy petals or high moisture content are tricky for pressing due to increased drying time and the likelihood of discoloration. Succulent-type flowers, such as gerbera daisies, are best avoided as their thick petals tend to brown during the process. Additionally, flowers with fluffy or three-dimensional structures, like dahlias or chrysanthemums, don’t flatten well and may lose their defining features after pressing.
Texture and Color Considerations
When choosing flowers, opt for blooms with thin petals and bold, stable colors. Bright hues often last longer than pale tones, which can fade quickly. Pay attention to textures as well—smooth petals press more evenly, while intricate veins or ridges can add unique character to your final artwork. By selecting the right flowers and understanding their characteristics, you can ensure that your pressed creations are both durable and striking.
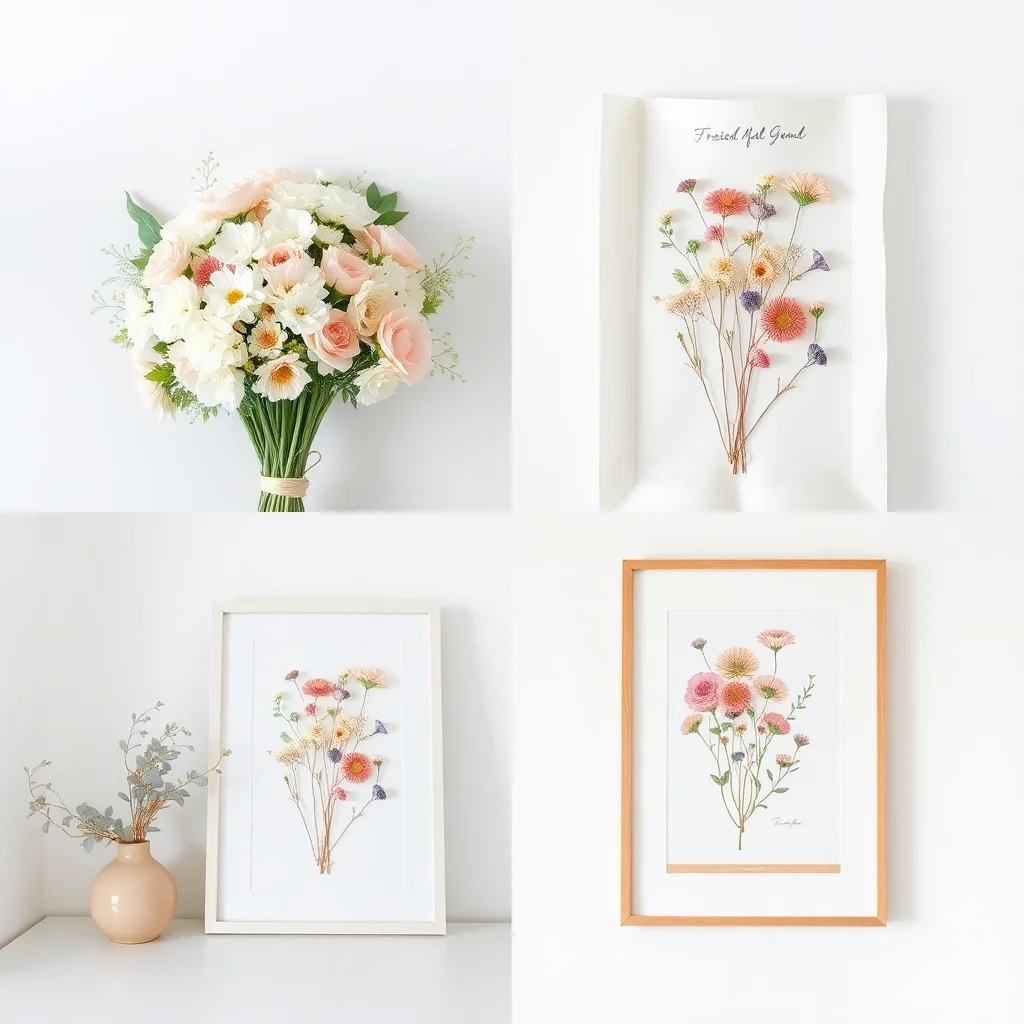
Part 2 – What You’ll Need (Tools & Materials)
To start pressing flowers, you’ll need a few essential tools and materials. These items will help ensure that your flowers are pressed effectively and preserved beautifully. Here’s a list of what you’ll need:
- Heavy Books or a Flower Press: If you’re using the traditional pressing method, heavy books are key for applying consistent pressure. Alternatively, a flower press is a handy tool specifically designed for this purpose.
- Parchment Paper or Blotting Paper: To prevent moisture damage and ensure the flowers dry properly, sandwich them between sheets of parchment paper or blotting paper. These materials help absorb moisture while protecting the flowers.
- Scissors: Use scissors to trim flowers and leaves to your desired size and shape before pressing.
- Wax Paper and Cardboard: Wax paper can be used to protect your flowers from sticking, while cardboard provides additional structure during the pressing process.
Optional tools include:
- Microwave Flower Press: If you’re short on time, a microwave flower press can speed up the process while still achieving great results.
- Resin Kits: For artists looking to preserve and display their creations, resin kits offer an excellent way to encase pressed flowers in jewelry, coasters, or other decorative pieces.
With these tools and materials at hand, you’ll be ready to press flowers with confidence and bring your creative vision to life.
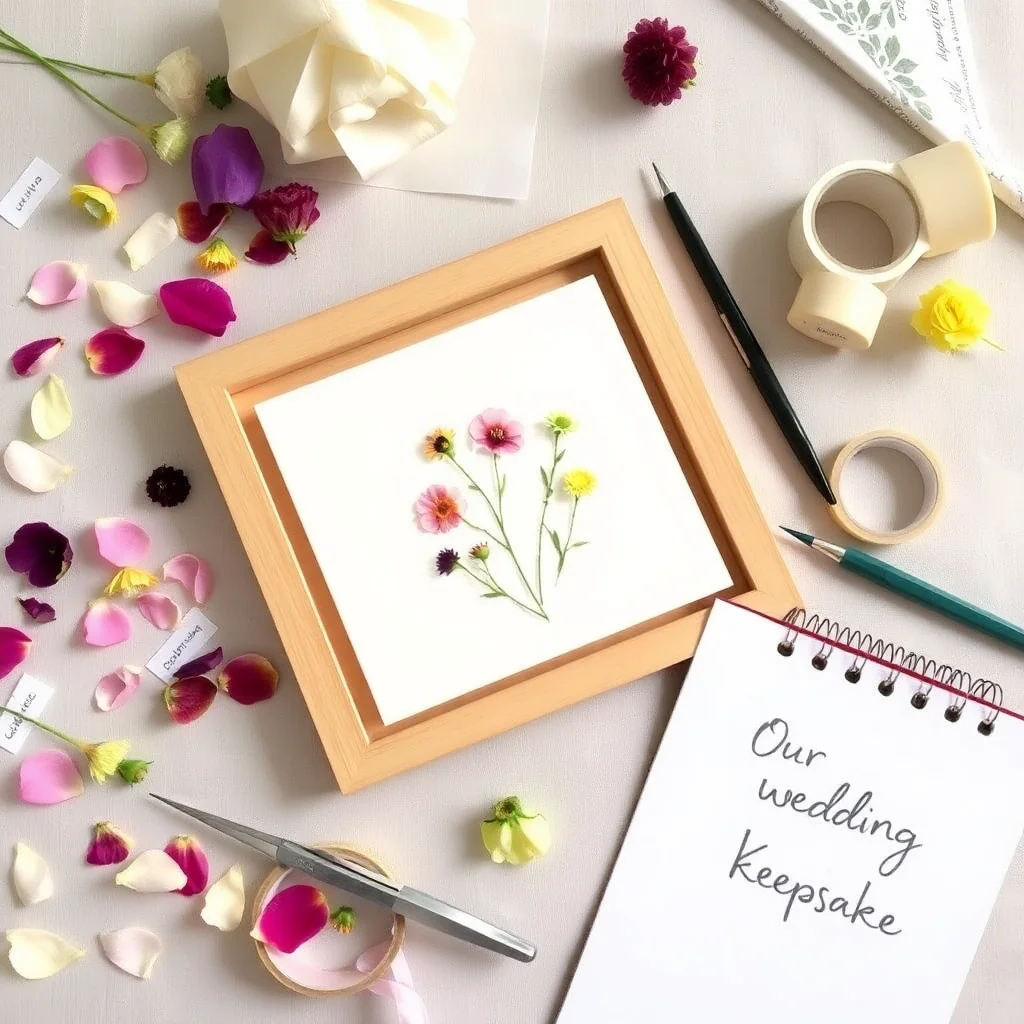
Part 3 – Step-by-Step Guide: How to Press Your Bouquet
Preserving your favorite blooms through pressing is a timeless and rewarding practice. Follow these steps for a successful and creative flower pressing journey.
a. Prepare the Flowers
Proper preparation is key to achieving beautiful pressed flowers. Start by carefully separating the individual flowers or stems from your bouquet. Remove any leaves along the stem that you don’t wish to press, as these can add unnecessary bulk. Trim stems to your desired length, or detach them altogether if you want to focus solely on the blooms. Flatten the flowers gently with your fingers to ease the pressing process, especially for larger or thicker varieties like roses. For best results, avoid flowers with excessive moisture, as these can take longer to dry or develop mold.
b. Choose Your Paper
The type of paper you use is crucial to the flower-pressing process. Parchment paper and blotting paper are recommended for their absorbent and non-stick qualities, ensuring successful preservation. These materials help draw out moisture from the flowers while protecting them from adhering to your pressing surfaces. Avoid glossy or non-porous papers, as they can trap moisture and interfere with the drying process. Cut your paper into sheets large enough to accommodate your flowers with some extra space to prevent overlap. If you’re pressing multiple layers, have additional sheets of paper ready.
c. Pressing Technique
Once your flowers and paper are prepared, it’s time to begin pressing. Lay a sheet of your chosen paper on the inside of a heavy book, such as a dictionary or thick textbook. Arrange your flowers flat on the paper, leaving enough room between each flower so they don’t overlap or stick together. Cover the flowers with another sheet of paper to create a protective barrier. Gently close the book, taking care not to disturb your arrangement. For added weight, stack more books or objects on top of the pressing book. This ensures that the flowers are evenly flattened during the process.
d. Drying Period
Patience is essential when pressing flowers. Leave your flowers to dry undisturbed for 1–2 weeks. During this time, the paper will absorb the moisture, and the weight will work to flatten and preserve the blooms. Resist the temptation to check on your flowers too soon, as premature handling can disrupt the drying process. You’ll know the flowers are ready when they feel completely dry to the touch and have a papery texture. Additionally, the colors should appear vibrant and preserved. If any flowers still feel damp, give them a few more days to ensure they are fully dried.
By following these steps, you’ll create beautifully pressed flowers that capture the essence and memories of your bouquet. Once complete, these delicate, preserved blooms can be used in a variety of creative projects or displayed as timeless mementos.
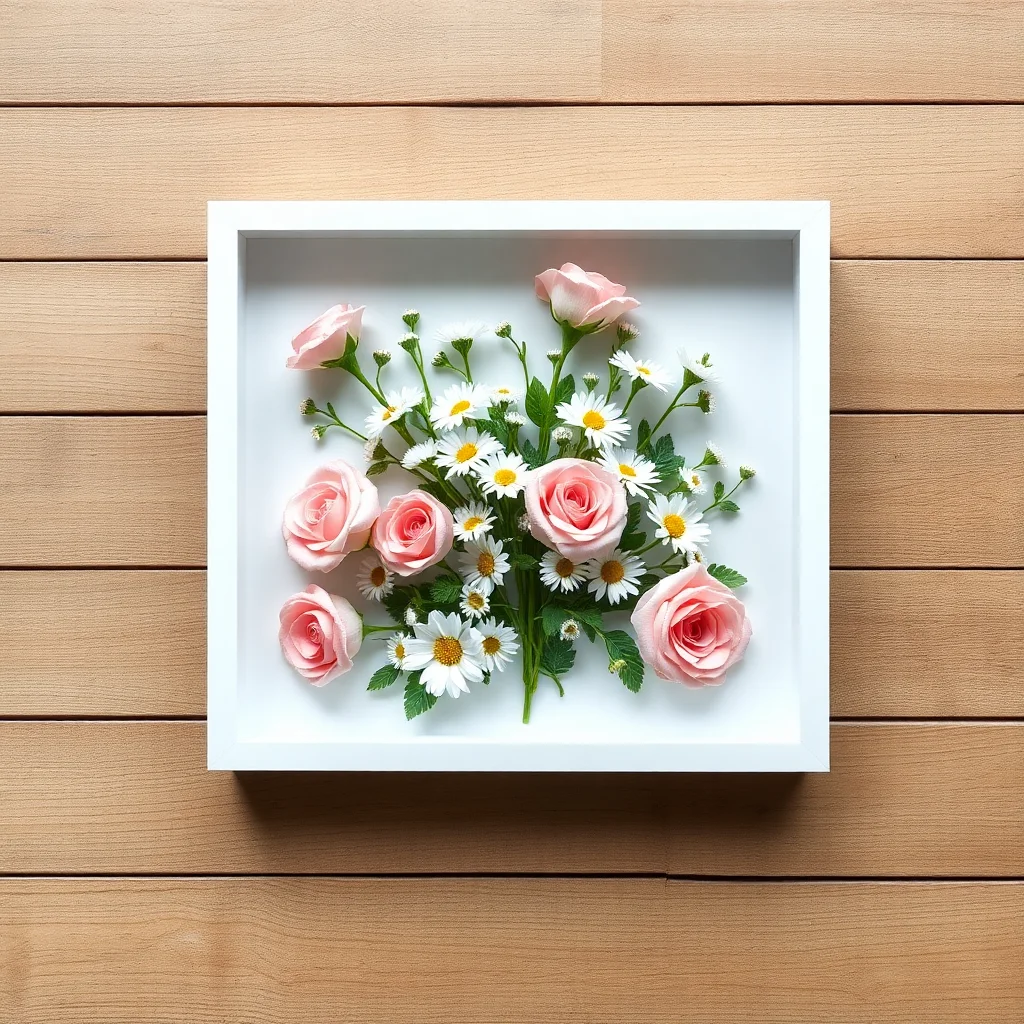
Part 4 – Creative Ways to Display Pressed Flowers
Pressed flowers are not only beautiful but also versatile for a variety of creative projects. Here are some inspiring ways to showcase your preserved blooms:
Framed Shadow Box
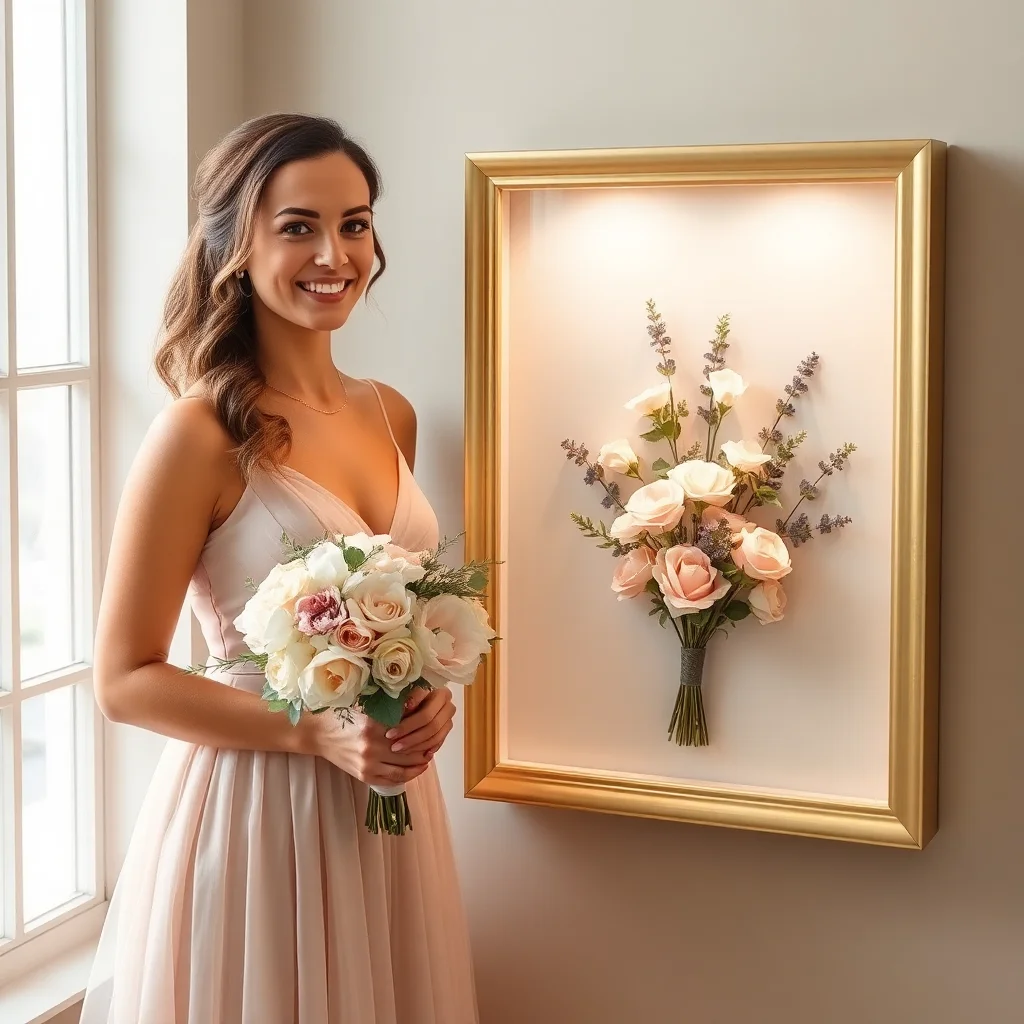
Turn your pressed flowers into a piece of art by arranging them in a framed shadow box. Select a background that complements the flowers, such as a neutral fabric or textured paper, to make the colors pop. Carefully arrange the blooms to create patterns or designs that reflect your personal style. A framed shadow box can serve as a striking decoration for walls or shelves, preserving the delicate beauty of flowers in a timeless way.
Wedding Album Insert
Pressed flowers are a meaningful addition to a wedding album or scrapbook. Incorporate blooms from your bouquet or floral arrangements to commemorate the special day. Place the pressed flowers around photographs, invitations, or handwritten notes for a romantic and personalized touch. This is a wonderful way to preserve the memories and emotions of your wedding in a tangible form.
Greeting Cards and Bookmarks
Elevate simple crafts like greeting cards or bookmarks by adding pressed flowers. For a unique card, adhere smaller blooms to cardstock and write your message alongside them. For bookmarks, layer the flowers between sheets of clear laminate or cover them with a transparent adhesive film for durability. These handmade creations make thoughtful gifts or personal keepsakes that highlight the natural elegance of flowers.
Resin Ornaments or Coasters
For a polished and functional display, you can encapsulate pressed flowers in resin to make ornaments or coasters. Arrange the flowers in molds, pour resin over them, and allow the material to set. This technique preserves the flowers’ colors and details while creating items you can use or hang as decorations. Resin projects are perfect both for practical purposes and as eye-catching home accents.
By exploring these creative ideas, you can transform pressed flowers into meaningful keepsakes or everyday items that showcase their fragile beauty. Whether used decoratively or practically, these projects ensure that the memories captured in your flowers are cherished for years to come.
Part 5 – Tips for Long-Term Preservation
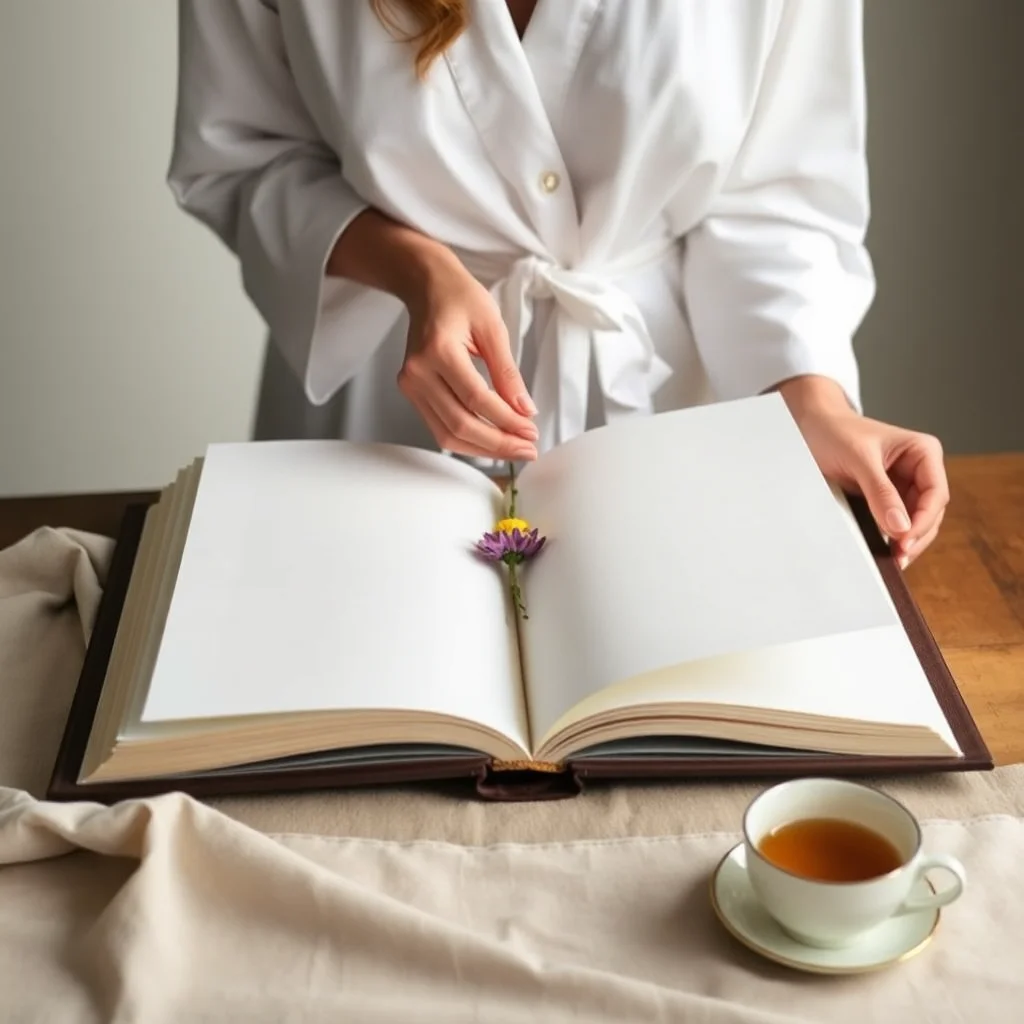
Preserving pressed flowers for the long term requires careful attention to their storage and care. Following these simple yet effective tips can ensure that your pressed floral creations maintain their color, shape, and beauty for years to come.
Keep Out of Direct Sunlight: Exposure to direct sunlight can cause pressed flowers to fade over time, diminishing their vibrant colors. Always display or store your projects in areas with indirect or low light to minimize discoloration. If hanging pressed flower artwork, consider placing it in a spot away from windows or using UV-protective glass.
Store in a Low-Humidity Environment: Humidity can wreak havoc on pressed flowers, leading to curling, brittle textures, or even mold growth. When storing your creations, choose a cool, dry place with minimal moisture. Adding silica gel packets to storage containers can help absorb excess humidity and keep the flowers in optimal condition.
Seal or Laminate for Durability: To protect your pressed flowers from exposure to air, dust, and physical wear, consider sealing them with a clear resin, laminating them, or placing them behind glass in a frame. Doing so will shield them from external elements while preserving their delicate structure and appearance. For smaller projects, such as bookmarks or coasters, lamination is an excellent option for creating a long-lasting and professional-looking finish.
By incorporating these tips into the care of your pressed flowers, you can preserve the beauty of your creations and the memories they represent. Proper preservation ensures that your floral treasures remain timeless pieces of art, ready to be admired and enjoyed for generations to come.
Part 6 – Alternative Preservation Ideas (Beyond Pressing)
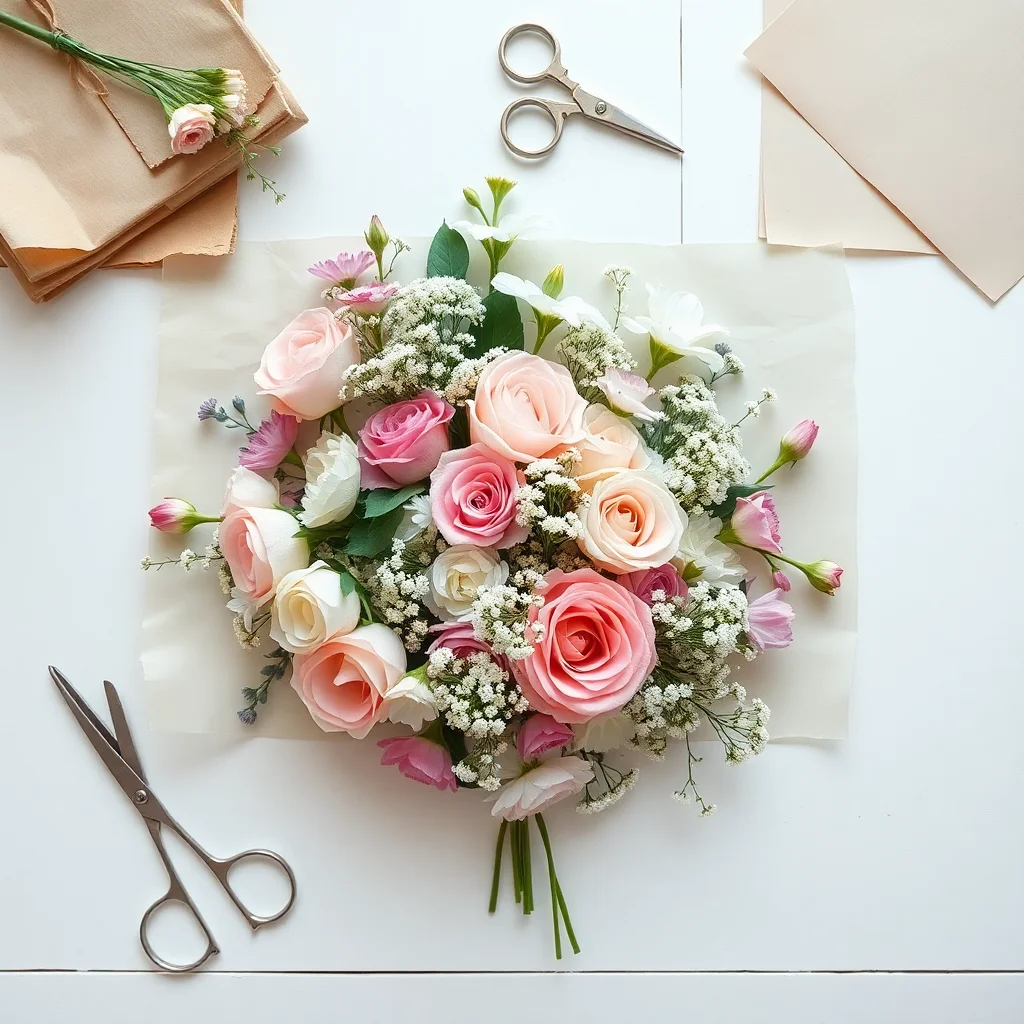
While pressing flowers is a classic and effective method of preservation, there are several alternative techniques that can help you retain the natural beauty of flowers for different purposes. These methods allow for more dimensional preservation, offering a variety of creative options.
Air Drying Upside Down
One of the simplest methods is air drying, where flowers are hung upside down in a dry, dark, and well-ventilated space. This approach works best for flowers with robust stems and petals, such as lavender, roses, and baby’s breath. The drying process usually takes two to three weeks, resulting in flowers with a rustic and natural appearance that can be used in wreaths, bouquets, or home decorations.
Silica Gel Drying
Silica gel is another popular method for preserving flowers in their full, three-dimensional form. This involves burying flowers in a container filled with silica gel crystals, which absorb moisture while maintaining the shape of the blooms. This technique is ideal for preserving delicate flowers like daisies and tulips, as it keeps their vibrant colors intact. Once dried, the flowers can be used in shadow boxes, resin art, or centerpieces.
Freeze Drying (Professional Service)
Freeze drying is a professional service that uses advanced equipment to remove moisture while preserving the flowers’ texture and color. This method can often replicate the natural look of fresh flowers with incredible precision. It is especially popular for preserving sentimental floral arrangements, such as bridal bouquets or memorial flowers, and creates keepsakes that last for years.
Dipping in Wax or Resin
For a creative and versatile preservation method, consider dipping flowers in wax or resin. Wax preservation involves coating flowers in melted paraffin wax, creating a smooth, glossy surface and extending their lifespan. Resin encapsulation, meanwhile, allows flowers to be embedded in clear, durable molds, perfect for decorative items like jewelry or ornaments.
These alternative methods provide endless opportunities to preserve and celebrate the beauty of flowers in innovative and lasting ways.
Part 7 – Common Mistakes to Avoid
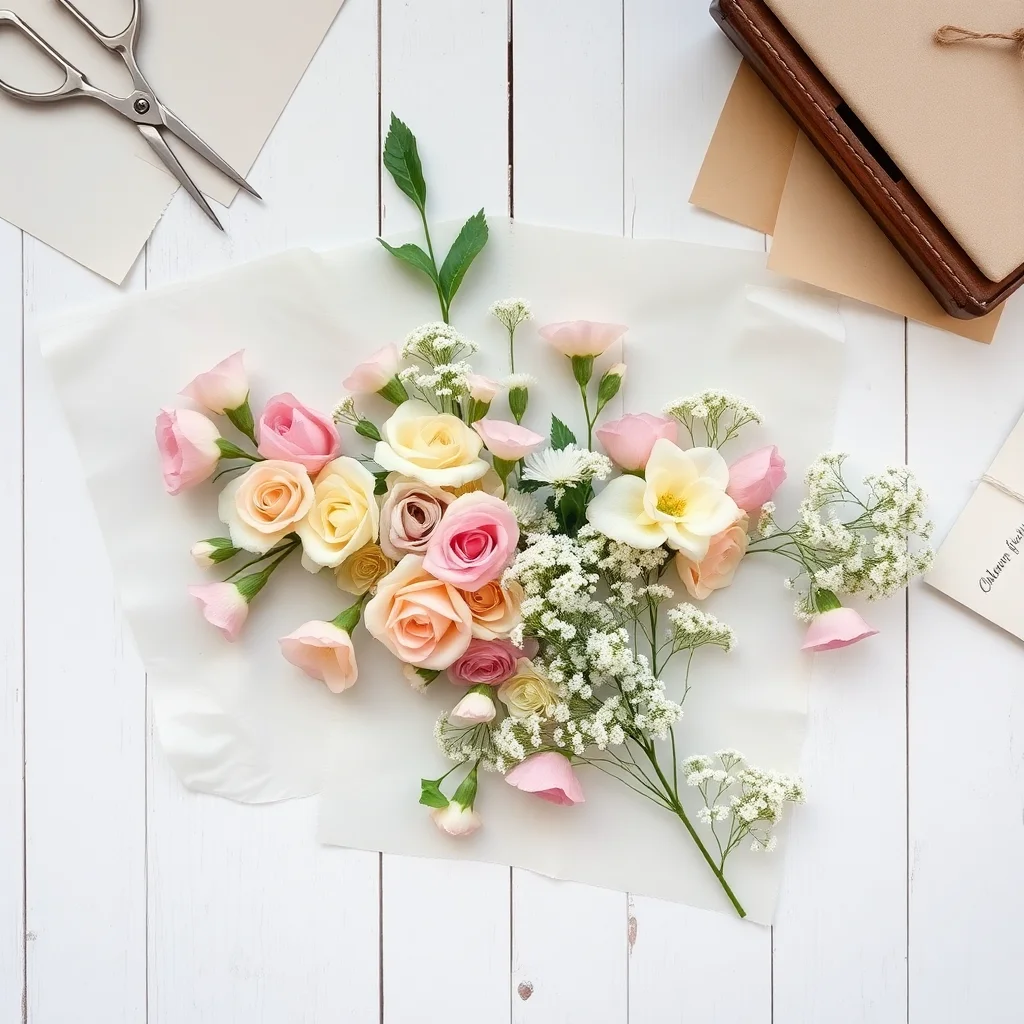
When preserving flowers, mistakes can lead to less-than-ideal results. Being mindful of these common pitfalls can help ensure your preserved flowers turn out beautifully.
- Not Drying Enough
Proper drying is critical for successful preservation. Flowers that remain damp are prone to mold and decay, which can ruin your work. Always ensure that flowers are thoroughly dried before proceeding, whether you’re pressing, waxing, or using resin.
- Using Flowers Too Old or Wilted
Starting with fresh blooms significantly impacts the outcome. Wilted or deteriorating flowers lose their structural integrity and vibrant colors, leading to disappointing results. Use freshly picked or recently bought flowers for optimal preservation.
- Overlapping Blooms
When pressing multiple flowers, avoid overlapping them. Overlapping can prevent even drying or create uneven impressions, so ensure each flower has enough space to dry evenly.
- Forgetting to Change Paper Mid-Process
Neglecting to replace absorbent paper during the pressing process can leave moisture trapped, resulting in mold or discoloration. Regularly changing the paper helps maintain a fully dry and vibrant flower.
By avoiding these common mistakes, you’ll be able to achieve stunning preserved flowers to enjoy or gift.
Common Mistakes in Flower Preservation Chart
| Mistake | Effect | Solution |
| Not drying enough | Mold and decay | Allow flowers to dry completely before starting |
| Using flowers too old/wilted | Loss of color and structural integrity | Use freshly picked or purchased flowers |
| Overlapping blooms | Uneven drying or misshapen impressions | Space blooms properly during preservation |
| Forgetting to change paper | Moisture retention and discoloration | Regularly replace absorbent paper during the process |
Final Reflection: Turning Memories into Art
Preserving a bouquet is more than a craft; it’s a way to hold onto a moment that may otherwise fade with time. Each petal, with its vibrant color and delicate texture, tells the story of love, joy, and celebration. By dedicating time and care to preserving these blooms, you can transform fleeting beauty into a cherished keepsake that lasts for years. For many brides, a bouquet represents not just a centerpiece of their wedding but also a connection to the emotions and people who made the day memorable.
For DIY brides, this process is an empowering opportunity. Not only can you create a unique piece of art from your own hands, but you can also put a personal touch on preserving something deeply meaningful. The act of preserving your bouquet is introspective, therapeutic, and rewarding, resulting in a reminder of your creativity and love.
From framed pressed flowers to resin-cast blooms, the possibilities for showcasing preserved flowers are endless. Whether it’s displayed on a wall, placed on a mantelpiece, or gifted to loved ones, your preserved bouquet serves as a timeless symbol of a beautiful moment in your life, lovingly frozen for the years ahead.
Frequently Asked Questions (FAQs)
- How do I press my wedding bouquet at home without a flower press?
You can use heavy books and parchment or blotting paper to press your bouquet at home. Simply place each flower between two sheets of absorbent paper and layer them inside a book with added weight on top. Let them dry for 1–2 weeks in a cool, dark place.
- What flowers work best for pressing after a wedding?
Flat and delicate flowers like roses, daisies, ranunculus, lisianthus, and greenery such as eucalyptus or fern press well. Avoid overly thick flowers or succulents, as they retain too much moisture and may mold.
- How long does it take to press a bridal bouquet?
The typical pressing process takes 7 to 14 days. Drying time depends on the flower type and humidity. Make sure they are completely dry before removing them to prevent browning or mold.
- What do I need to press my bridal flowers?
You’ll need absorbent paper (like parchment or blotting paper), a heavy book or wooden press, and fresh flowers. Optional extras include tweezers, wax paper, and acid-free tape if you’re planning to frame the flowers later.
- Will pressing my bouquet ruin the flowers’ color?
Some color fading is natural, especially for bright blooms. However, pressing them quickly while fresh, storing them out of sunlight, and using gentle pressure helps retain most of the natural beauty and pigment.
- Can I press a bouquet if it’s already dried out?
While it’s best to press flowers fresh, you can still attempt pressing partially dried bouquets. They may be more brittle, so handle with extra care and avoid over-pressing to prevent crumbling.
- How do I turn my pressed bouquet into a keepsake?
Once pressed, arrange the flowers on acid-free paper or in a floating glass frame. You can also laminate them into bookmarks, embed them in resin jewelry, or include them in a scrapbook with your wedding invitation and vows.
Ready to Create and Preserve the Bouquet of Your Dreams?
Whether you’re planning your walk down the aisle or looking for a way to keep that bridal magic alive forever, Whole Blossoms is your one-stop destination. From premium fresh-cut flowers straight from the farm to expert tips on DIY wedding projects, we don’t just supply the blooms — we empower you to create moments that last a lifetime.
Don’t settle for supermarket flowers or overpriced bundles — get the quality, variety, and value that thousands of brides trust. At Whole Blossoms, you’ll find everything you need to craft AND preserve the perfect bouquet.
Shop now and see why Whole Blossoms is where dream bouquets begin — and never fade.